
Getting started with At9
Everything you can do in At9, from setting up your business to taking your first booking — and everything after it.
If you're new, start at How At9 works and use the Next link at the bottom of each guide. It follows the same order you'd set your business up in. If you're after one thing, pick it from the menu.
Short videos for each guide are on the way.
Can't find what you need? Email contact@at9.app and we'll help.
How At9 works
At9 keeps every booking your business takes in one diary — on your phone, on a tablet, and on a web page your customers can book from.
However you set it up, the shape is the same:
- Tell At9 what you offer — your rooms, tables, services, classes or events.
- Say when you take bookings — your opening hours, and any times you're closed.
- Take bookings — add them yourself, or let customers book from your own web link.
Everything else — customers, payments, reminders, your team — hangs off those three.
New to At9? Work straight through this guide in order using the Next link at the bottom of each page. It follows the same order you'd set your business up in.
The five kinds of booking
At9 handles five kinds of bookable thing. Pick whichever match your business — you can use more than one, and you can add others later.
- Rooms — hotels, B&Bs, pubs with rooms, catteries and kennels. Booked over nights, with check-in and check-out.
- Tables — restaurants, cafés and bars. Booked for a sitting, with a number of guests.
- Services — salons, nail technicians, tutors, therapists. One or more services booked back to back with a member of staff. You'll see these called appointments too.
- Classes — gyms, yoga and fitness instructors. A repeating session with a set number of places.
- Events — training courses, workshops, one-off and multi-day events. Places sold per day, optionally with ticket types.
They all behave the same way once booked: the same diary, the same customer records, the same emails, the same cancellations.
You chose one of these when you signed up. That's only the starting point — add any of the others whenever you like.
Create your account
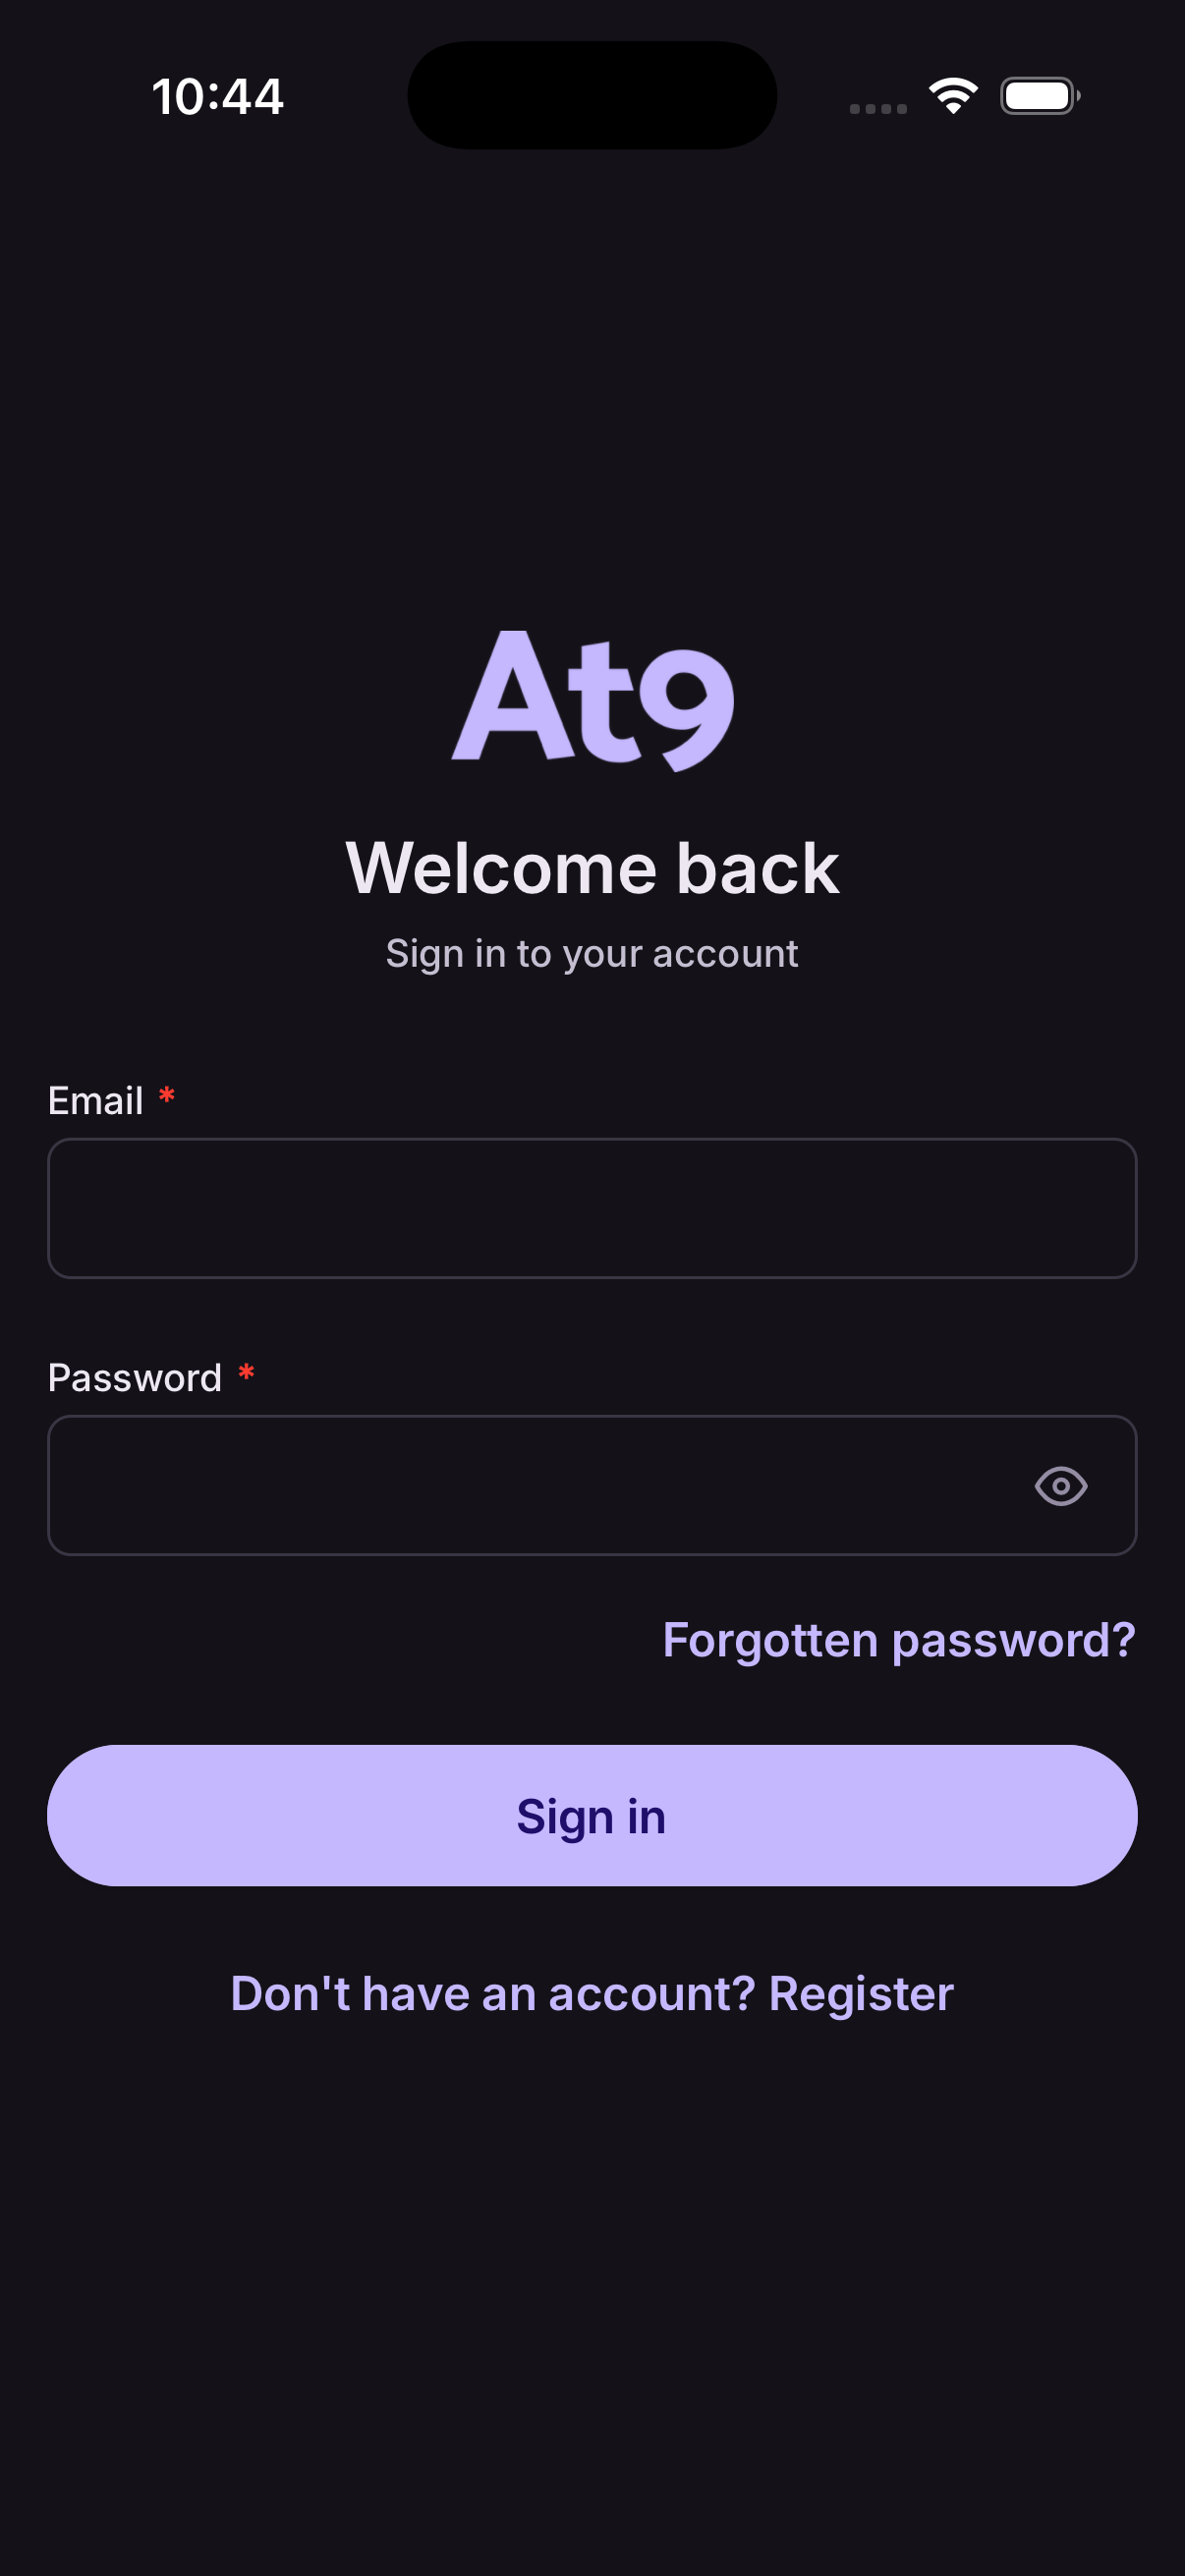
Open At9 and tap Register on the welcome screen.
- Enter your name, email address and a password of at least 8 characters.
- Tap Register. At9 creates your account and emails you a verification link.
- Open the email and tap the link to confirm your address.
- Return to the app and sign in.
At9 then asks whether you run a business or are booking as a customer. Choose I run a business and pick what you take bookings for.
Check your spam folder if the email hasn't arrived within a minute.
Verify your email
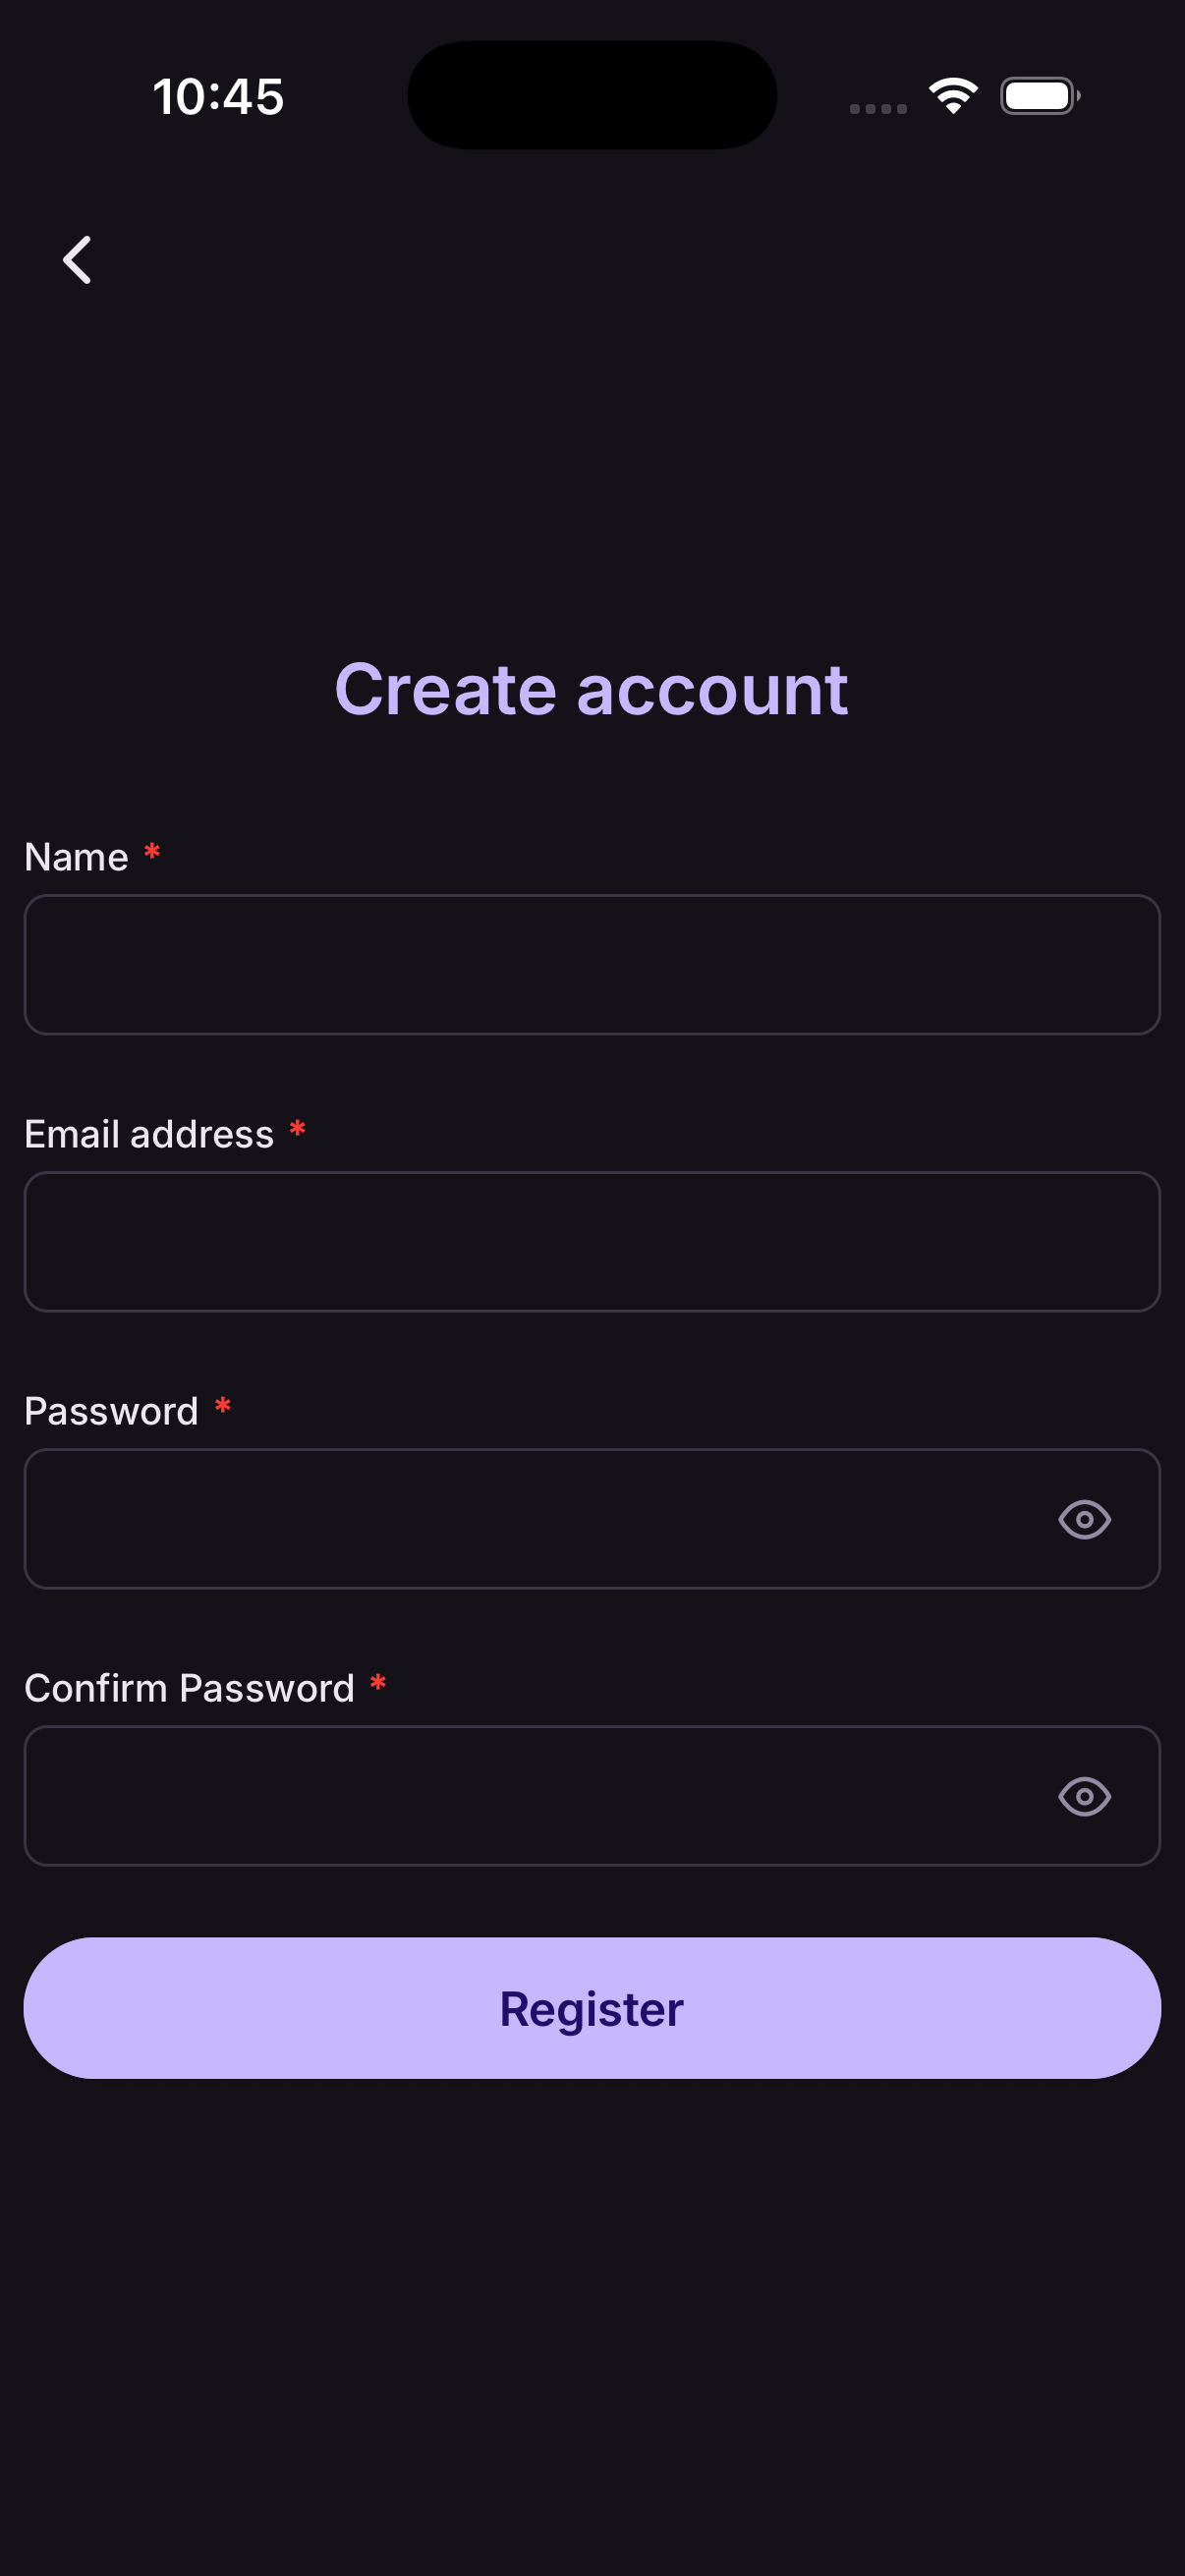
You'll need to confirm your email address before you can sign in. It's how we know we can reach you about bookings.
- Open the email from At9 and tap the verification link.
- Come back to the app and sign in.
If the link has expired, sign in and tap Resend to get a fresh one.
Sign in
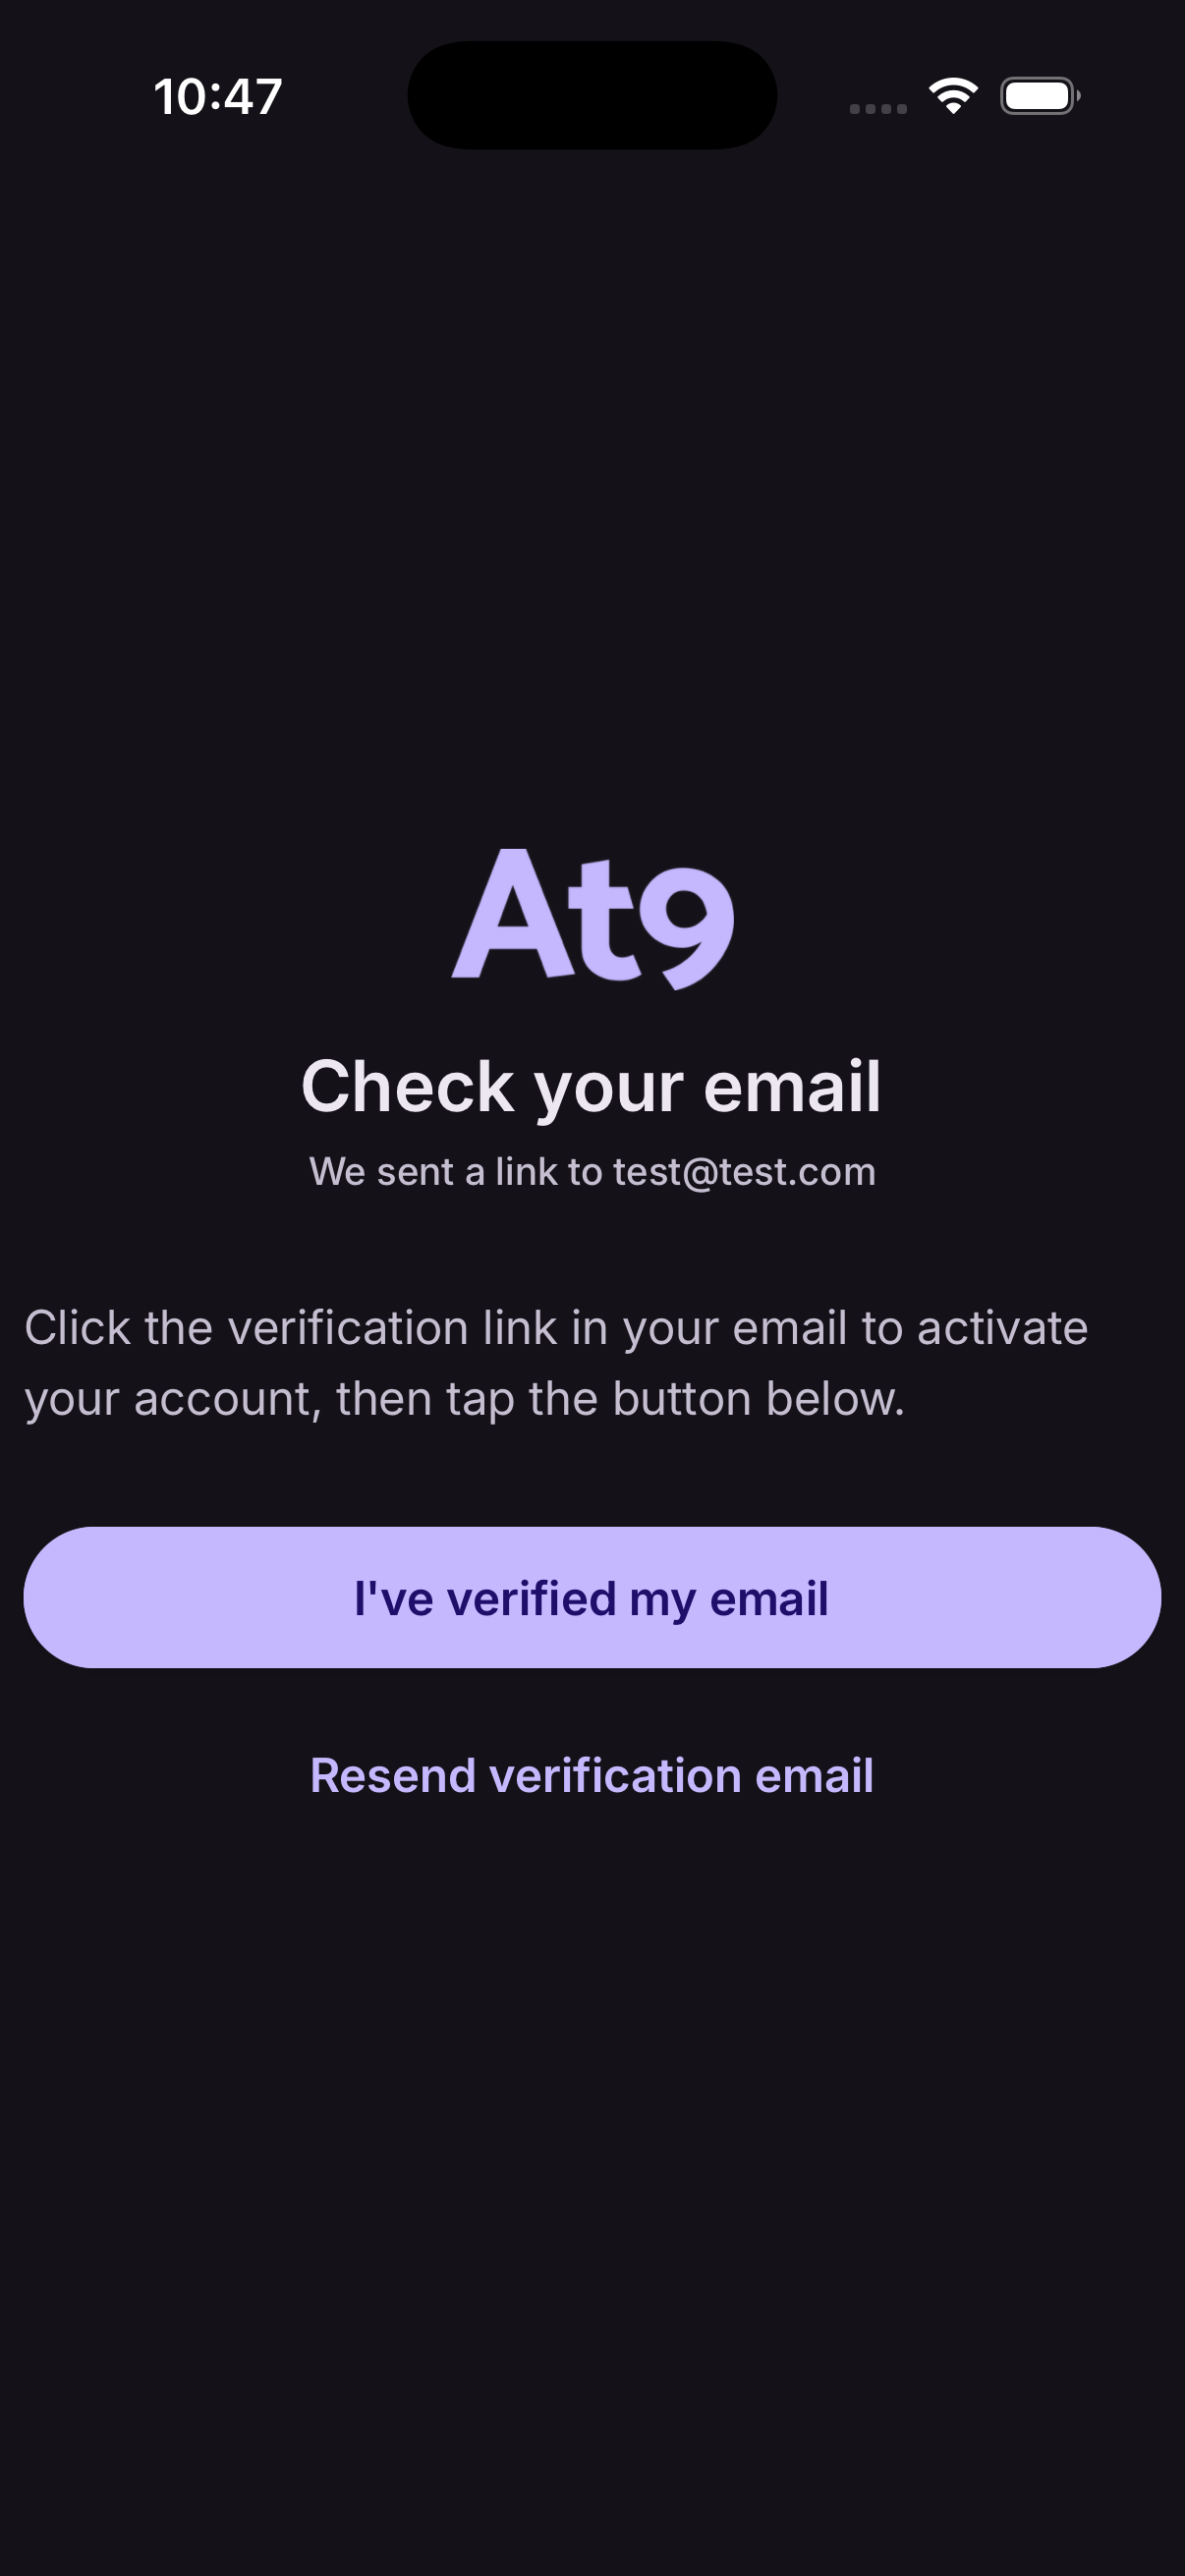
Open At9 and you'll land on the sign-in screen.
- Enter your email address and password.
- Tap Sign in.
You'll stay signed in on that device until you sign out.
Reset or change your password
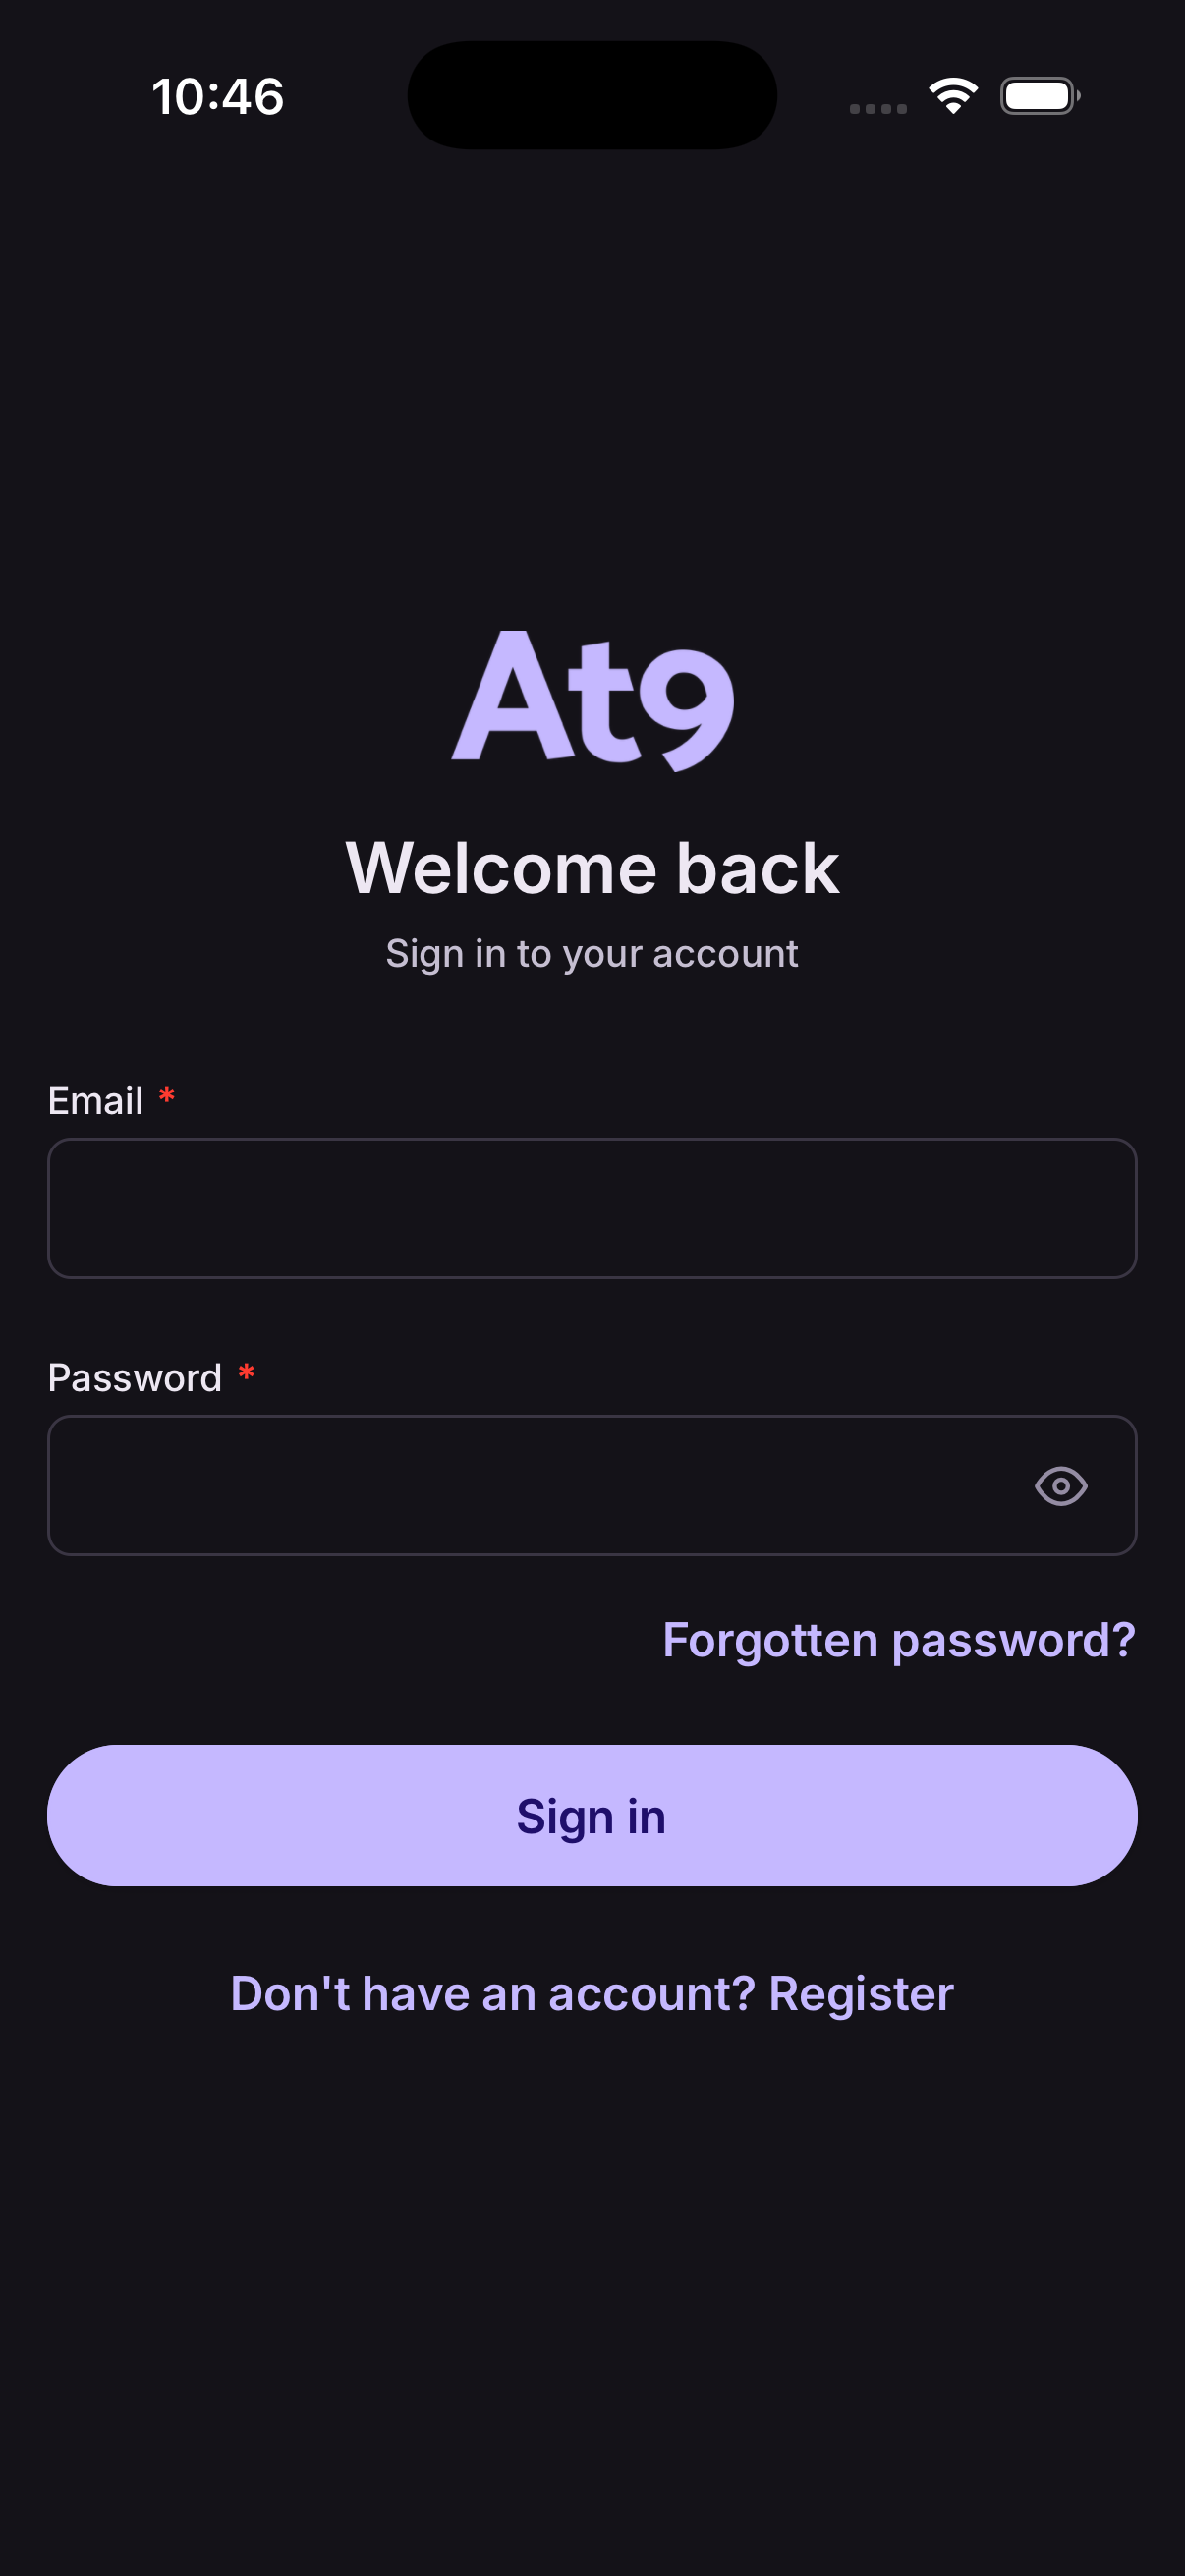
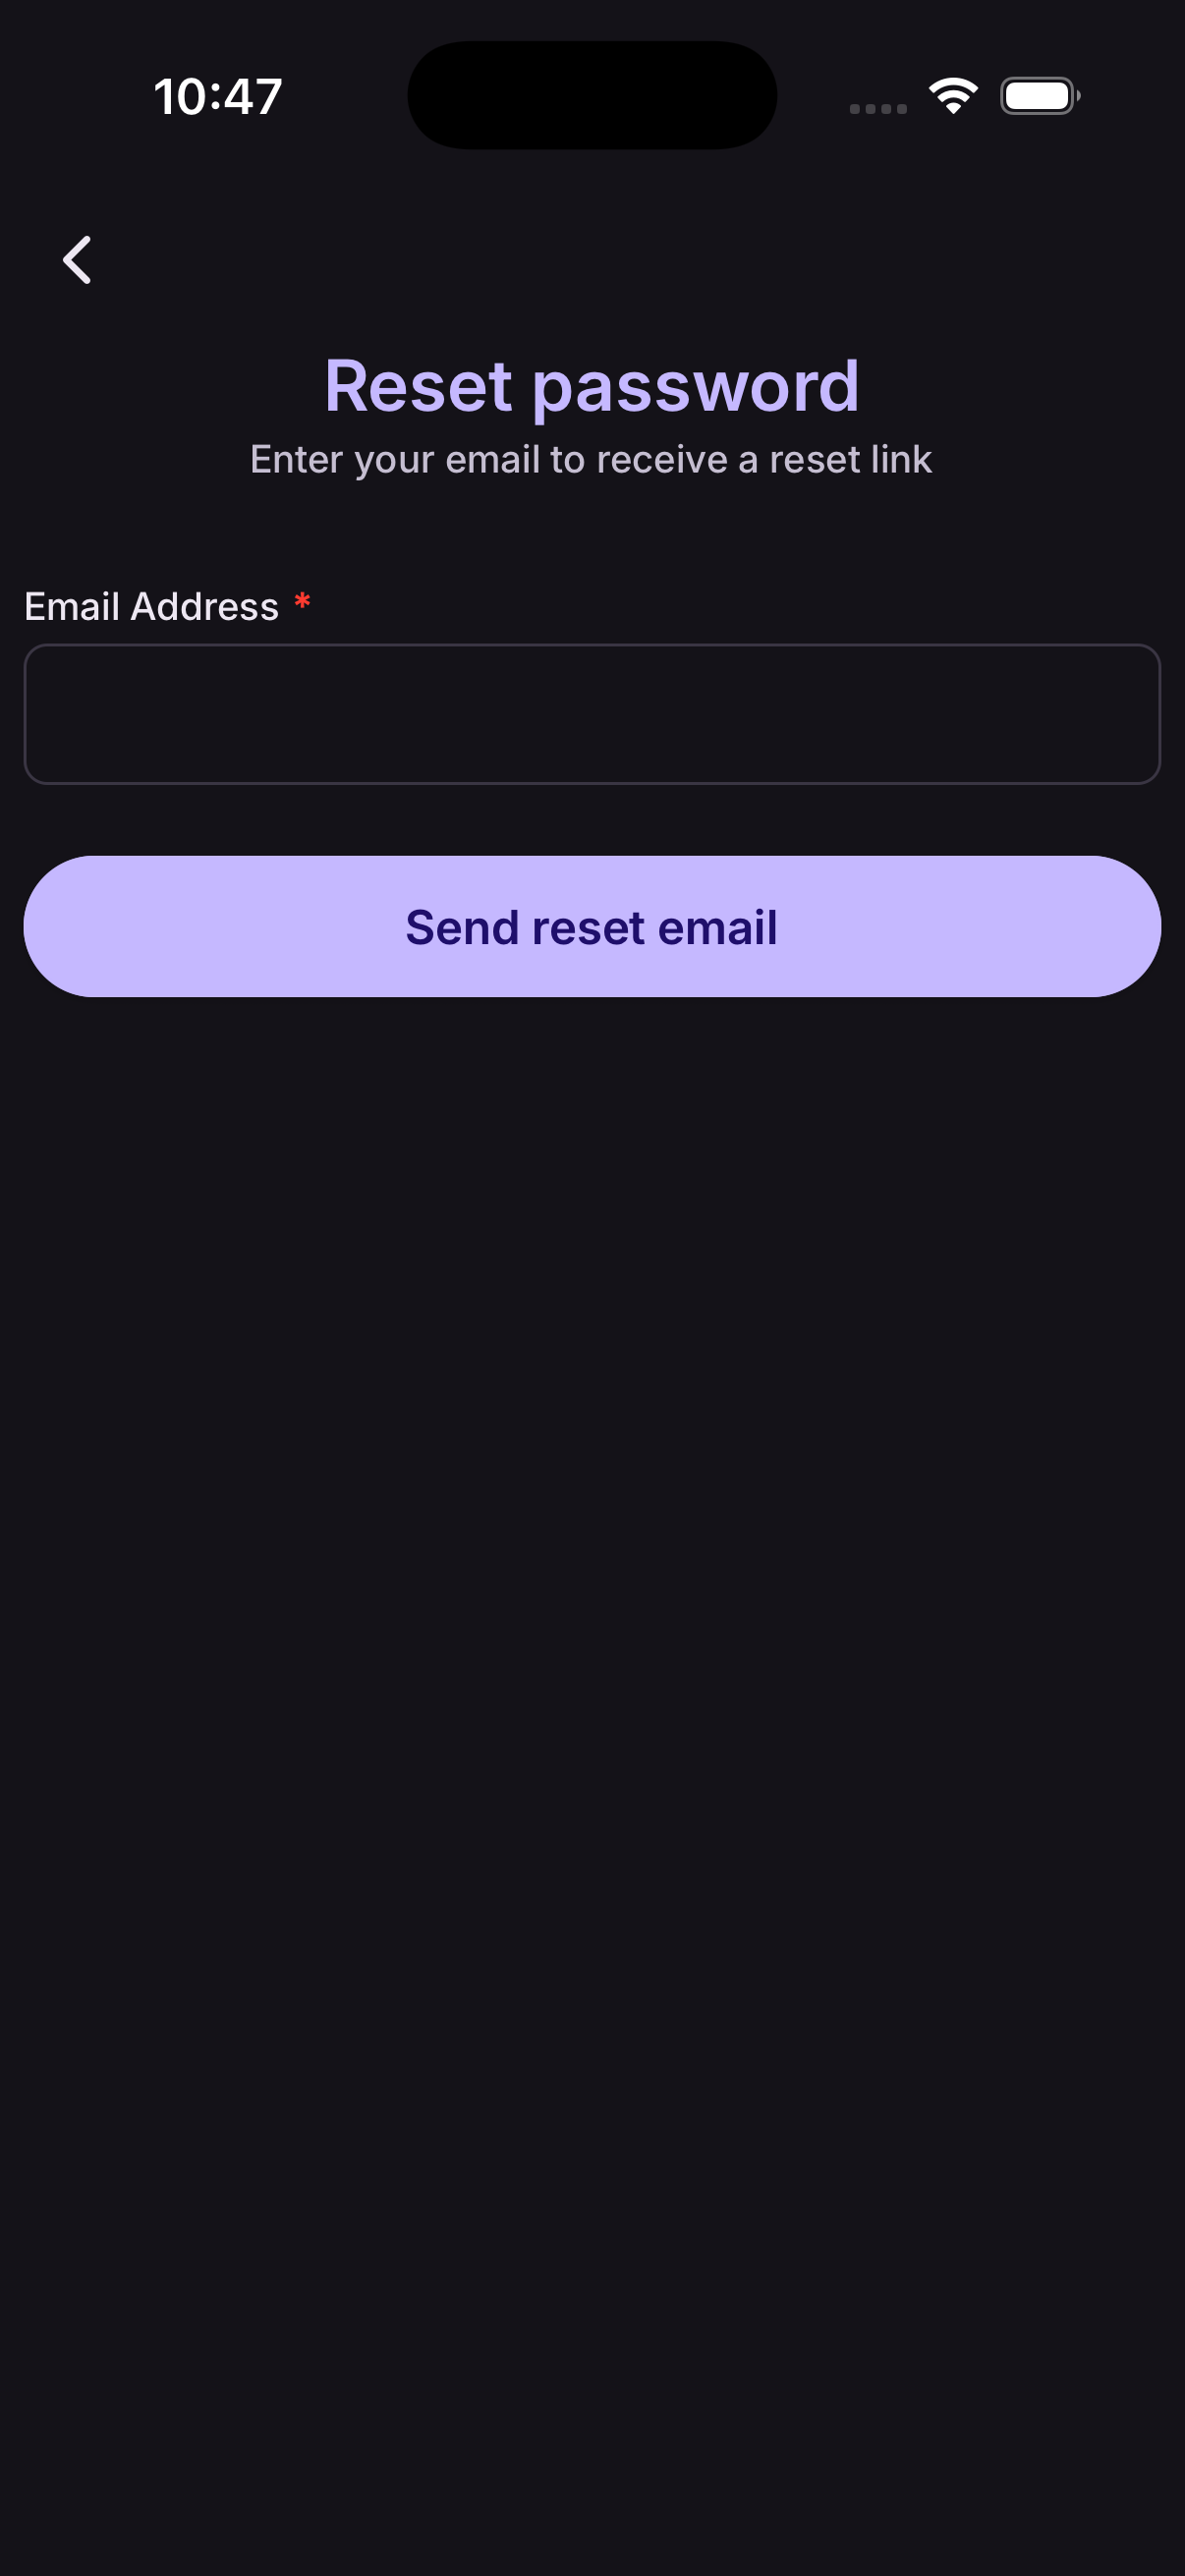
If you've forgotten it, tap Forgotten password? below the sign-in button, enter your email address, and follow the link we send you.
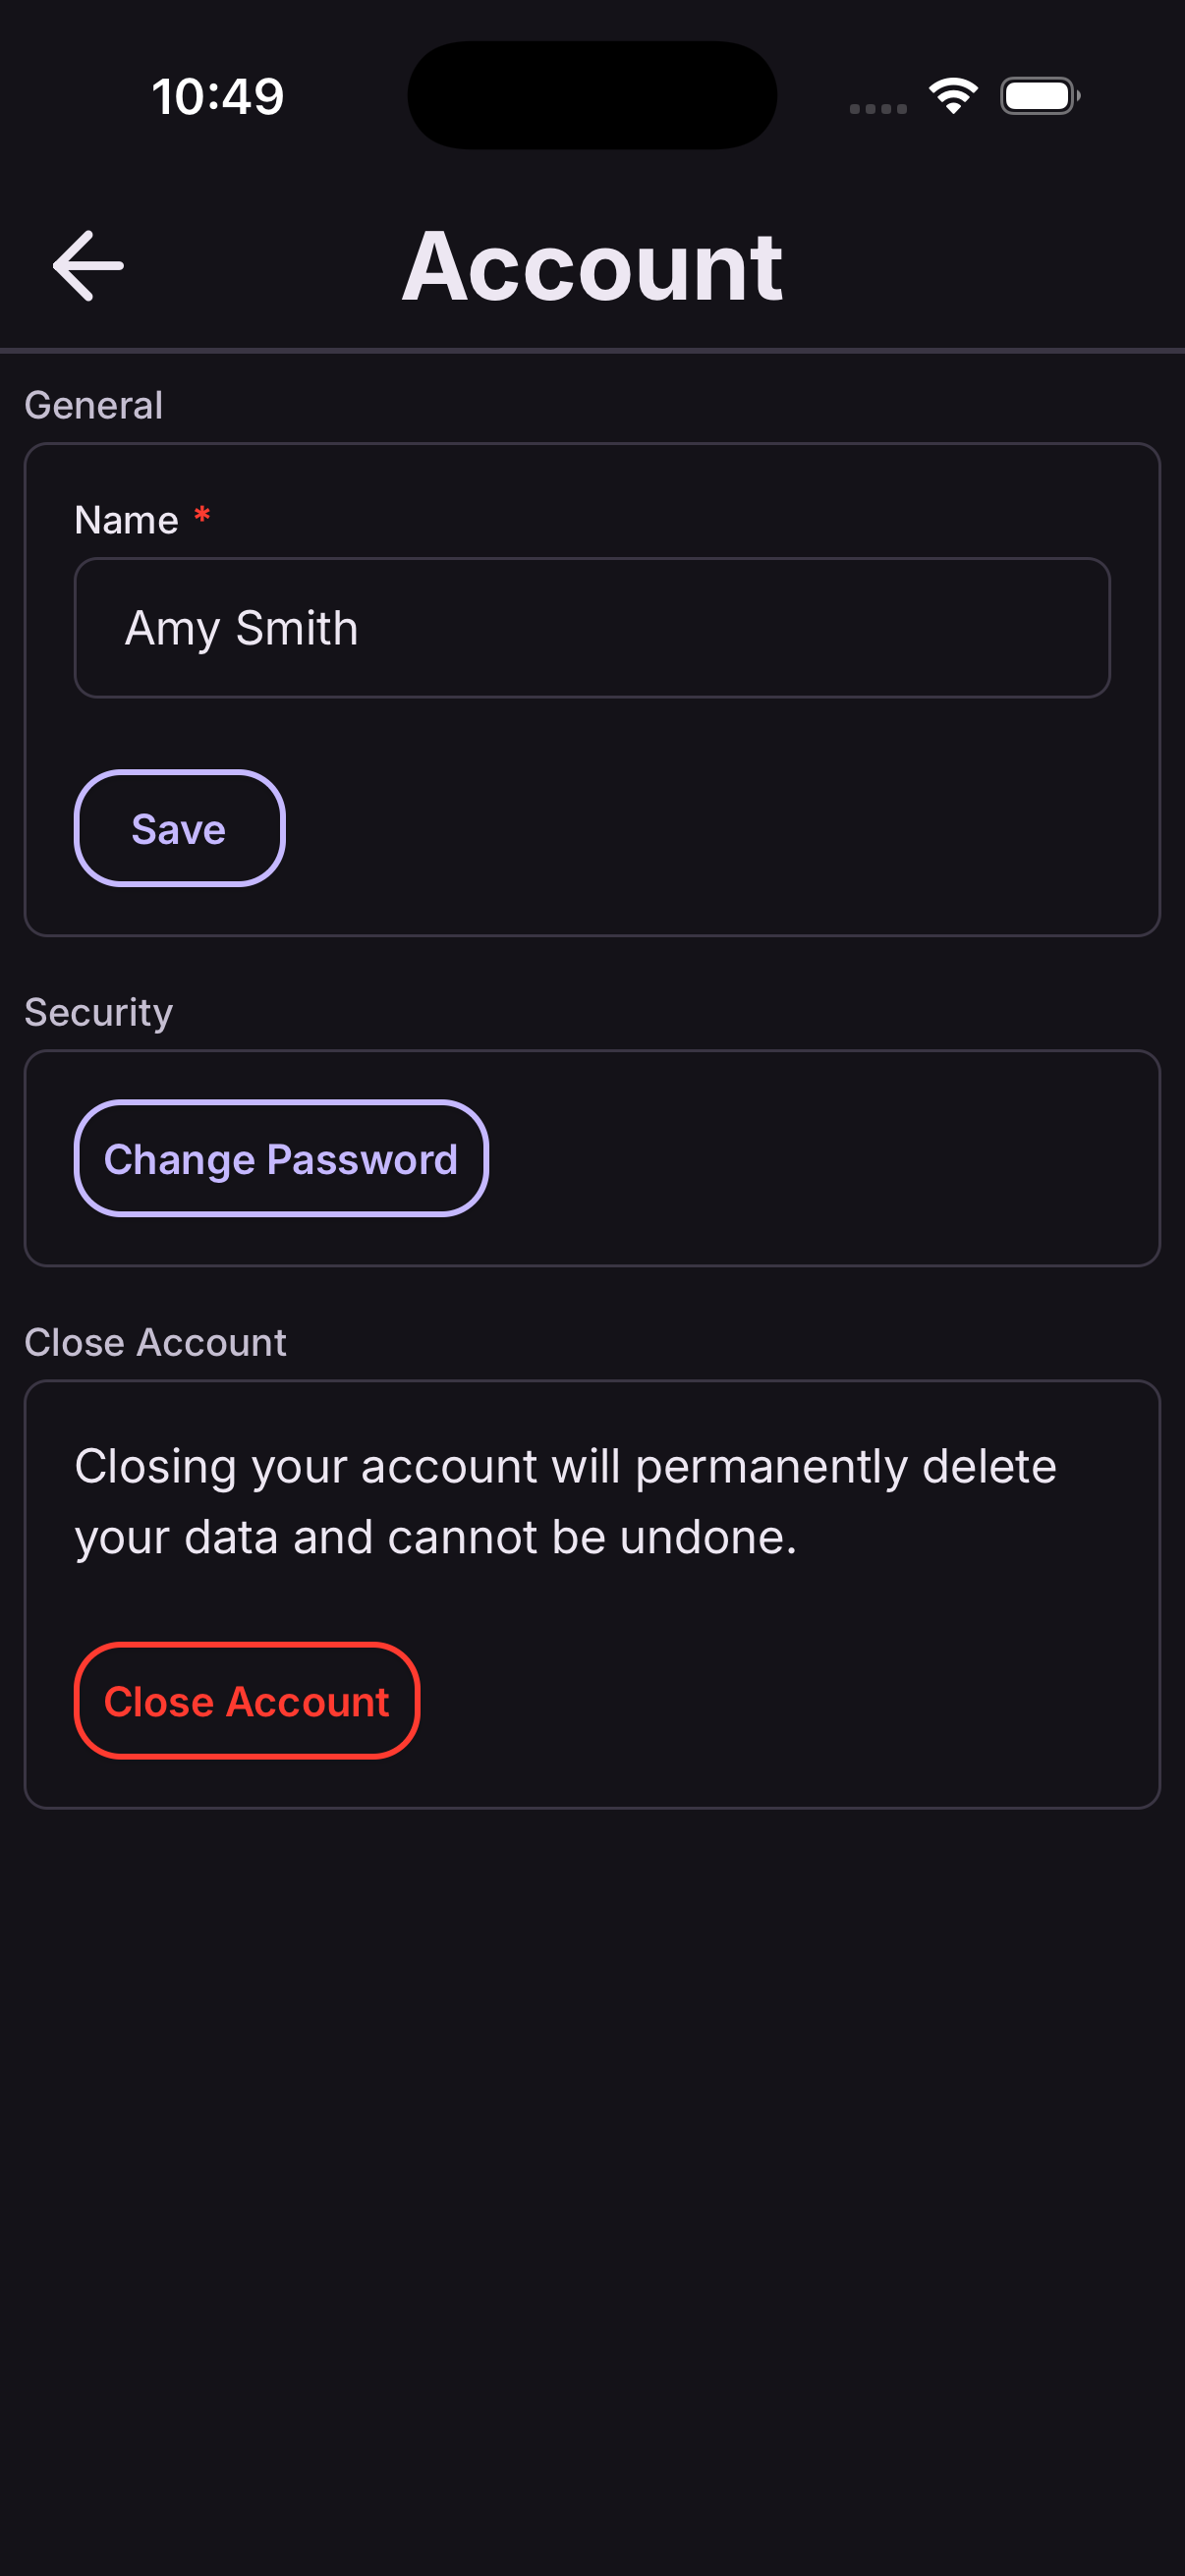
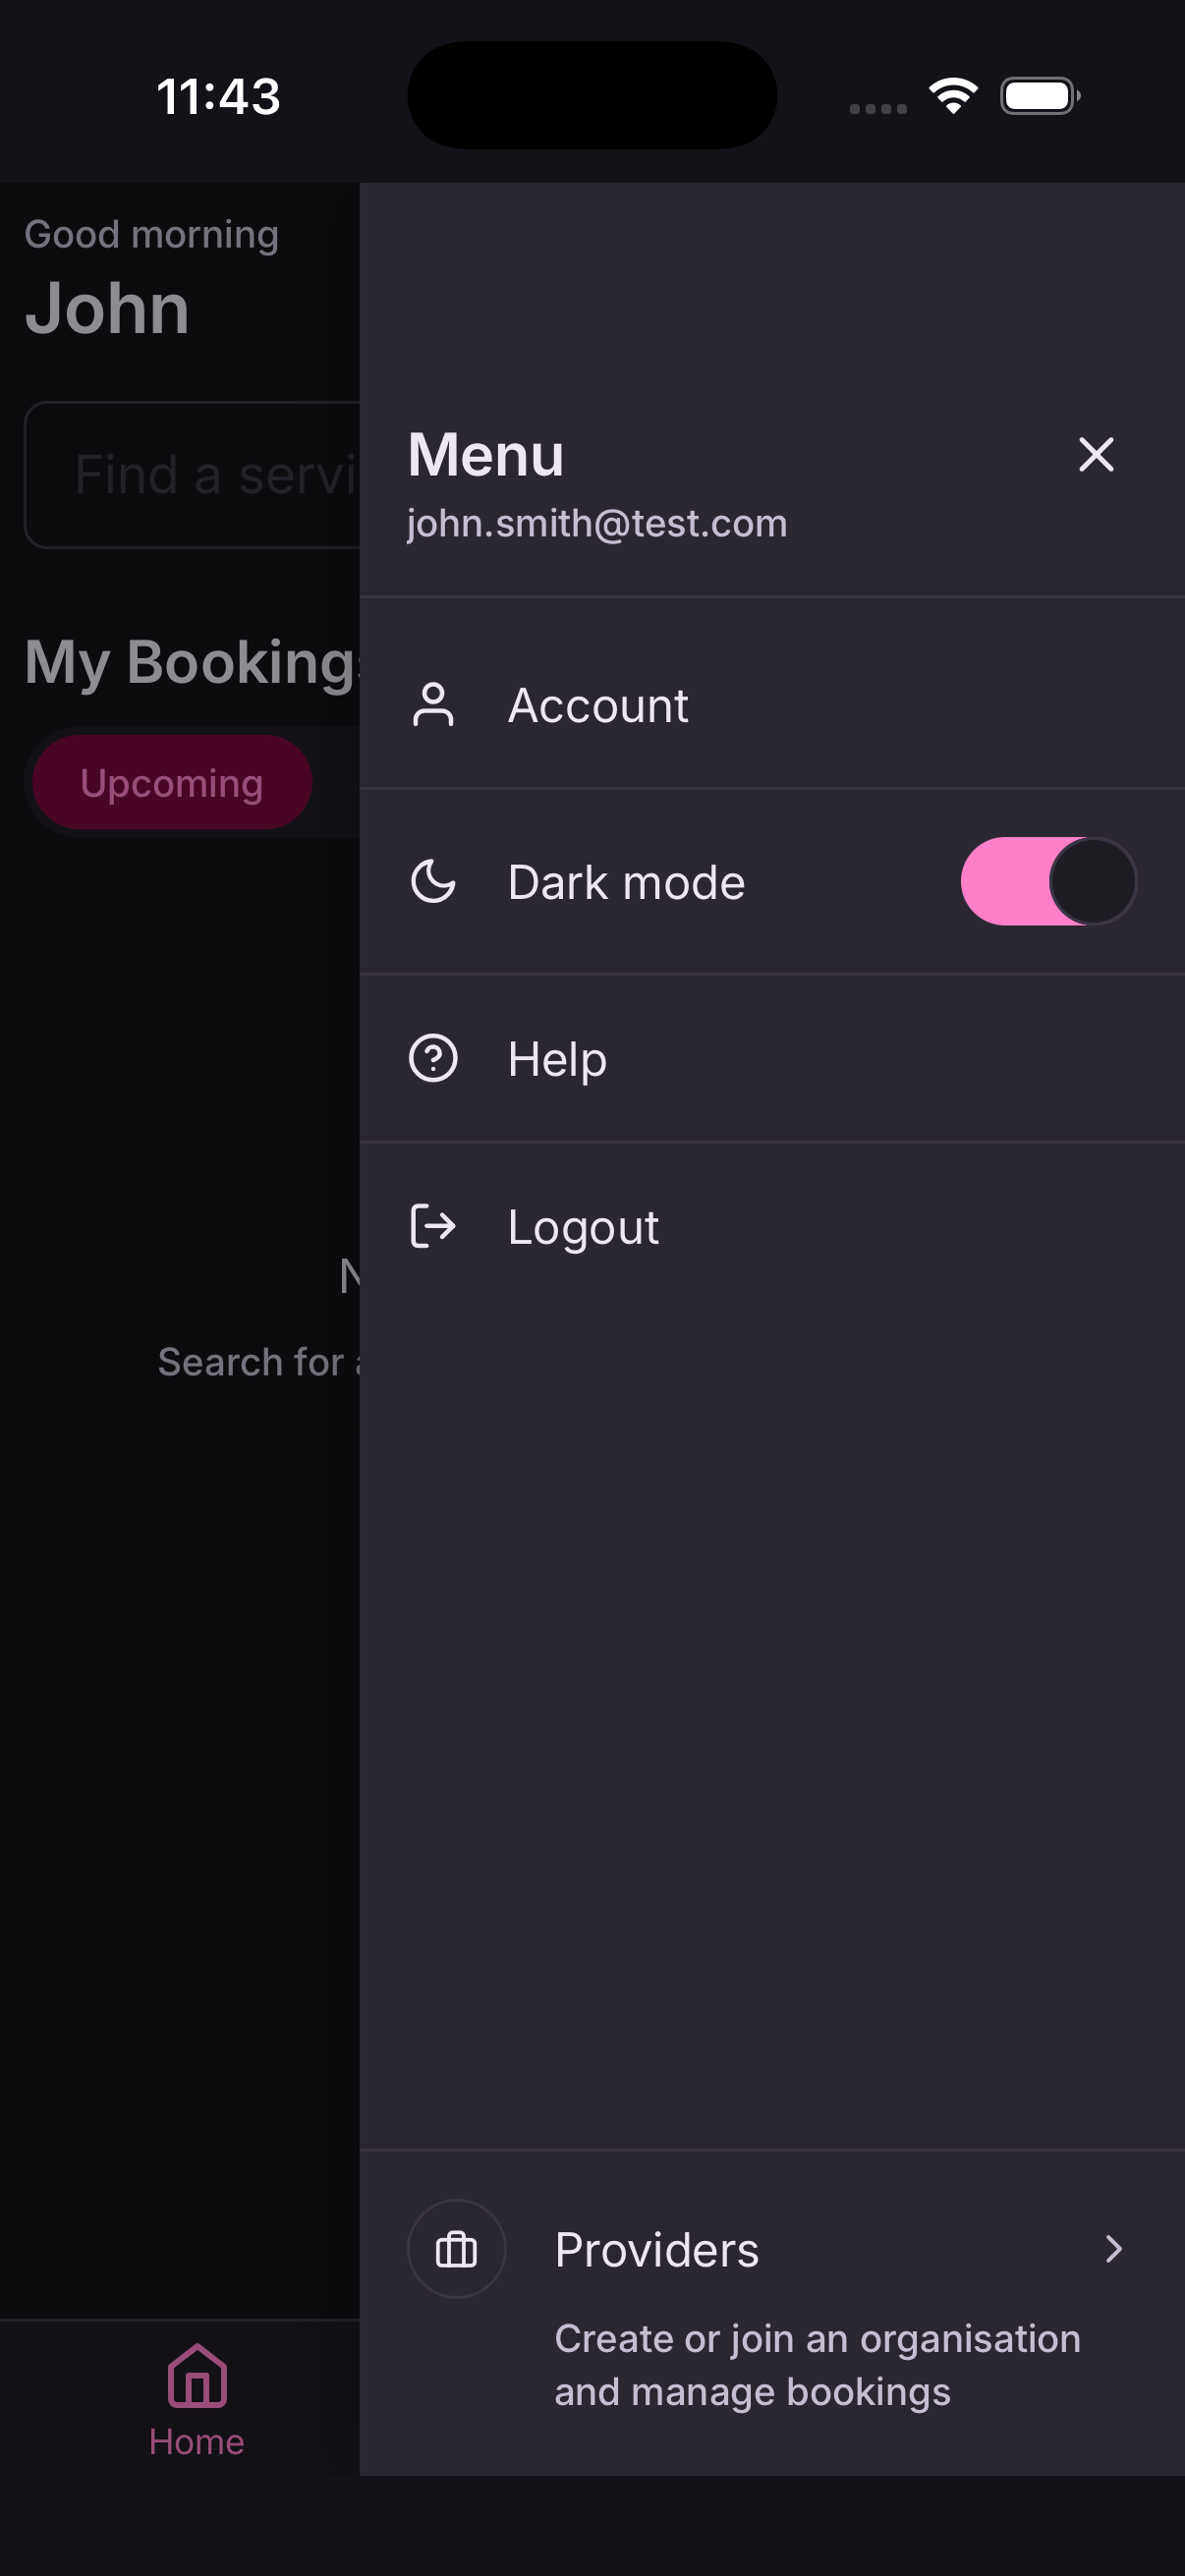
To change it while signed in, open the menu and go to Account → Change password. You'll need your current password.
Close your account
Open the menu, go to Account, and tap Close account. You'll be asked for your password to confirm it's you.
Closing your account removes your personal details and signs you out for good.
If you're the only administrator of your organisation, you'll need to make someone else an administrator first — otherwise nobody would be left to manage it.
Create your business
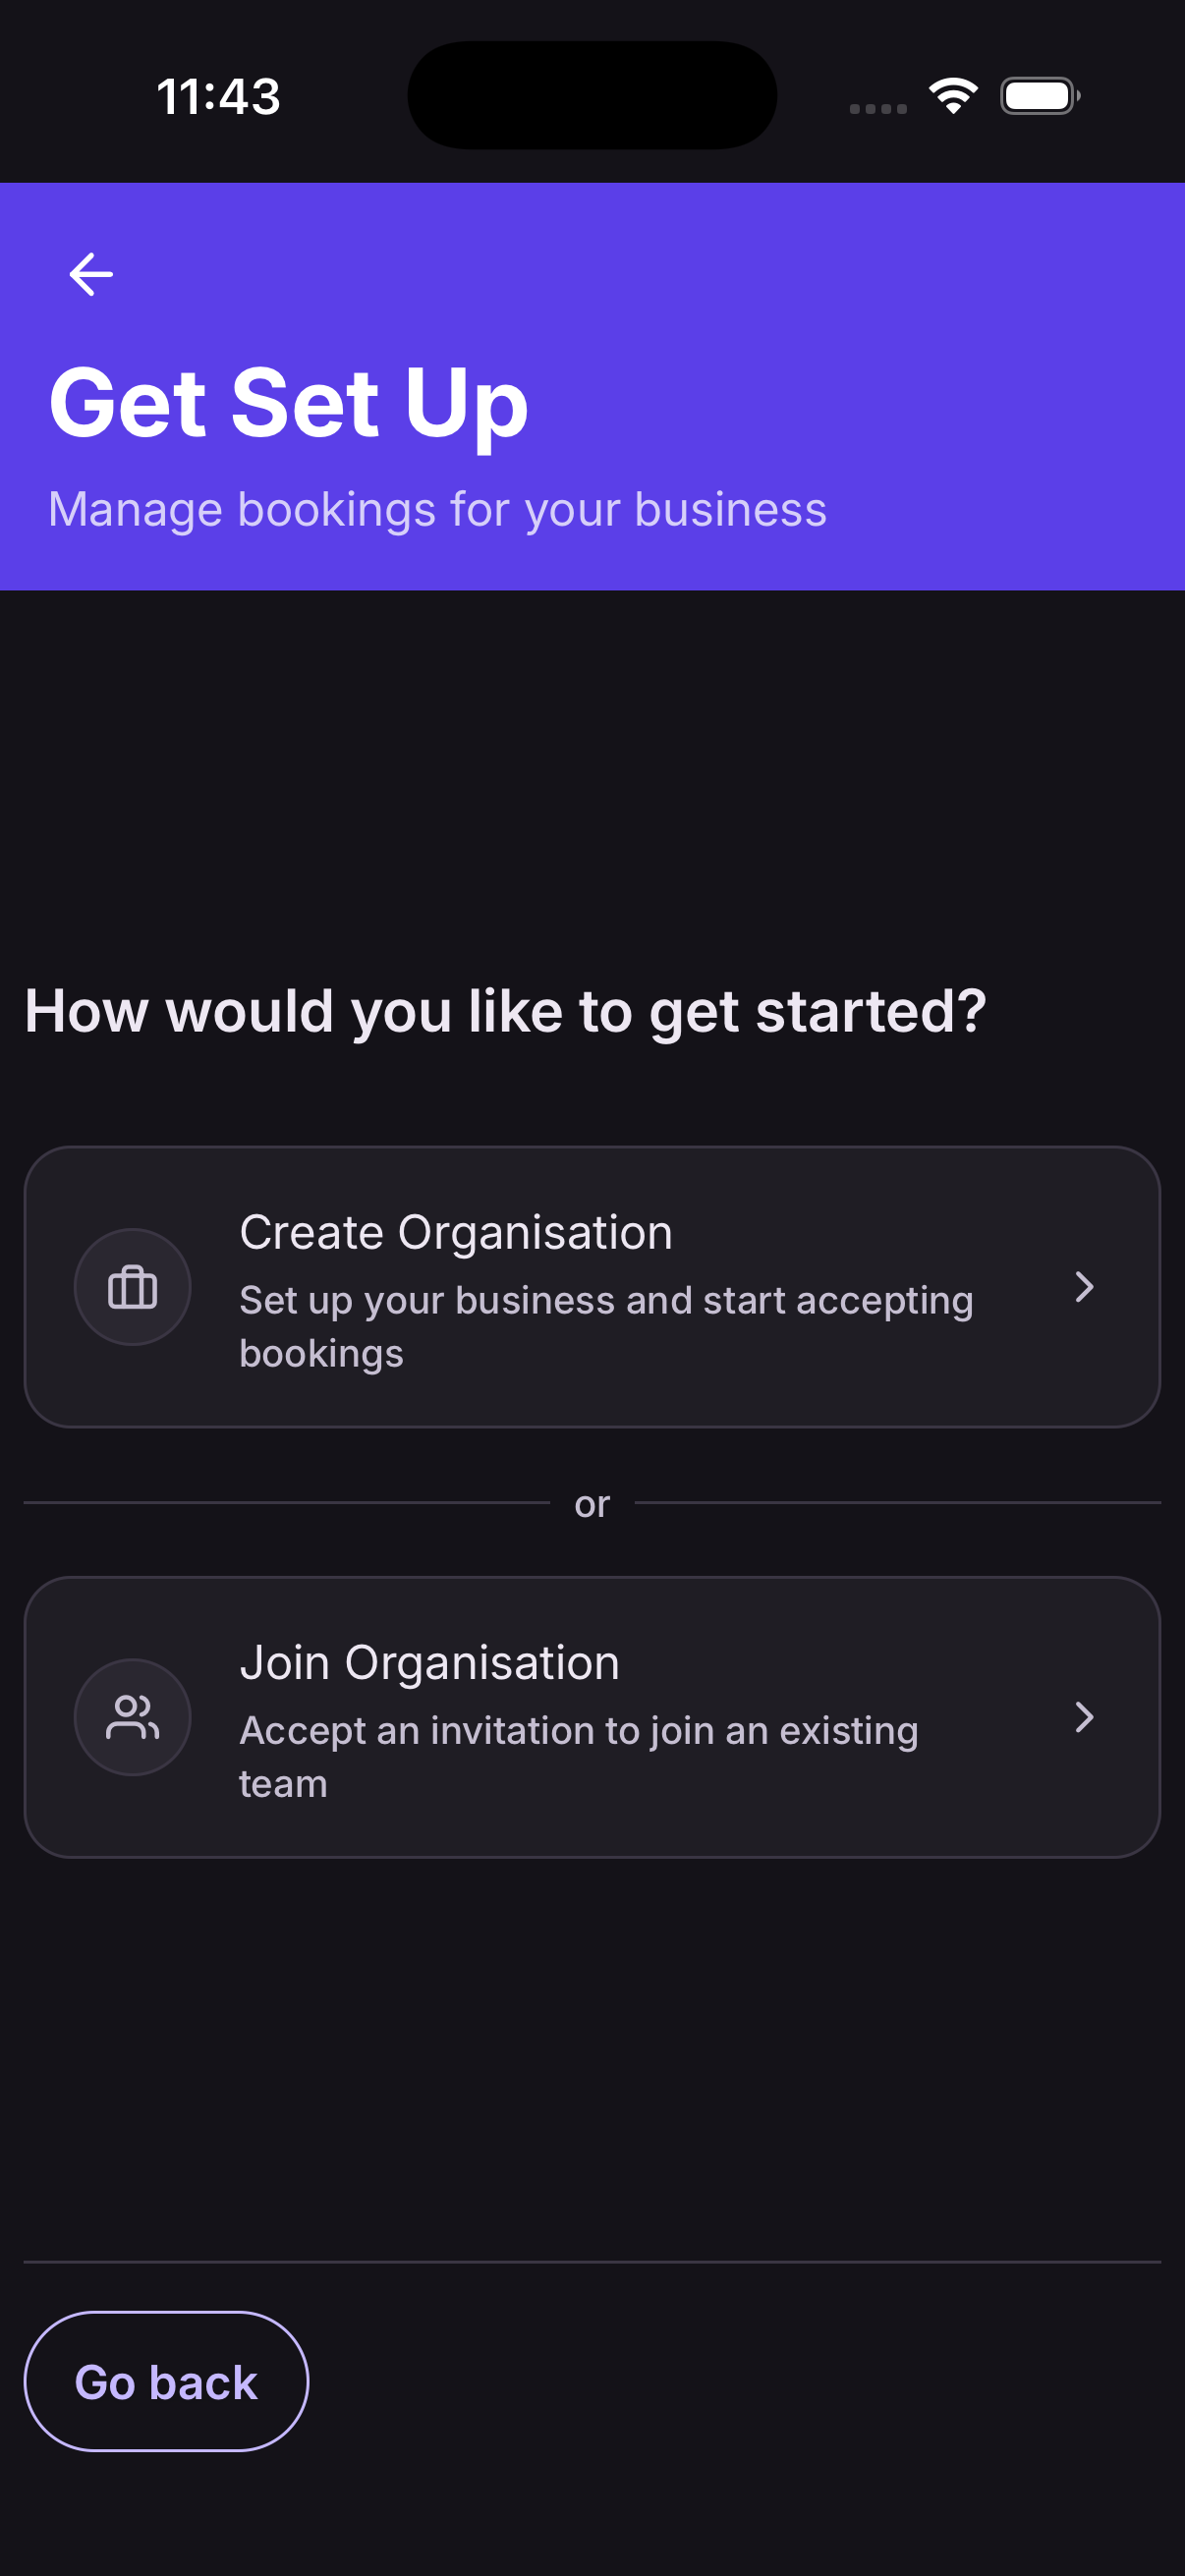
The first time you sign in as a business, At9 asks you to set one up.
- Enter your business name and a short description.
- Choose your web booking name — the short name that appears in your booking link.
- Tap Create.
That's your organisation. Everything else — your rooms or tables, your diary, your customers, your team — belongs to it.
Business details and opening hours
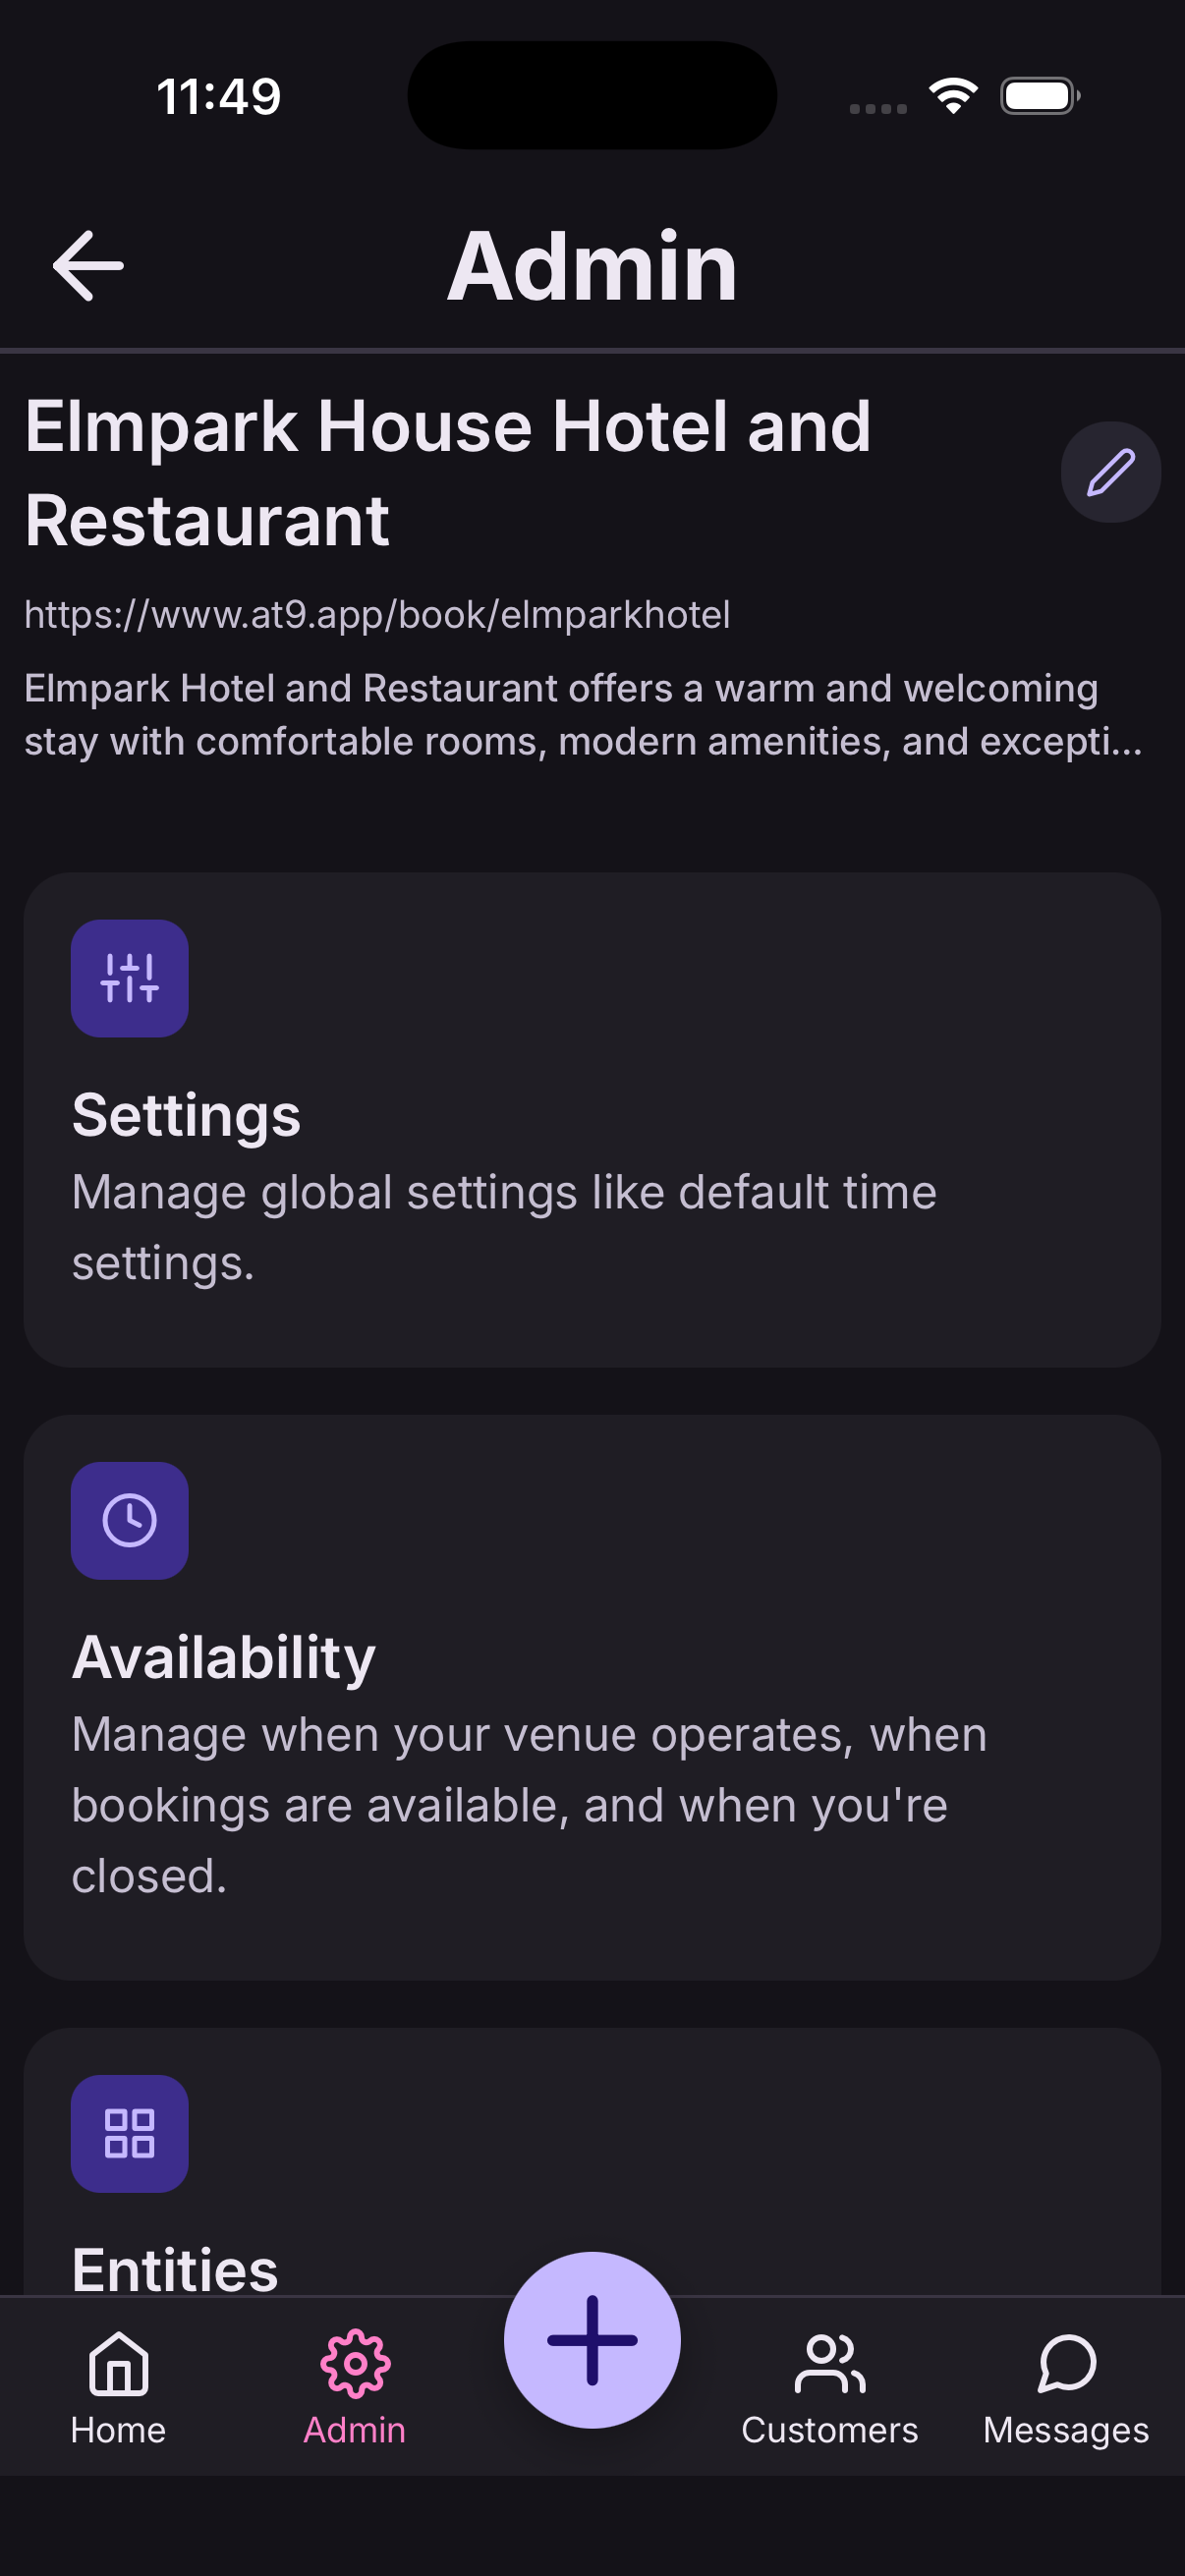
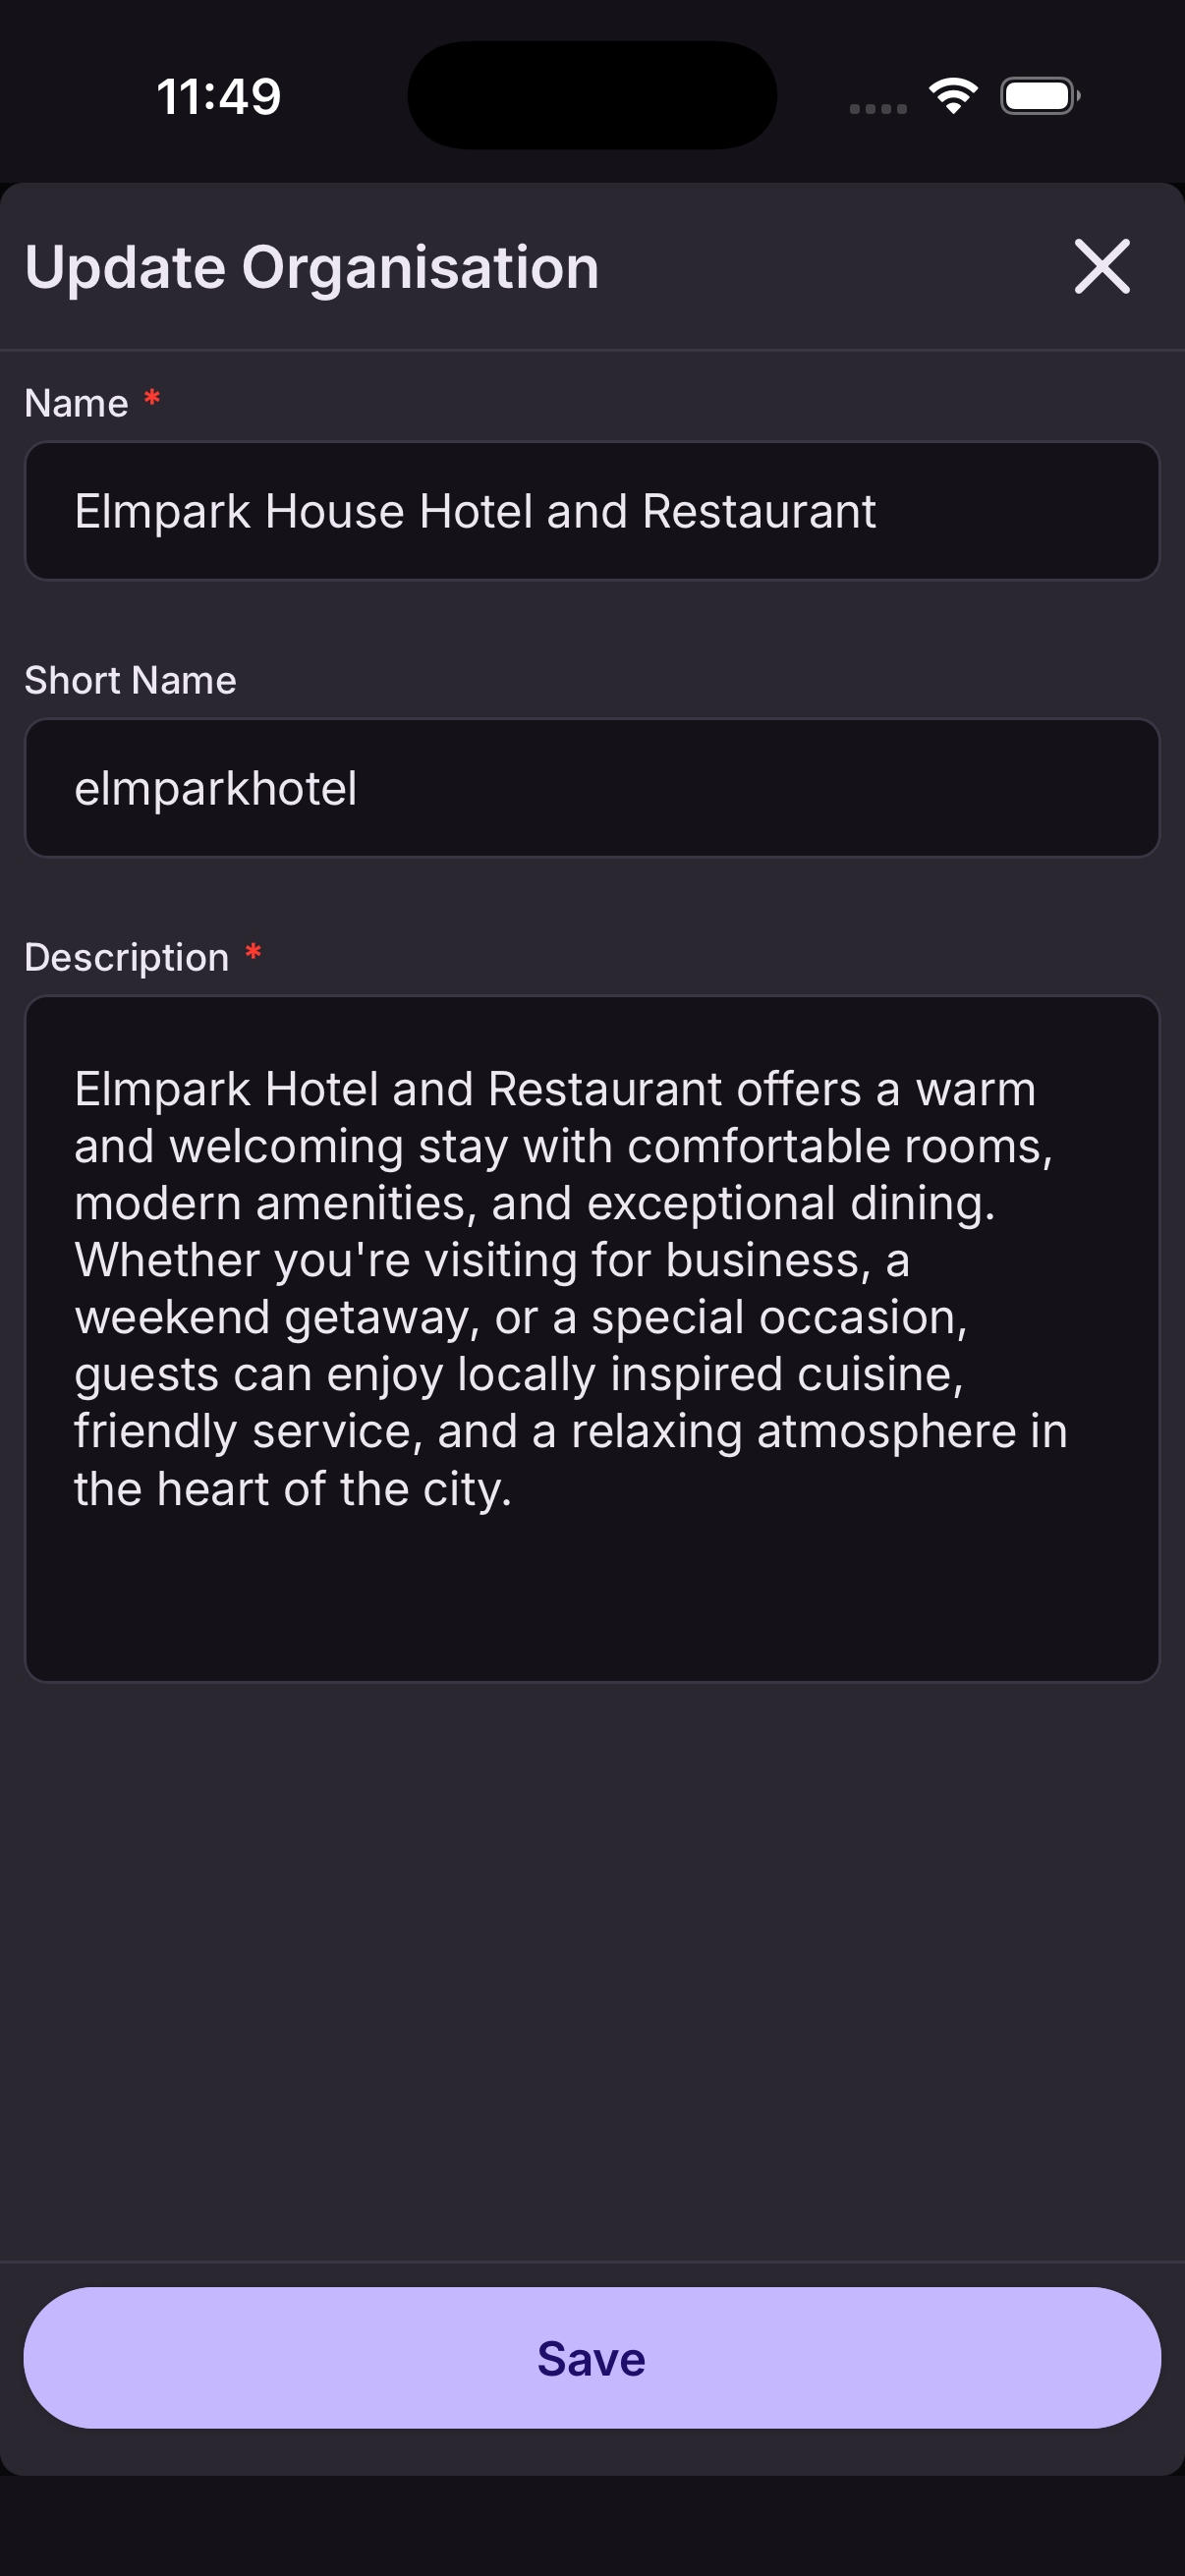
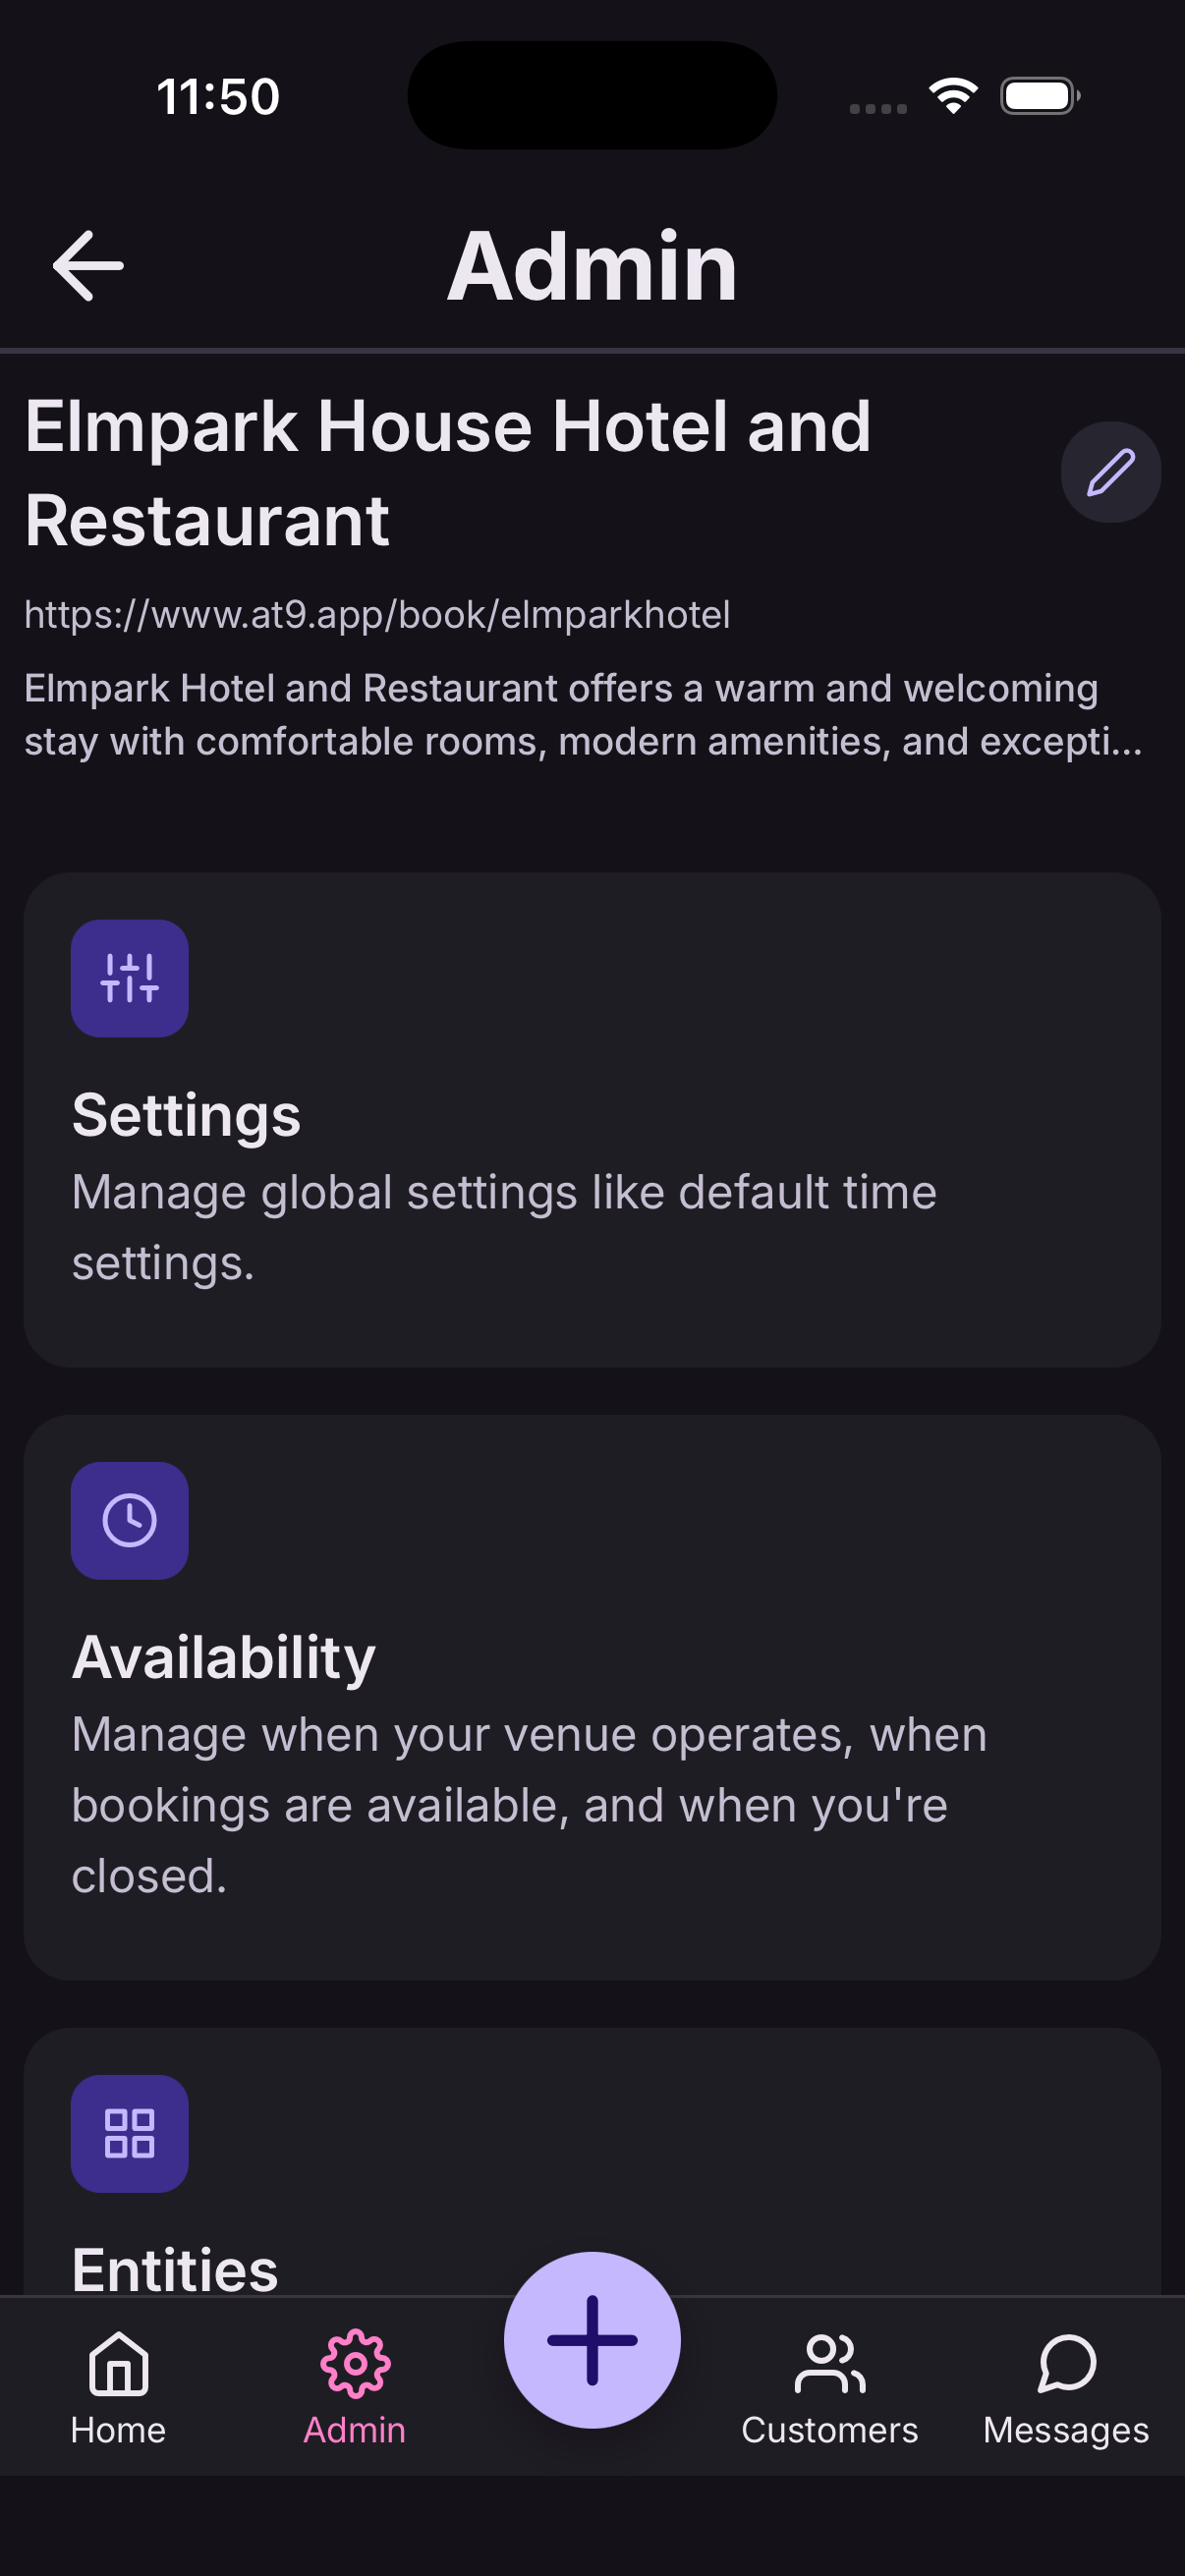
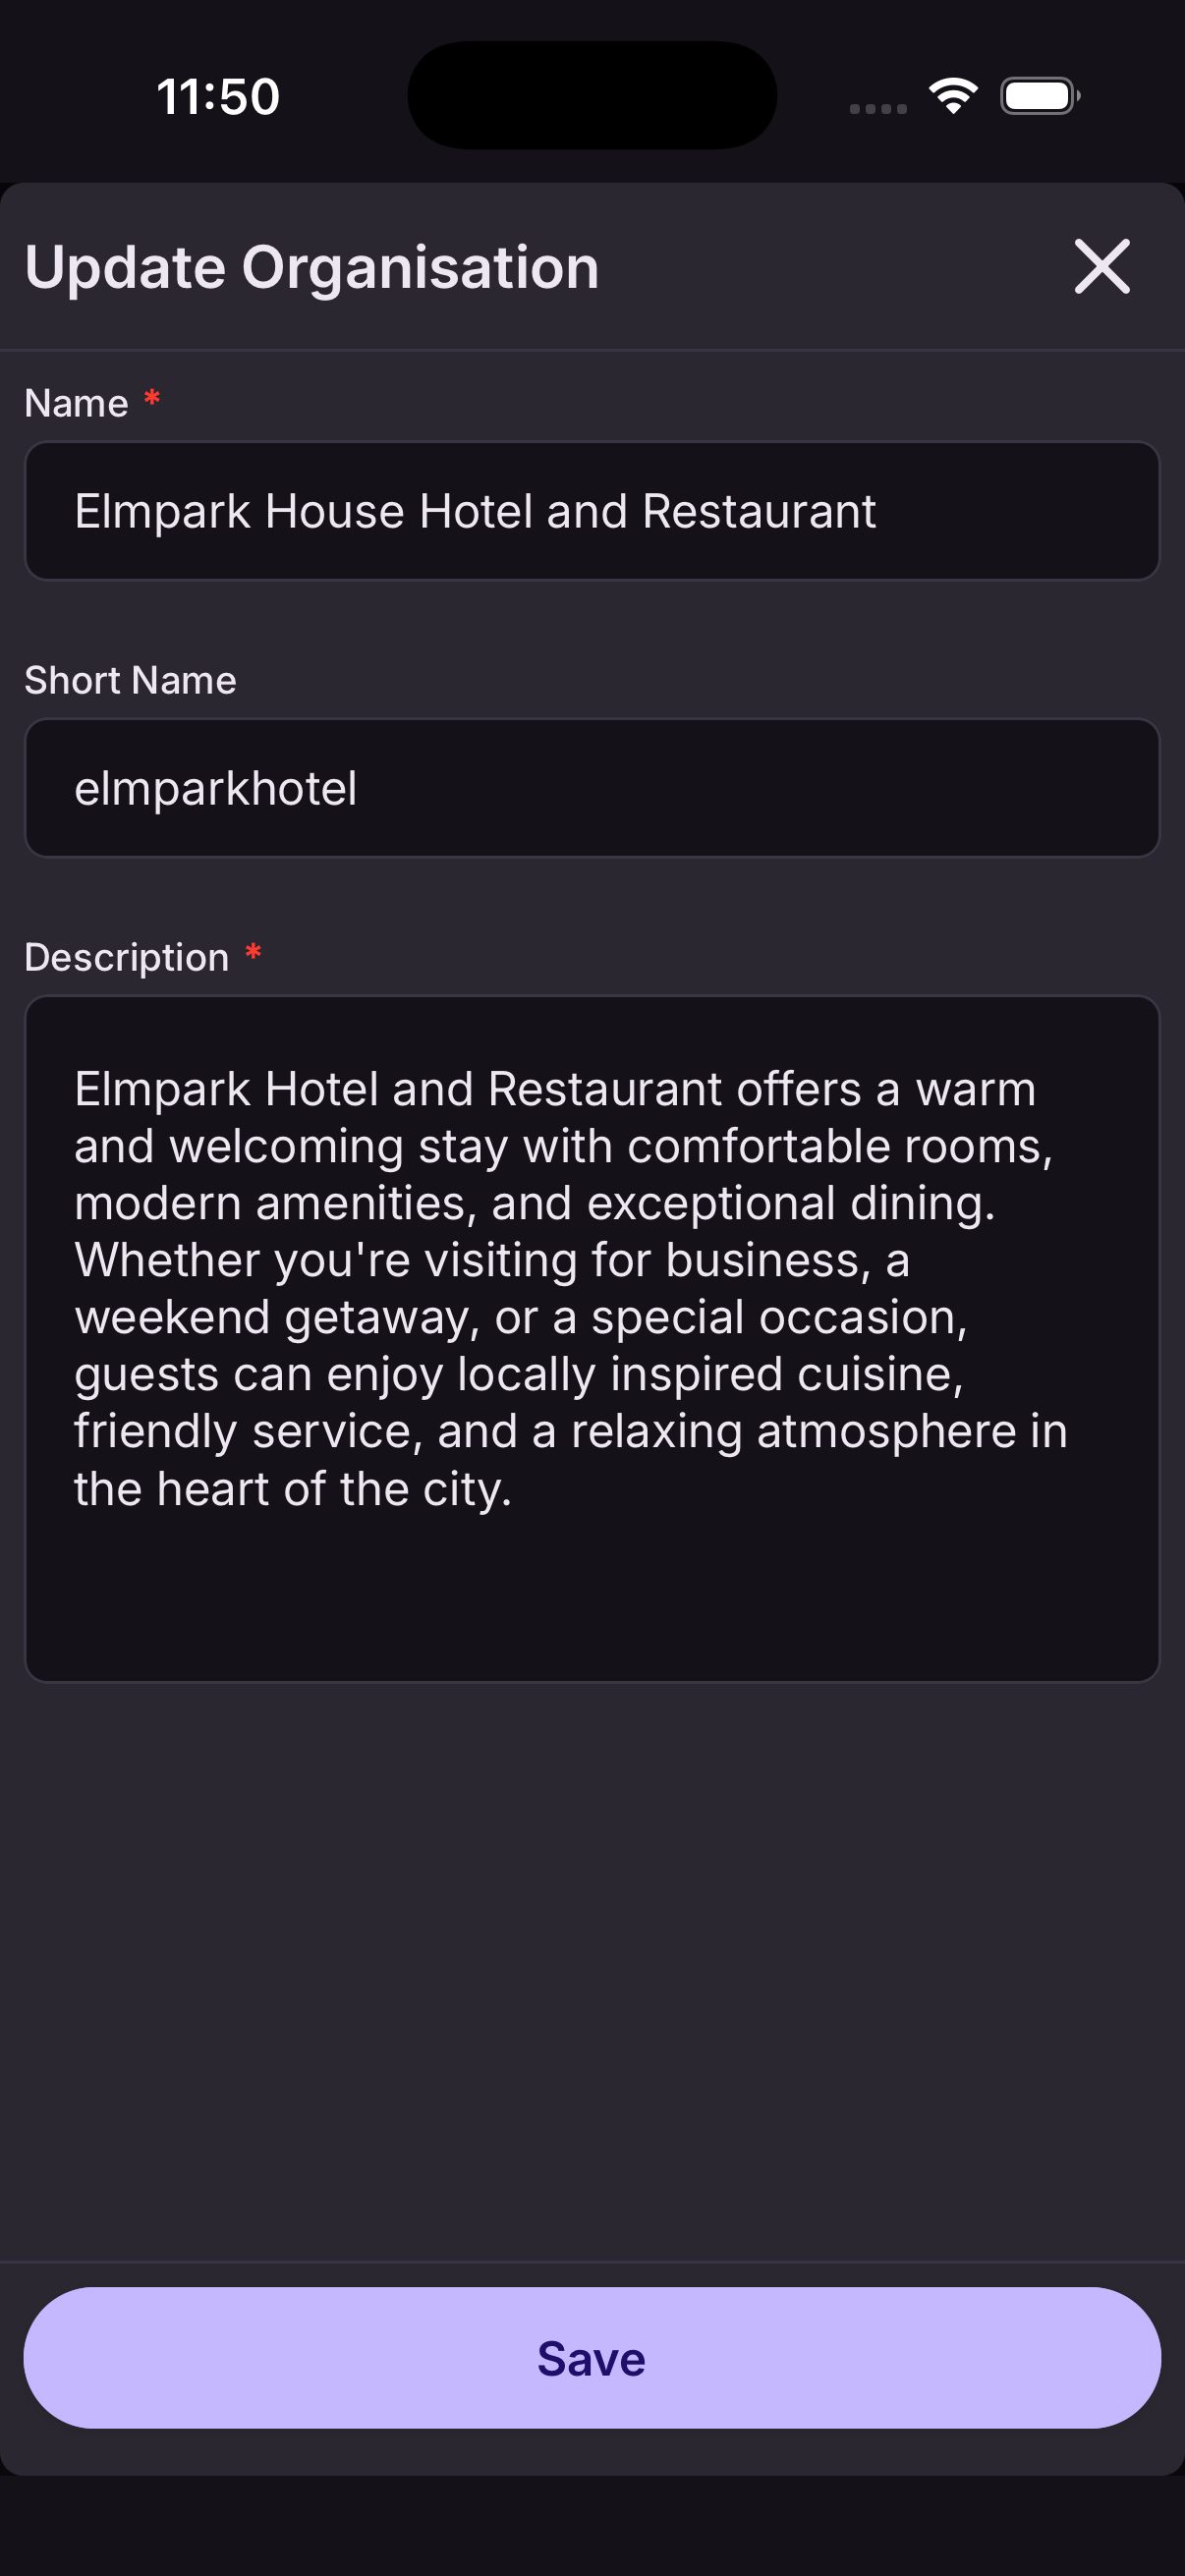
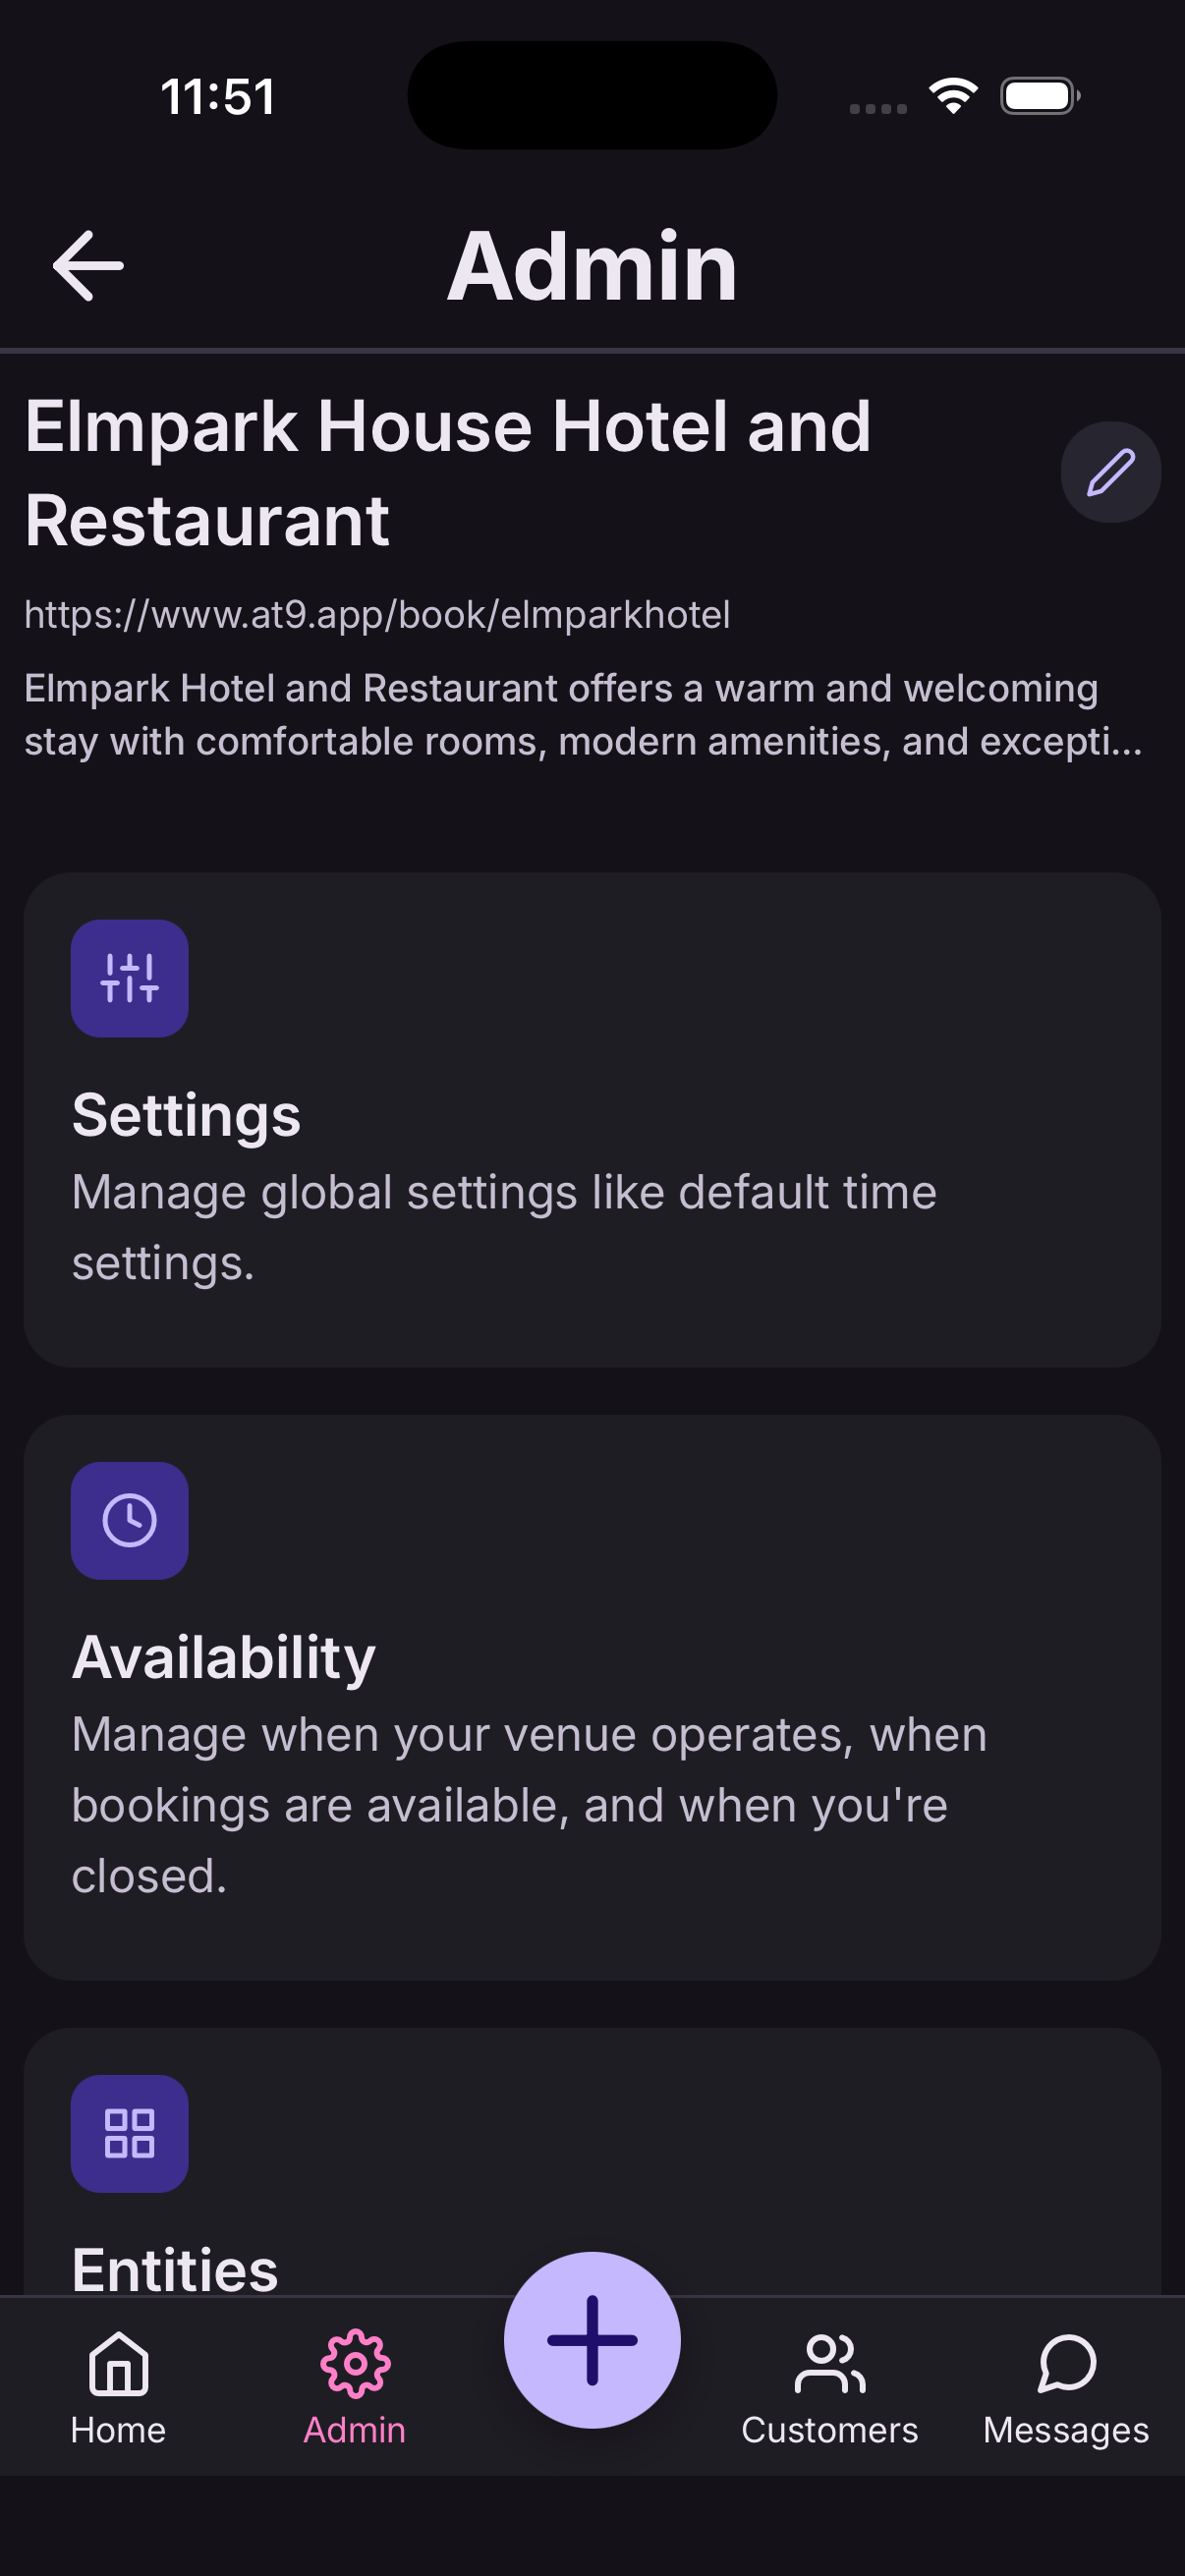
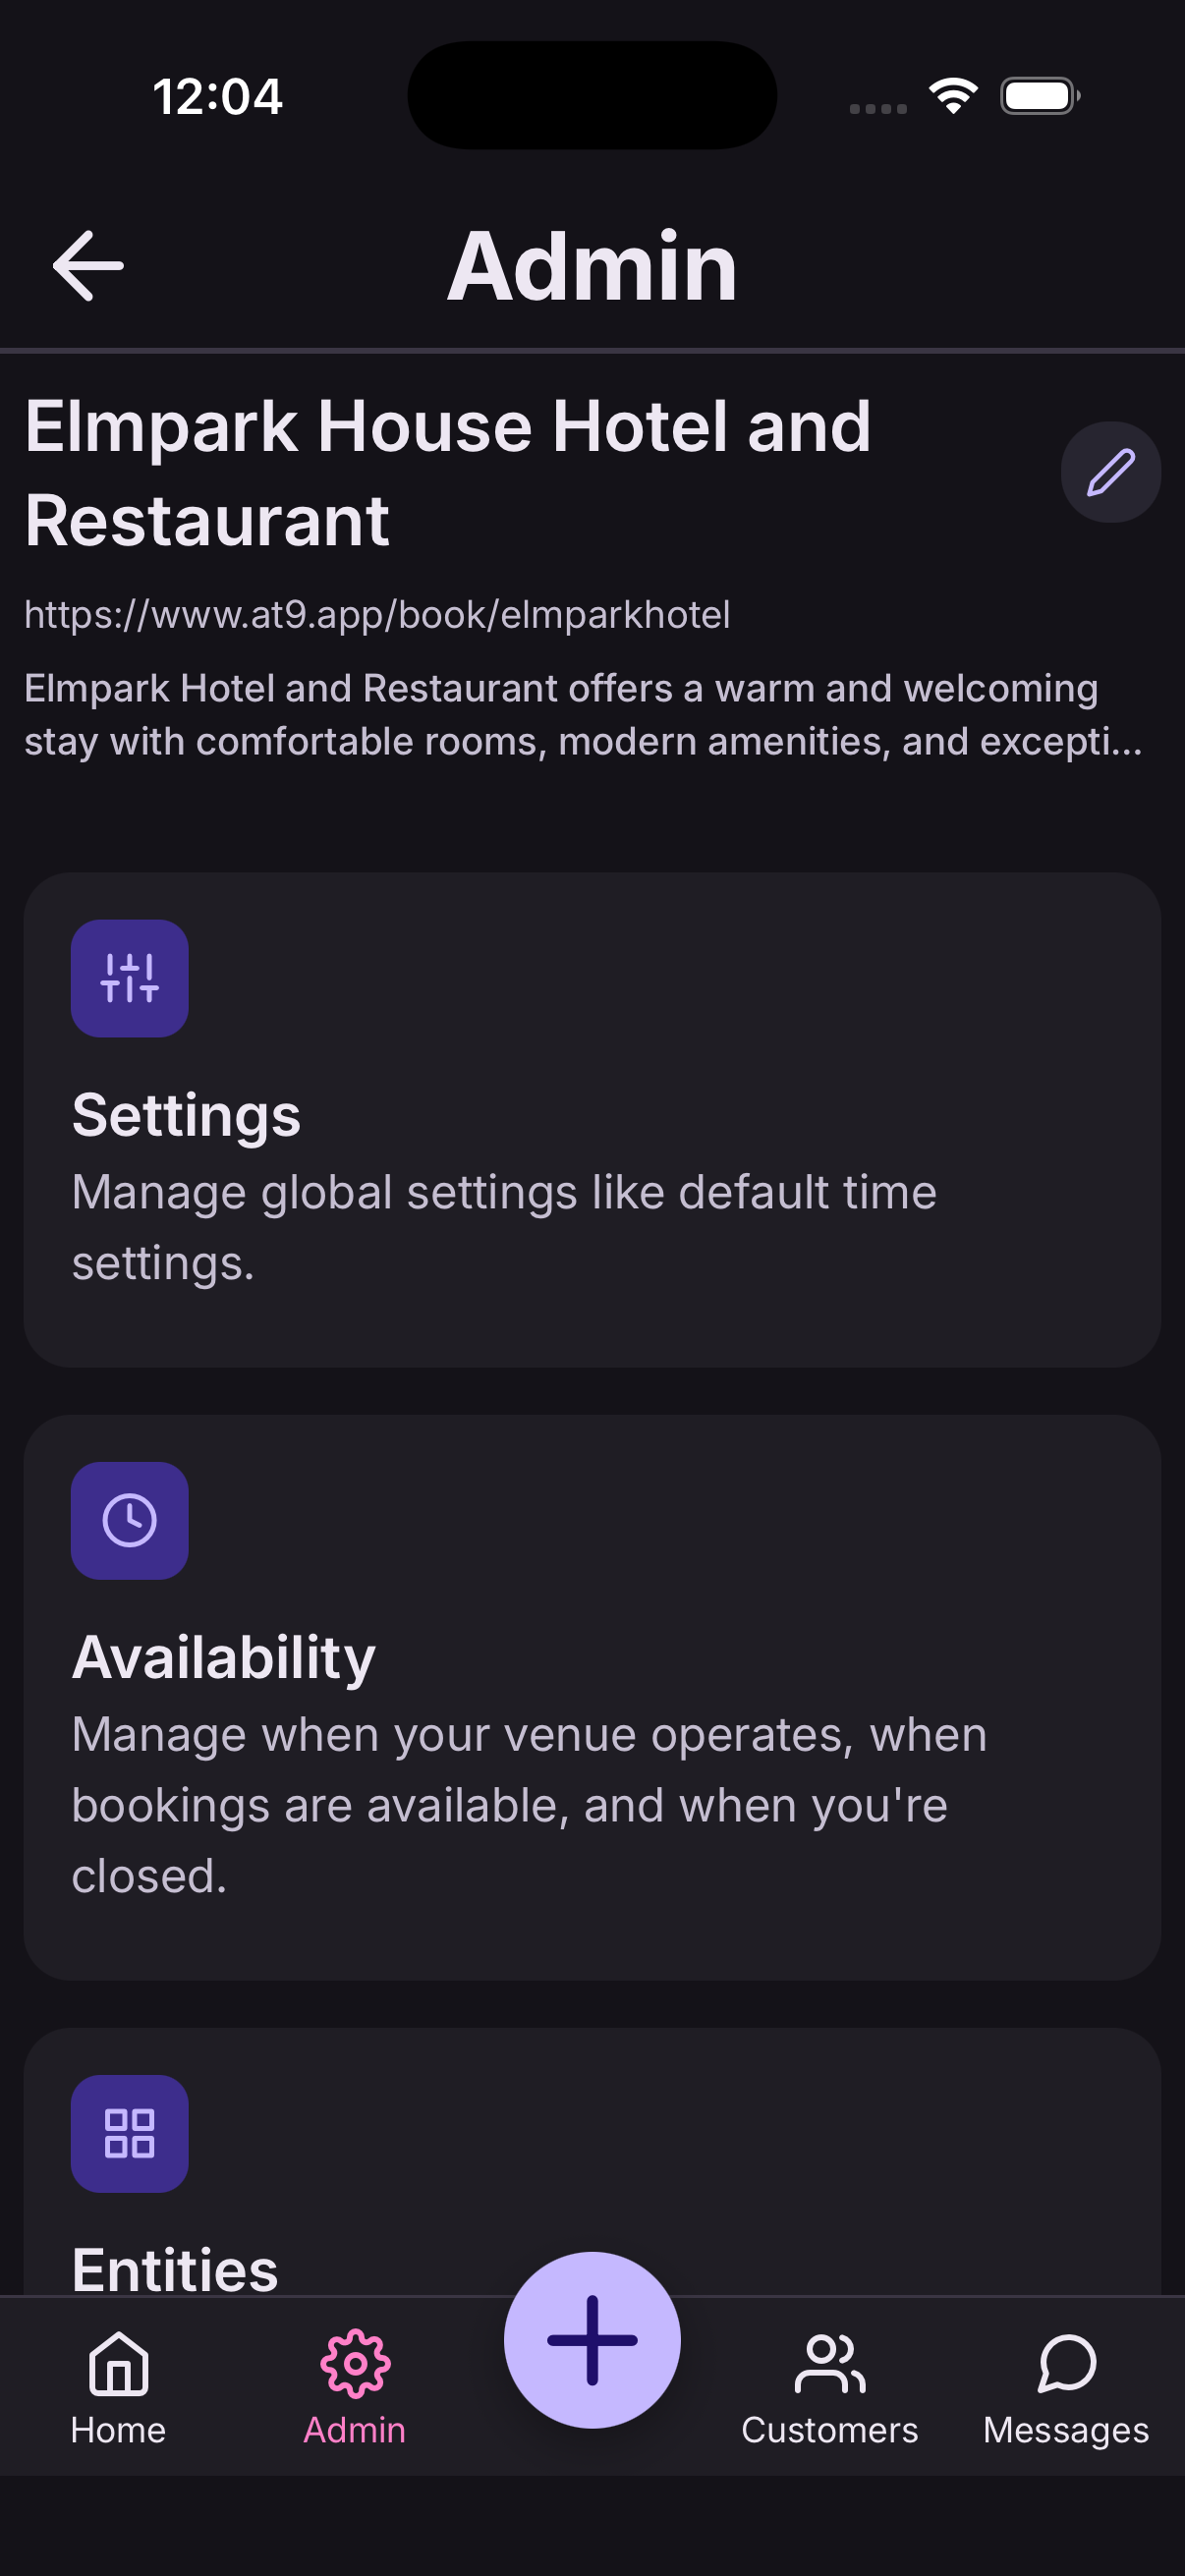
Go to Settings → Organisation.
- Edit your name and description — both appear to customers.
- Set your operating hours for each day: when you open and when you close.
- Tap Save.
Operating hours are the outer limit of your day. Nothing can be booked outside them, by you or by a customer.
Closed on Mondays? Switch the day off entirely rather than setting the same time for open and close.
Your web booking link
Every business gets its own booking page at at9.app/book/your-name. Customers can book from it without downloading anything.
- Go to Settings → Organisation.
- Set your web booking name — keep it short and recognisable, like your business name.
- Tap Save, and your link appears beneath it.
Put it in your Instagram bio, your Google listing, your email signature, or a sign on the counter.
Changing the name changes the link. Anywhere you've already shared the old one will stop working, so pick a name you're happy to keep.
Who can find and book you
Two switches in Settings → Organisation control this, and they do different jobs.
- Visible in public search — whether customers can find you by searching in the At9 app. Turn it off and you're reachable only by your own link.
- Allow public bookings — whether anyone can book you online at all. Turn it off and your booking link stops taking bookings.
Turning off public bookings never affects you. You can always add bookings yourself — handy if you're fully booked for a season, or taking a break.
Your free trial
Every new business gets 90 days free from the day you register. No card, nothing to cancel, and full access to everything — including the Team features.
When the trial ends, your bookings, customers and settings all stay exactly where they are. You'll need a plan to keep taking new bookings.
Solo and Team
Solo is everything you need to run bookings on your own: your diary, customers, availability, email confirmations, your web booking link, and messaging customers.
Team adds what a business with staff needs:
- Booking reminders — automatic emails the day before, which cut no-shows.
- Files — photos and documents saved against a customer or a booking.
- Team access — invite staff to one shared diary.
- Staff calendars, customer notes and booking history.
To subscribe, open the menu and tap Subscriptions, then choose a plan. Payment goes through the App Store or Google Play using the card already on your device.
Start on Solo if you're not sure. You can move up to Team the day you need it.
Change or cancel your plan
Open the menu and tap Subscriptions to see what you're on and switch between Solo and Team.
Because plans are bought through the App Store or Google Play, cancelling is done there — in your Apple or Google account settings, not in At9. There's no minimum term and no cancellation fee.
Cancelling stops future charges. Your data stays yours — email contact@at9.app if you'd like a copy of it.
Adding and editing what you offer
Everything you take bookings for is managed the same way, whichever kind it is.
- From the home screen, tap Manage next to the type you want — or open Schedule and use the menu in the header to switch type.
- Tap Add to create one, or tap an existing one to edit it.
- Fill in the Details tab, then the Payment tab if you take money up front.
- Tap Save.
You can add as many as you like, and reorder them by dragging so the ones you use most sit at the top.
Only administrators can add or change what you offer. Everyone else sees the diary and takes bookings.
Rooms
For hotels, B&Bs, pubs with rooms, catteries and kennels — anything booked overnight.
Give each room a name, how many it sleeps, and a price per night. Set your check-in and check-out times once in Settings → Rooms and every room uses them.
Rooms are booked as a date range. At9 won't let the same room be booked twice over the same nights, however the booking arrives.
Tables
For restaurants, cafés, bars and pubs.
Give each table a name and how many it seats. In Settings → Tables, set how long a sitting lasts and how long you need between them to turn the table around.
When a customer books for four, At9 only offers tables that seat four.
Services and appointments
For salons, nail technicians, tutors, therapists — anything booked as an appointment with a person.
Give each service a title, how long it takes, and a price. Then choose which members of staff provide it.
A customer can book several services back to back — a cut and a colour become one 90-minute appointment with one person, not two separate bookings. At9 works out the slots from your staff's working hours and everything already in their diary.
A service with nobody assigned to it can't be booked, and won't be shown to customers.
Classes
For gyms, yoga and fitness instructors — a session that repeats with a set number of places.
Give each class a title, the days and times it runs, and how many places there are. Add a price if you charge for it.
At9 counts places for you and stops taking bookings when a class is full. You can mark someone as a no-show afterwards.
Events
For training courses, workshops and one-off or multi-day events.
Give each event a title, its dates, and how many places there are. A multi-day event sells places per day, so someone can come to just the Tuesday.
You can add ticket types — standard and concession, say — each with its own price and number of places.
How payments work
At9 takes card payments through Stripe. Money goes straight to your own Stripe account — it never passes through At9, and payouts land in your bank on Stripe's normal schedule.
You're the merchant: your business name appears on the customer's statement, and refunds and disputes are yours to handle.
There are three things to set up, in order: connect Stripe, decide what each thing costs, then choose whether you take the money up front or on arrival.
Connect Stripe
Go to Settings → Payments and tap Connect Stripe.
- Stripe opens and asks for your business and bank details.
- Work through the form — Stripe handles the checks.
- You're returned to At9, and the screen shows your status.
Until Stripe says you're ready to take payments, At9 won't ask customers for money. If Stripe needs anything more from you, it's listed on this screen.
Already have a Stripe account? Sign in with it during setup and it'll be connected.
Deposits and full payment
Open anything you offer and go to its Payment tab. Choose one of three:
- No payment — book now, pay however you normally do.
- Deposit — a fixed amount to hold the booking, with the rest due later.
- Full amount — the whole price.
Then choose when you take it: up front, or on arrival. Up front means the booking isn't confirmed until the card goes through — which is what stops no-shows on a busy Saturday.
Card payments have a minimum of 30p. Anything smaller is treated as no payment.
Take a payment in the app
When a customer owes you — a balance after a deposit, or a booking set to pay on arrival — you can take it on your phone.
- Open the booking from your diary.
- Tap Take payment.
- Enter the customer's card details and confirm.
The booking updates to paid straight away, and the amount outstanding drops to zero.
Refund a booking
Cancel the booking first, then open it and tap Refund. You can refund the full amount or part of it.
The refund goes back to the card the customer paid with. It usually reaches them in five to ten days, depending on their bank.
The schedule
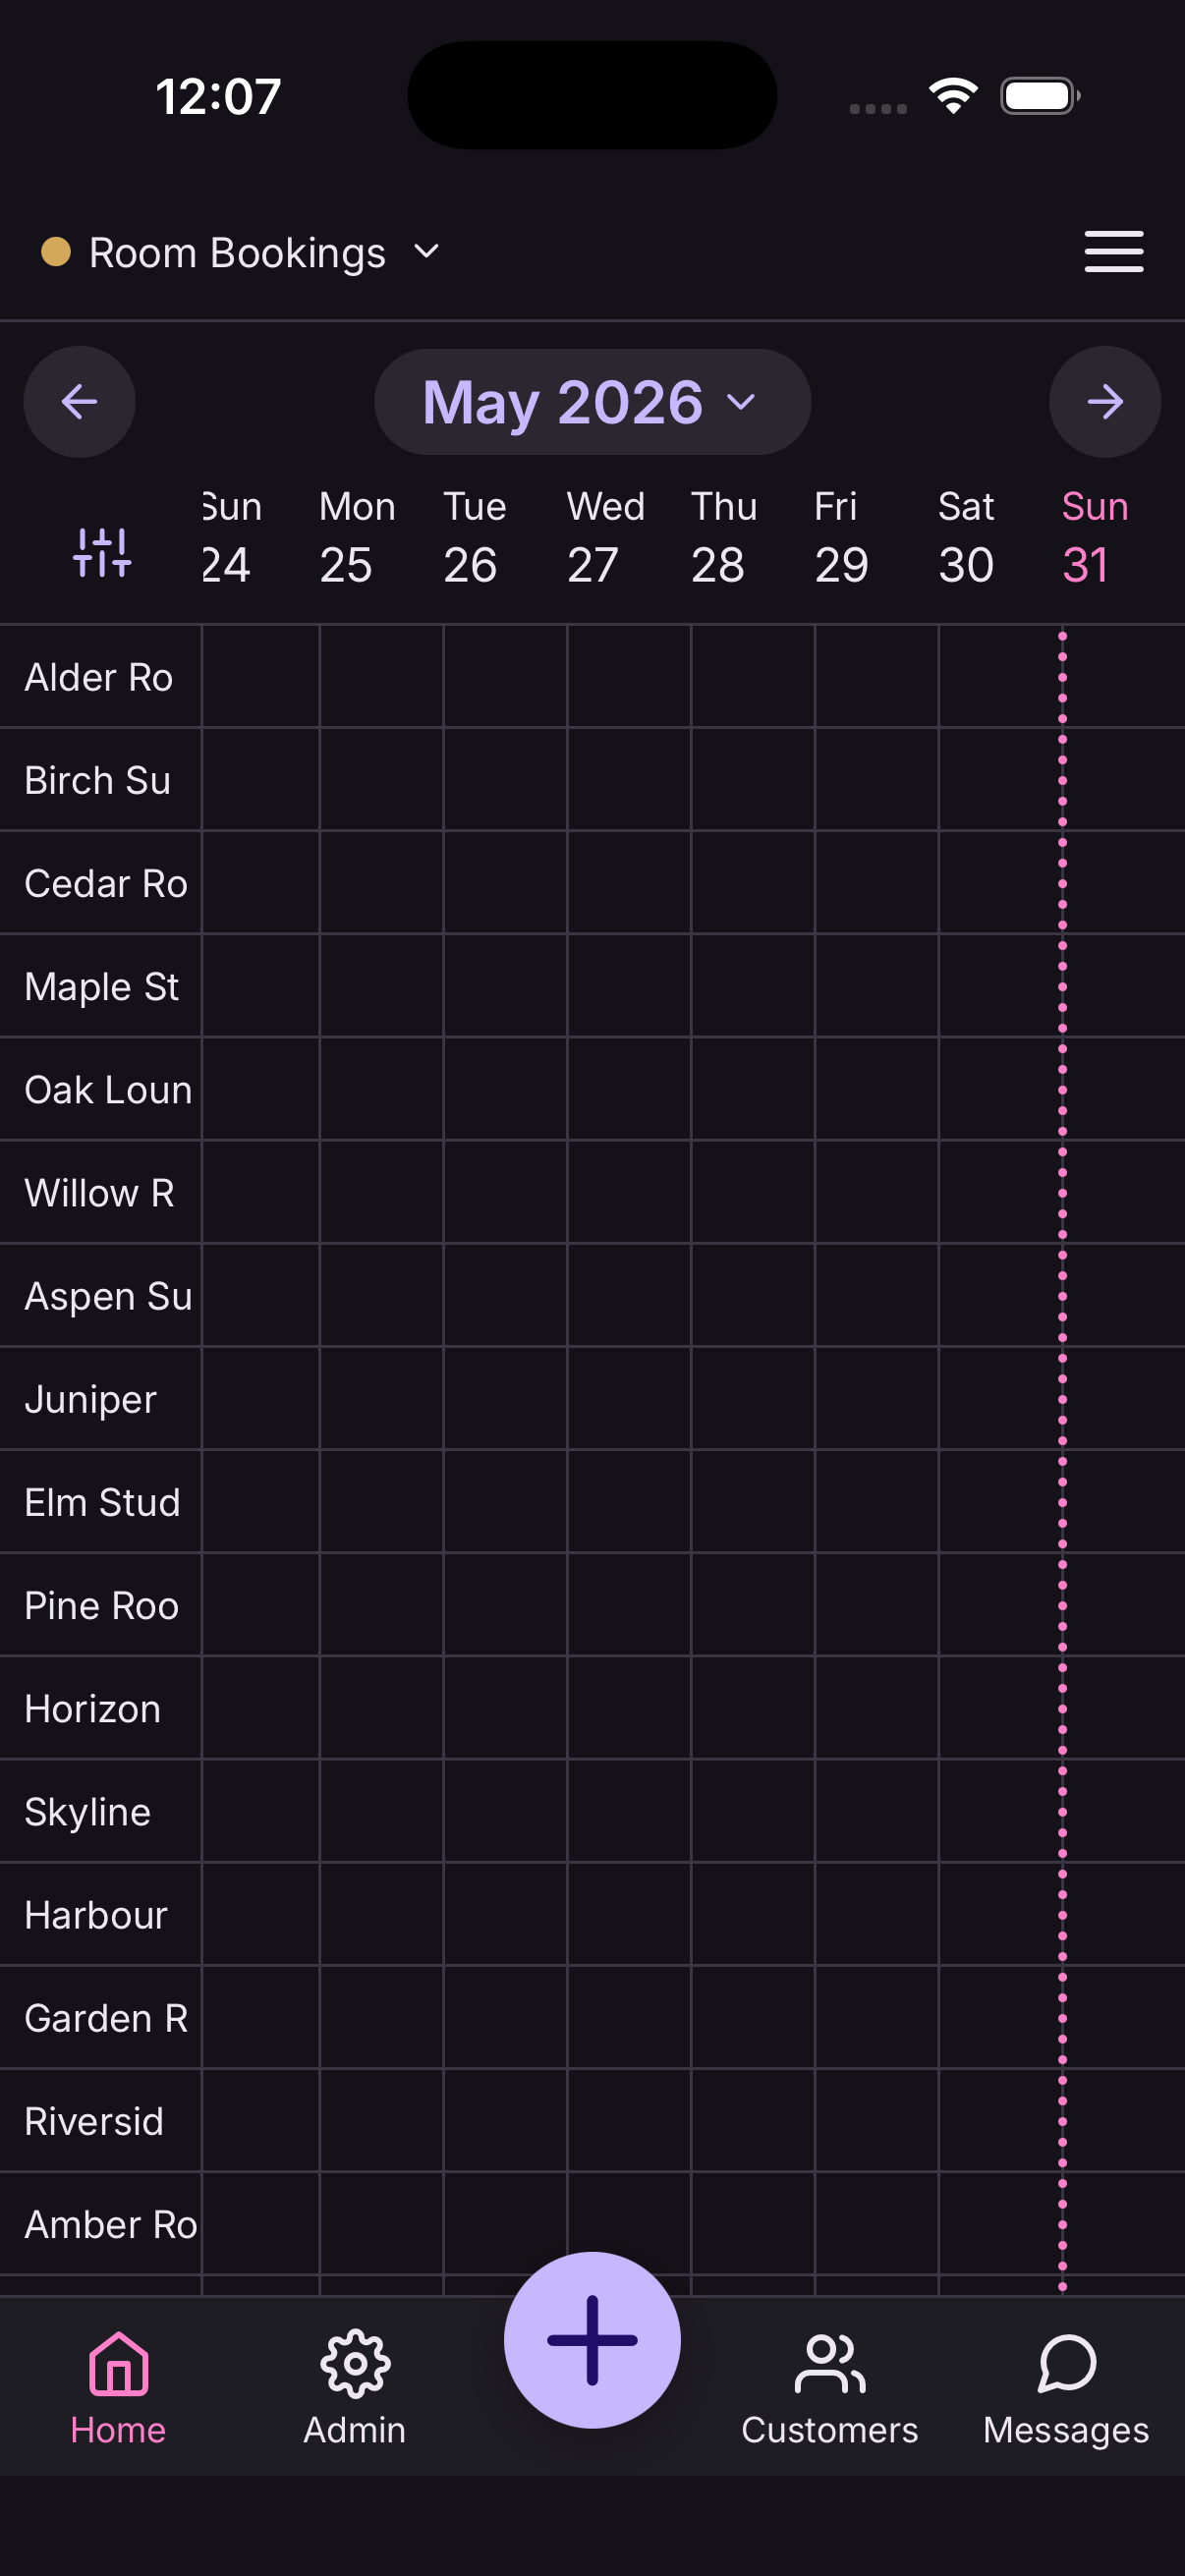
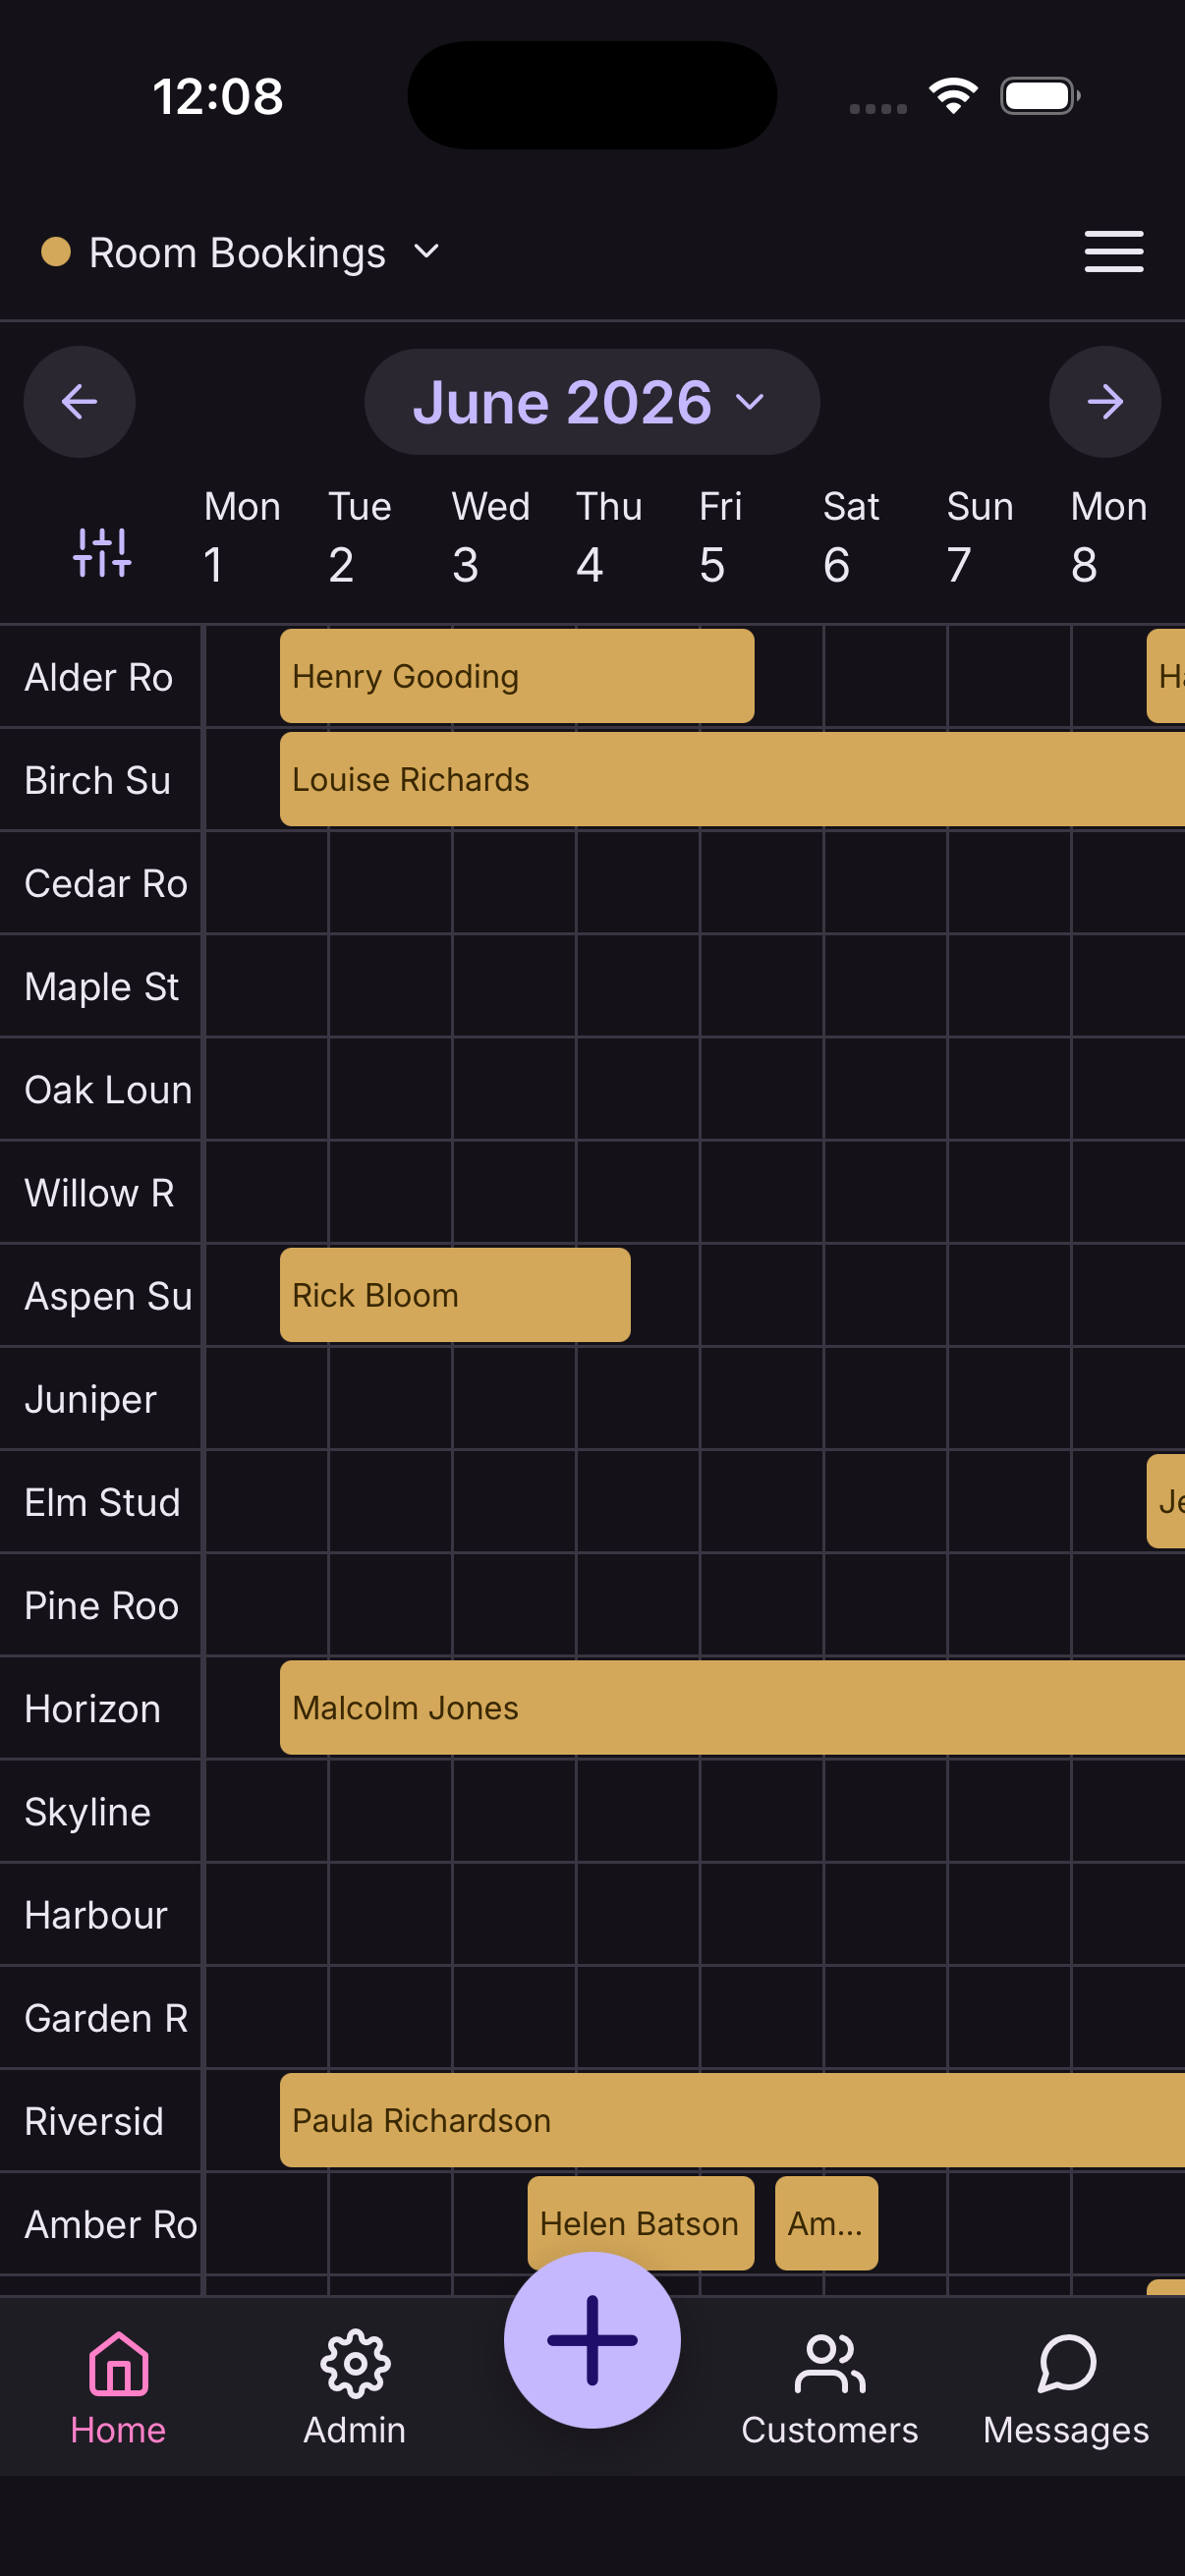
Schedule on the home screen is your diary — everything booked, in one place.
- Switch between day, week and month.
- Use the menu in the header to switch between rooms, tables, services, classes and events.
- Tap any booking to open it.
A line marks the current time on today's view, so a glance tells you what's next.
Add a booking
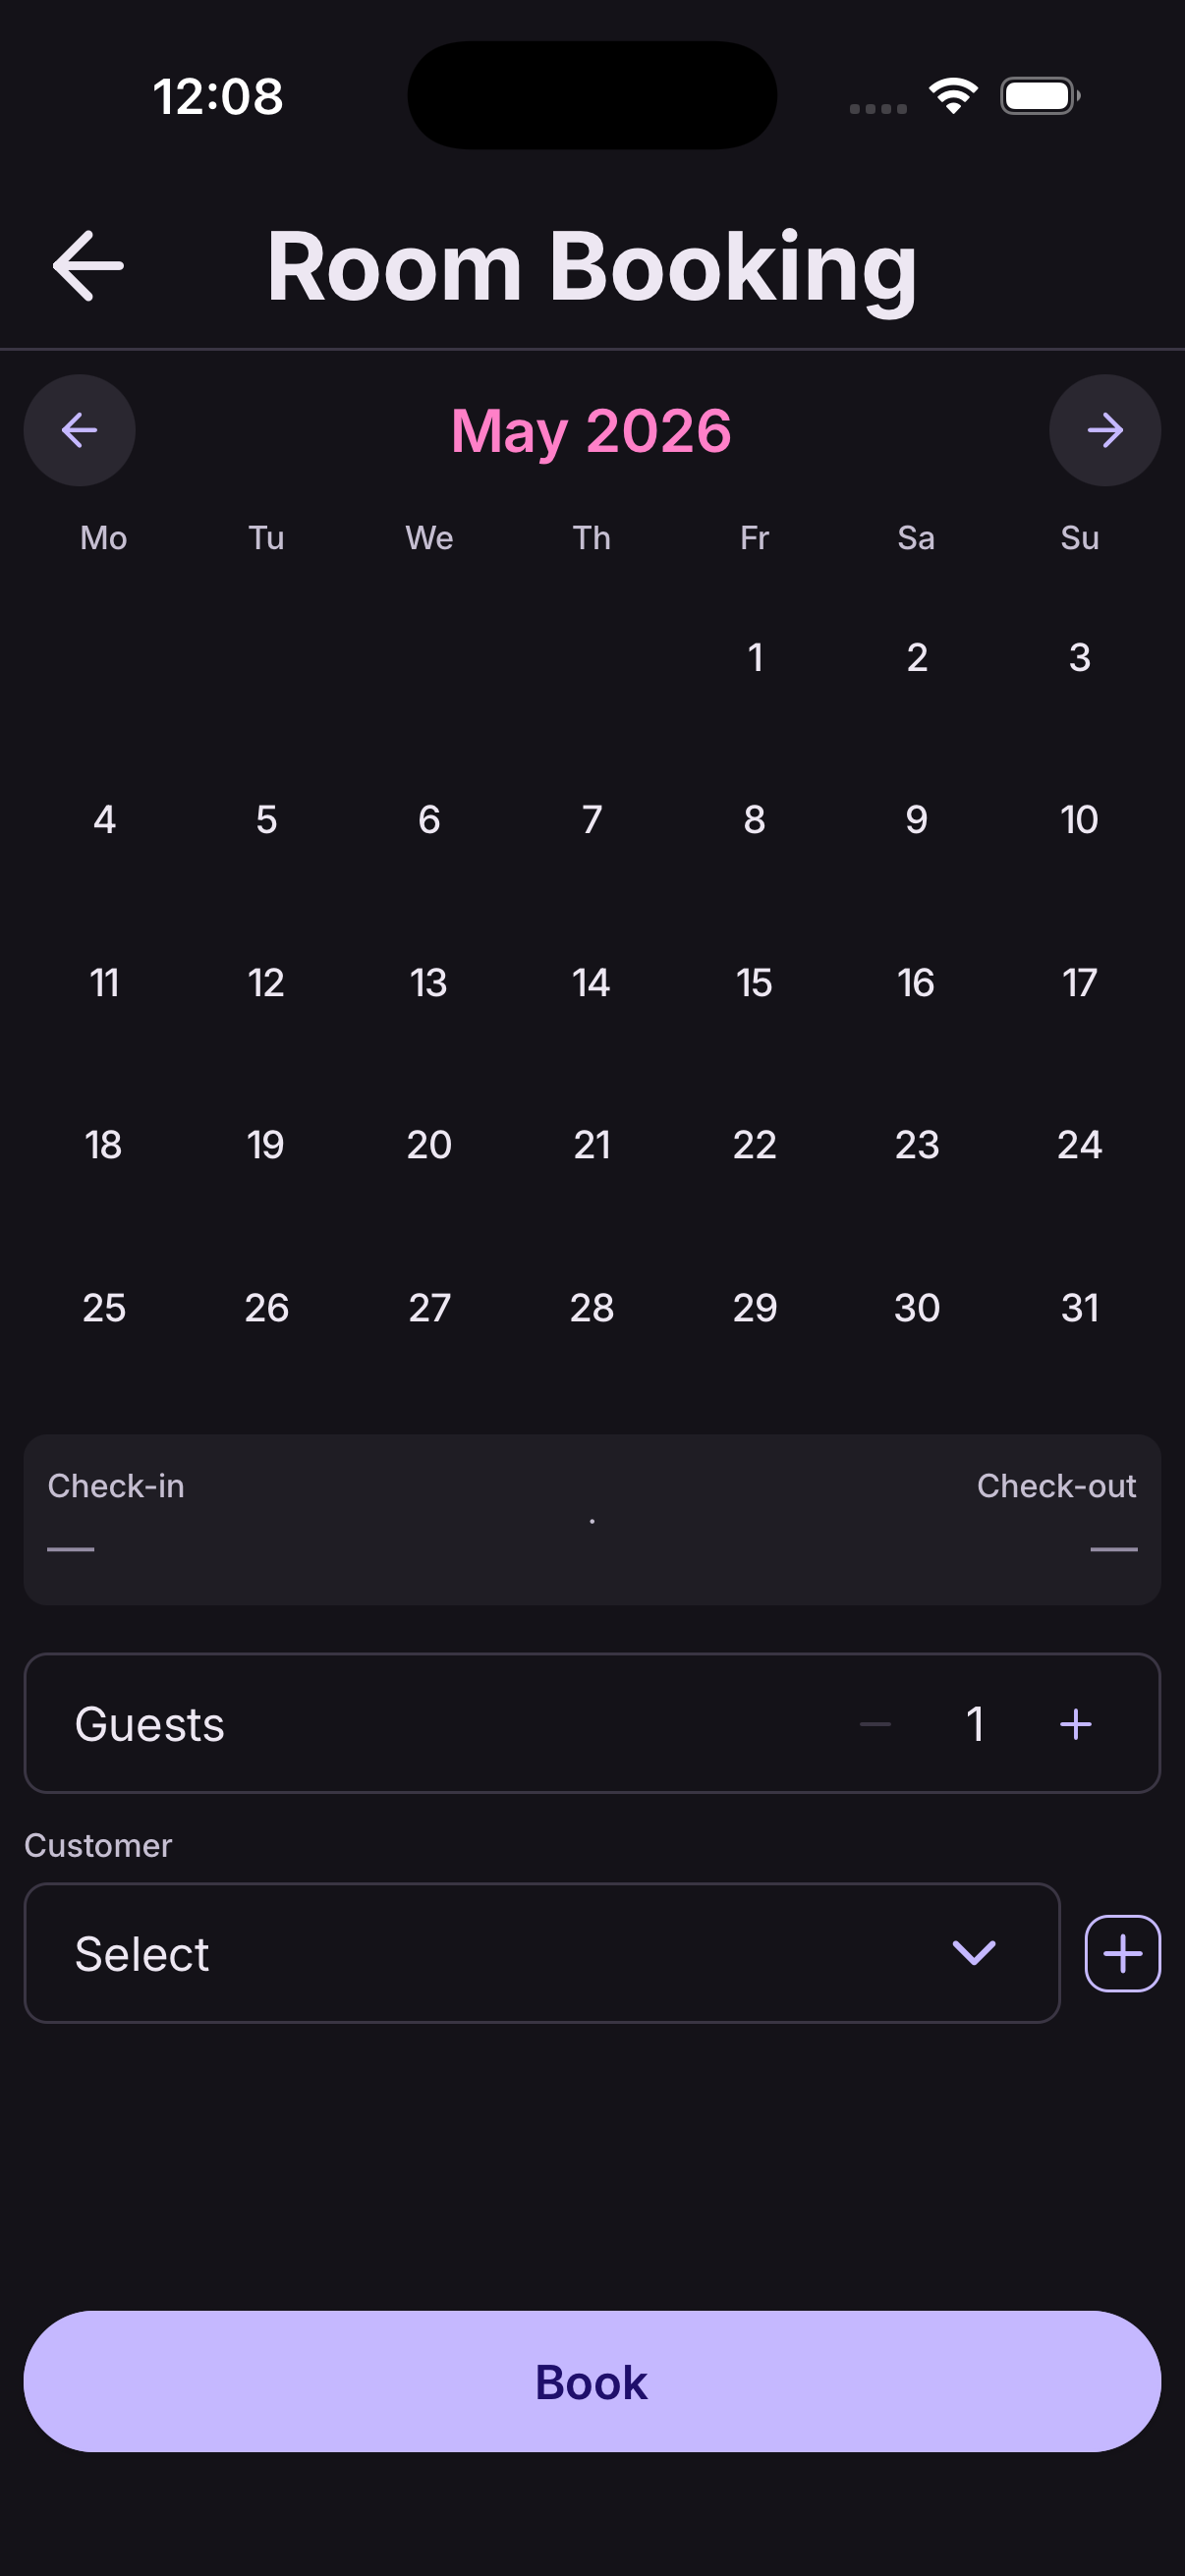
Tap Add booking from the schedule, or the + button.
- Choose what's being booked.
- Pick the date and time — At9 only offers what's actually free.
- Choose an existing customer or add a new one there and then.
- Add a note if there's anything worth remembering.
- Tap Save.
The customer gets a confirmation email with their booking reference.
Bookings you add yourself never ask for a card, even when online bookings do. Someone booking over the phone can still pay on arrival.
Change a booking
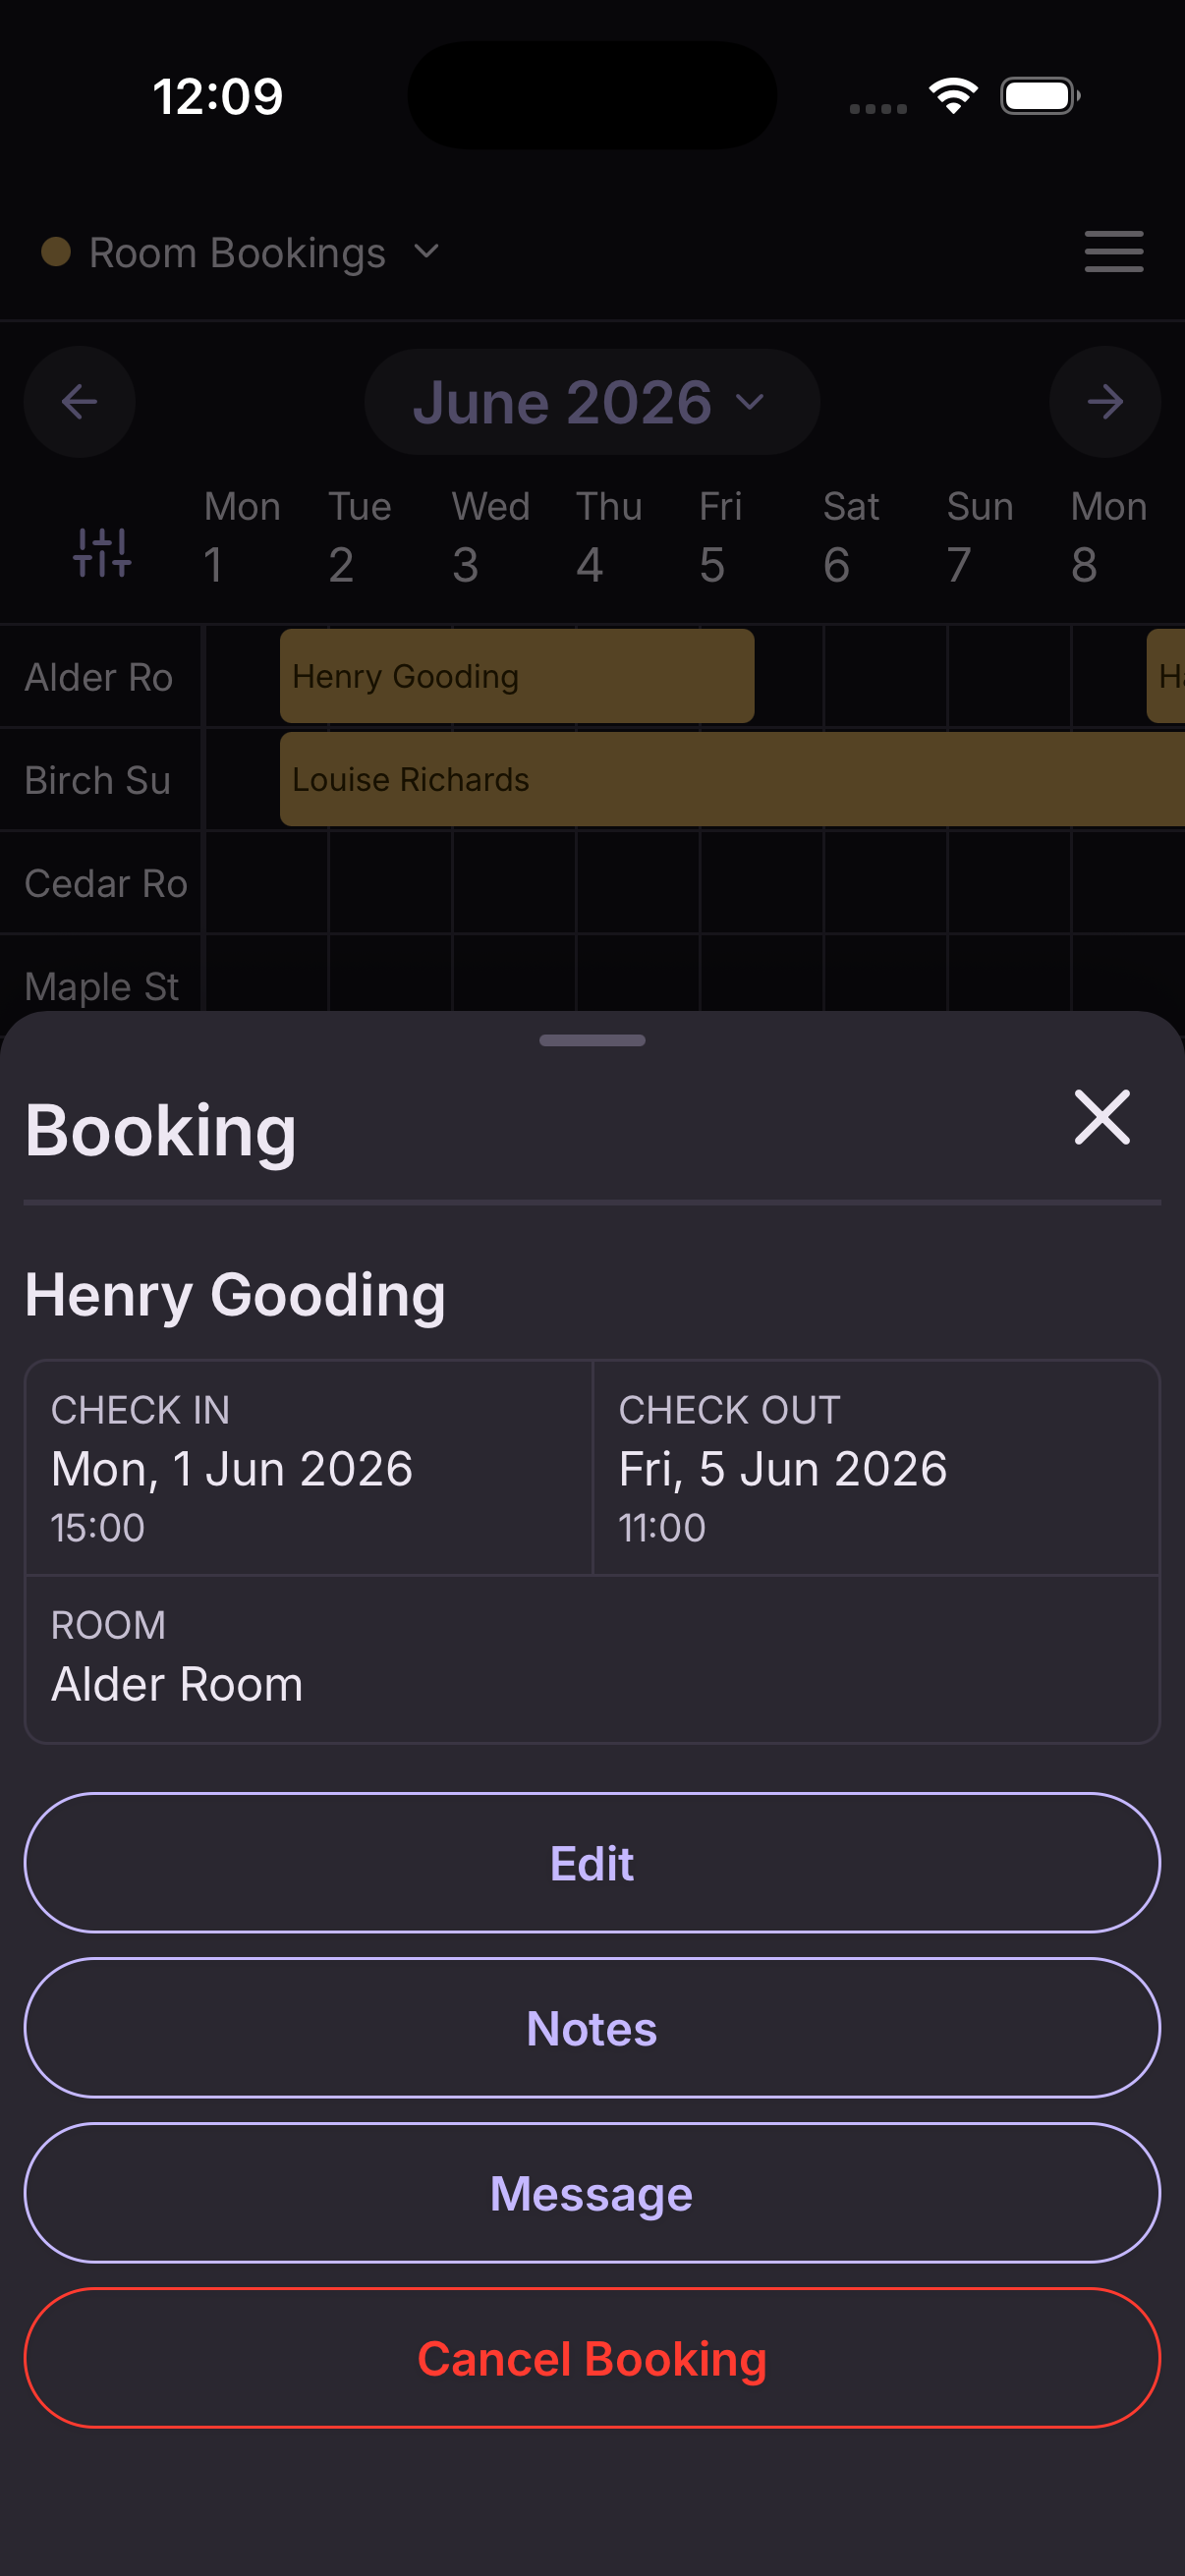
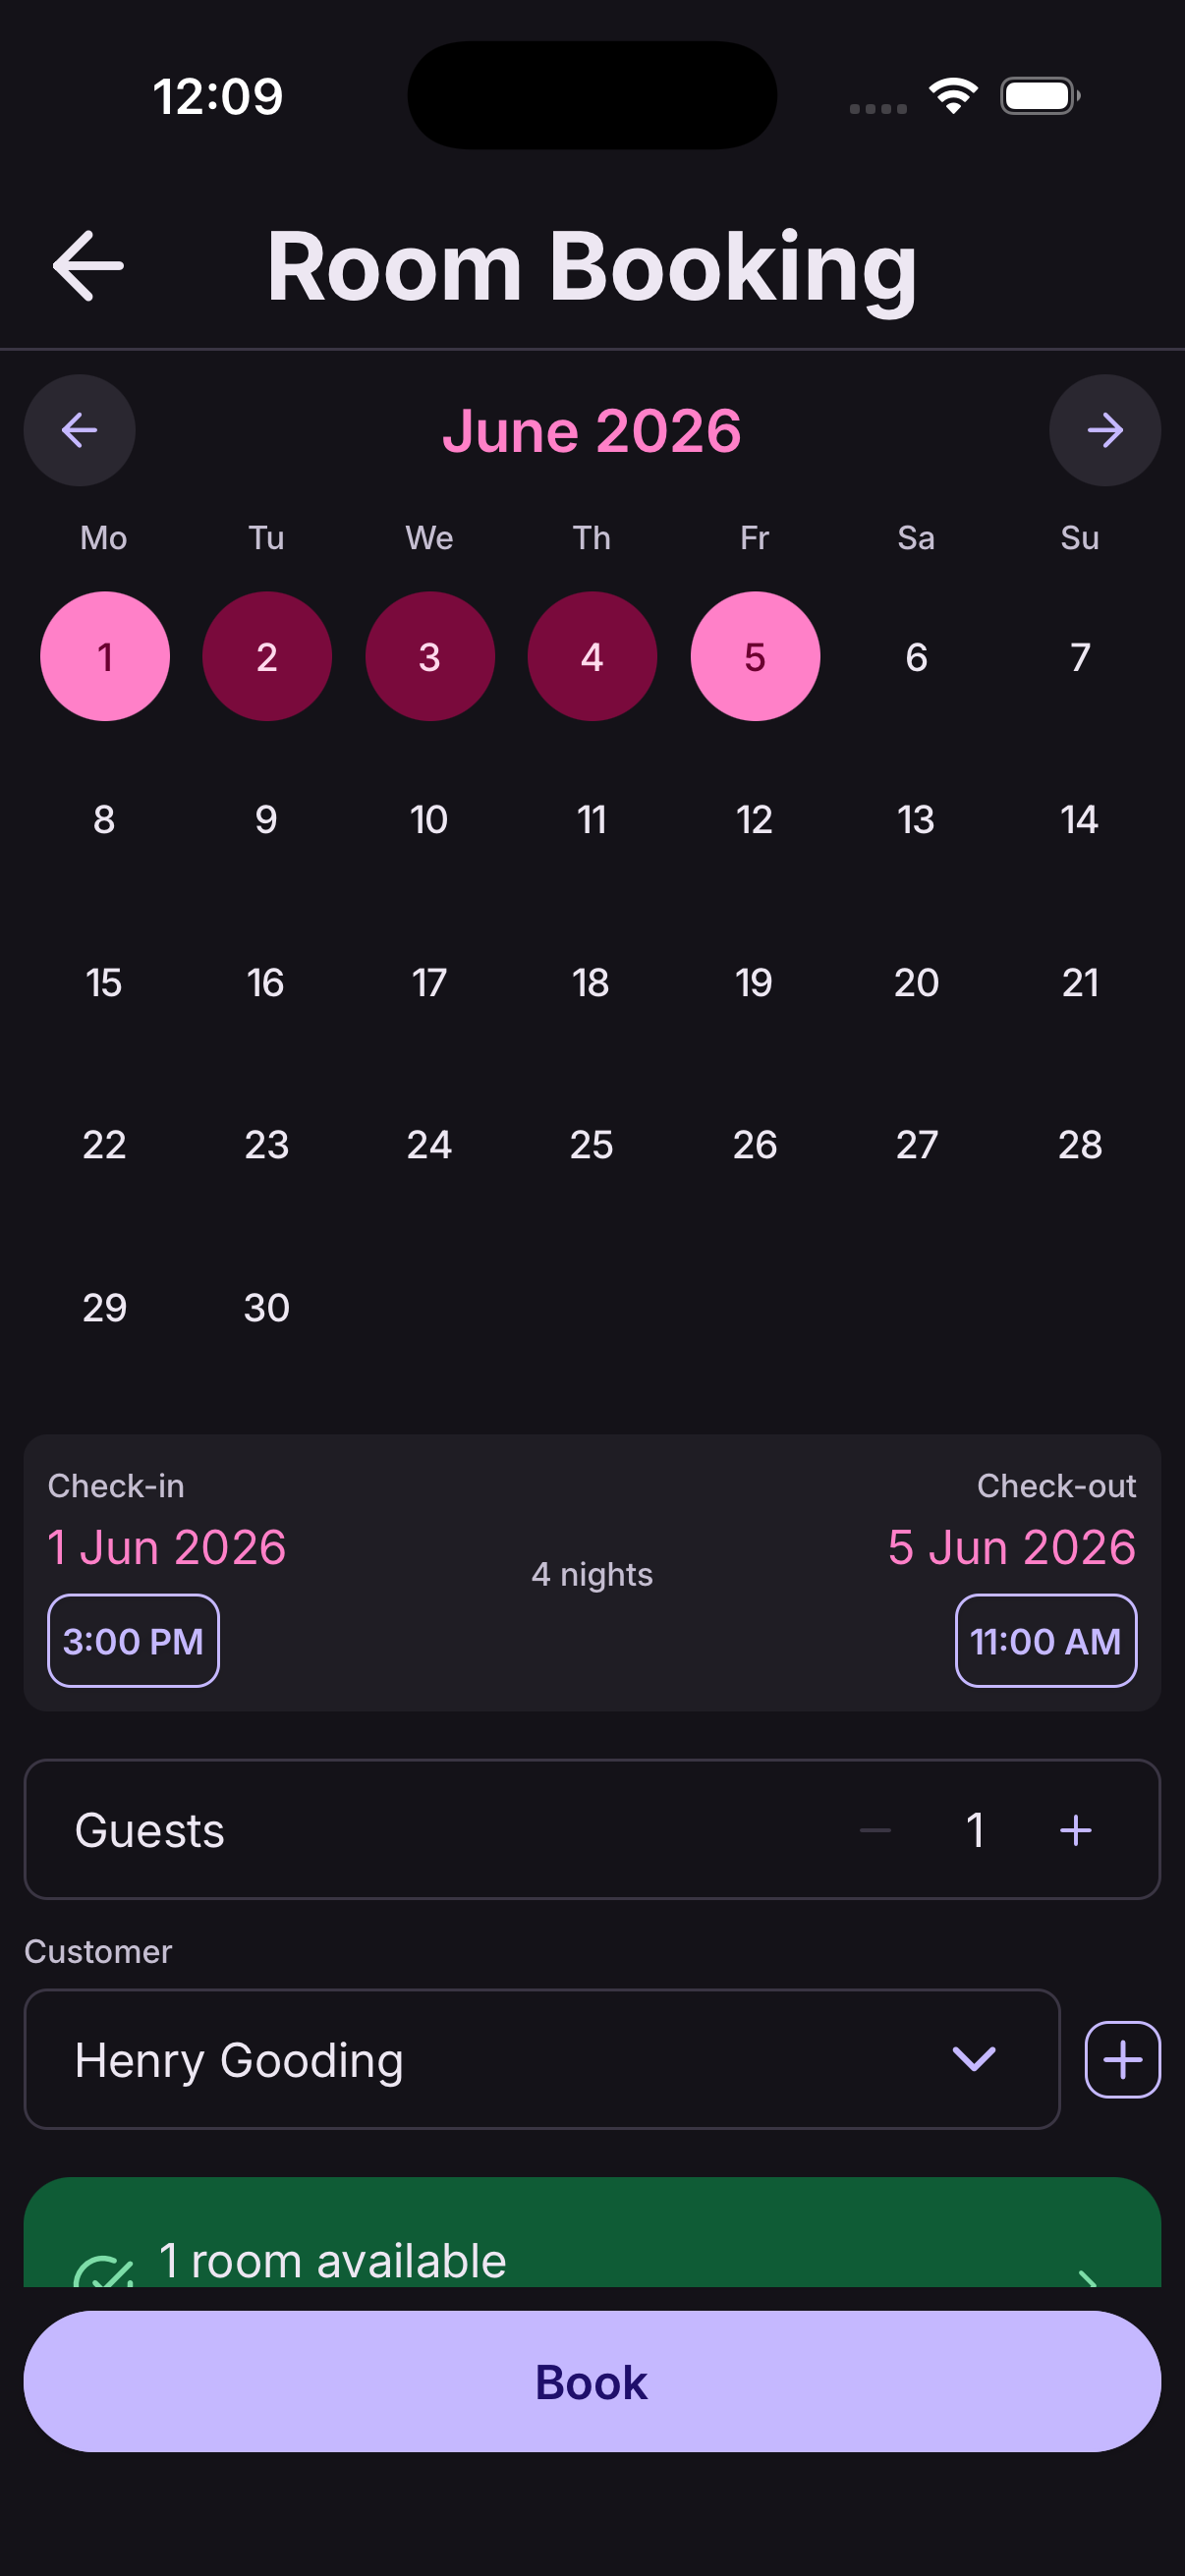
Open the booking from your diary and tap Edit.
You can move it to a different date or time, switch it to a different room or table, change the number of guests, or update the note. At9 checks the new slot is free before it saves.
The booking keeps its reference, and the customer gets an email showing what changed.
Cancel a booking
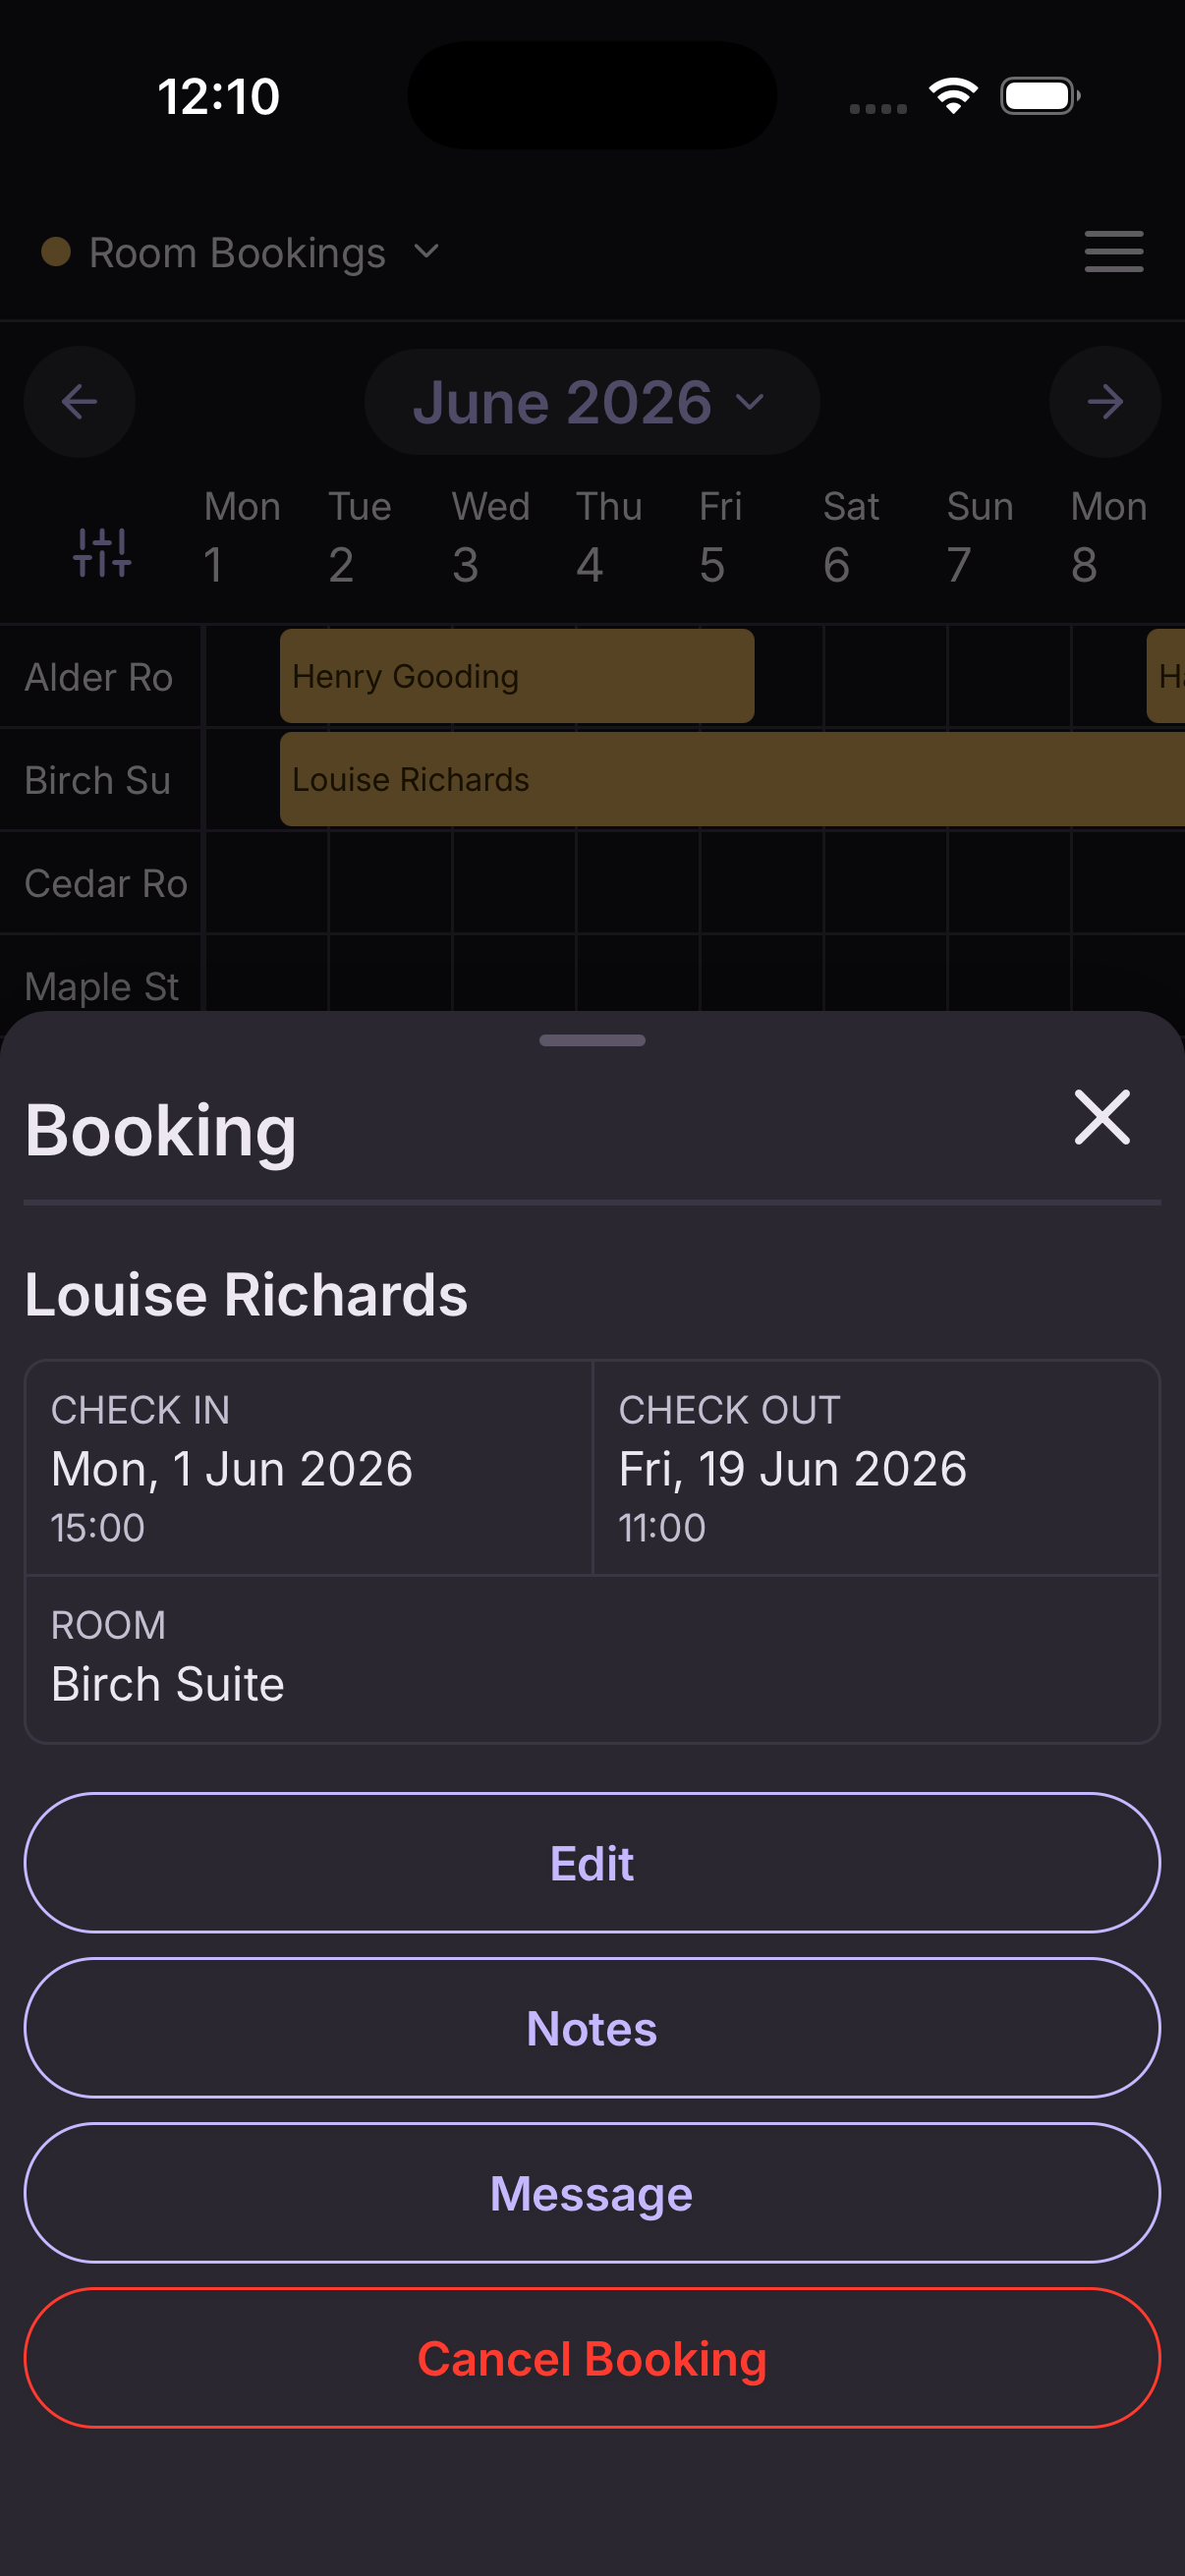
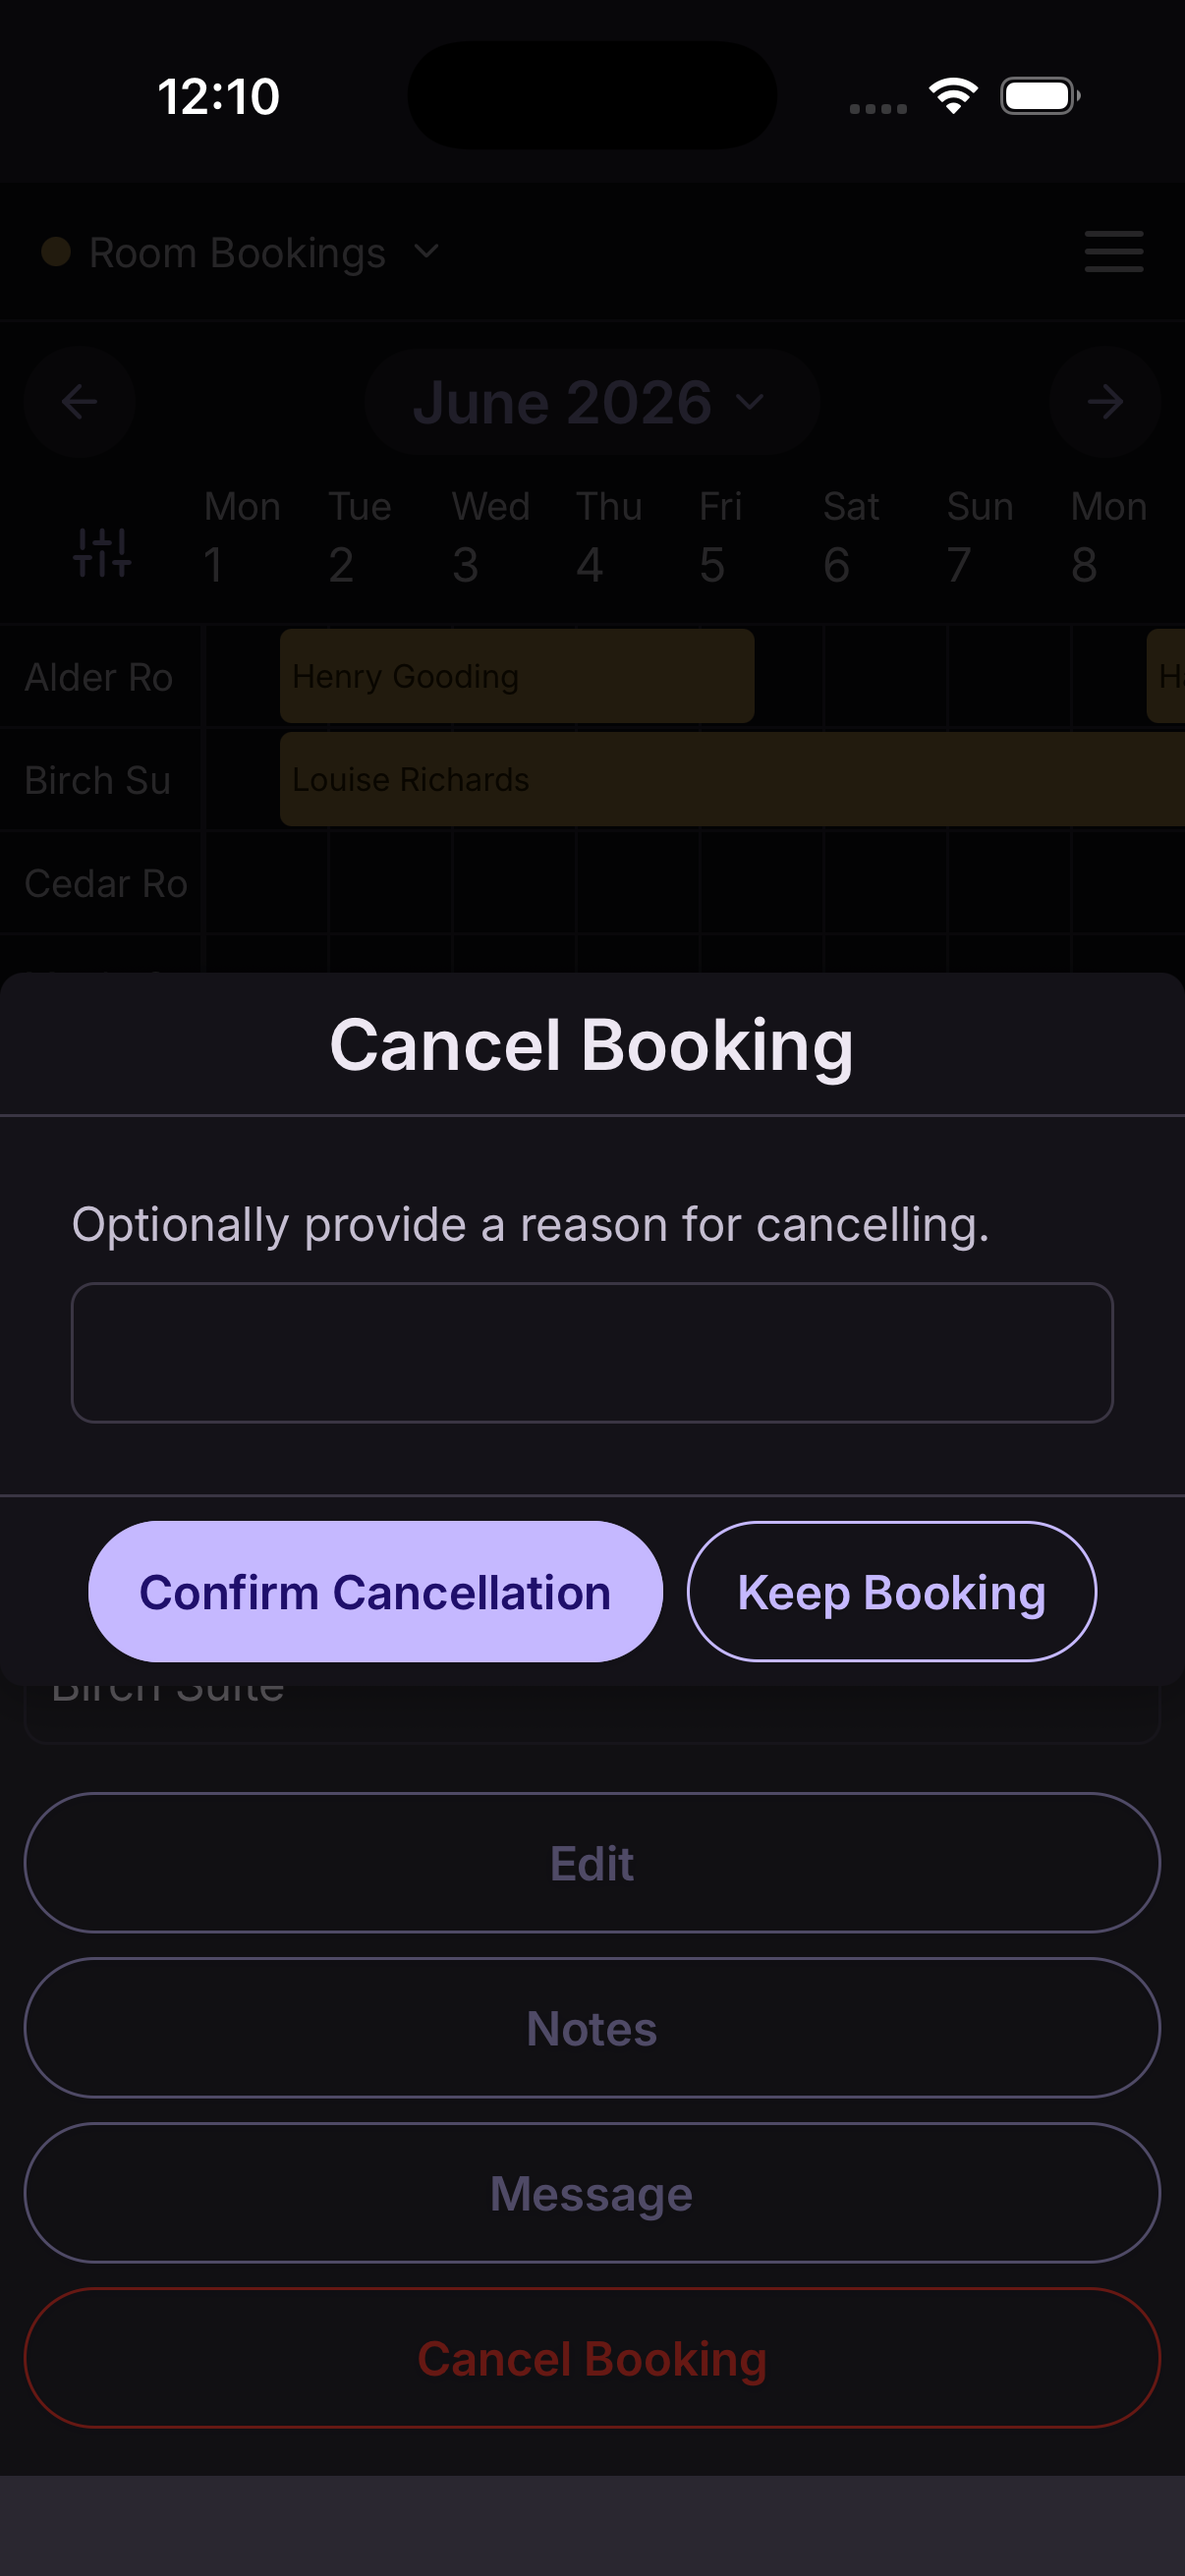
Open the booking and tap Cancel. You can add a reason, which the customer sees.
The slot goes back on sale immediately, and the customer is emailed. If anyone is on the waiting list, they're offered the place.
Cancelled bookings aren't deleted — they stay in your booking history so you keep the full record.
Find a booking
Open the menu and tap Find a booking. Search by customer name, email or booking reference.
It searches everything — past and future, across every kind of booking — which is the quickest way to answer "I booked something for next month?" on the phone.
Booking history
Booking history on the home screen lists every booking you've ever taken, newest first, with its status.
Tap any of them to see the full details, including what was paid and whether it was cancelled or refunded.
The four kinds of availability
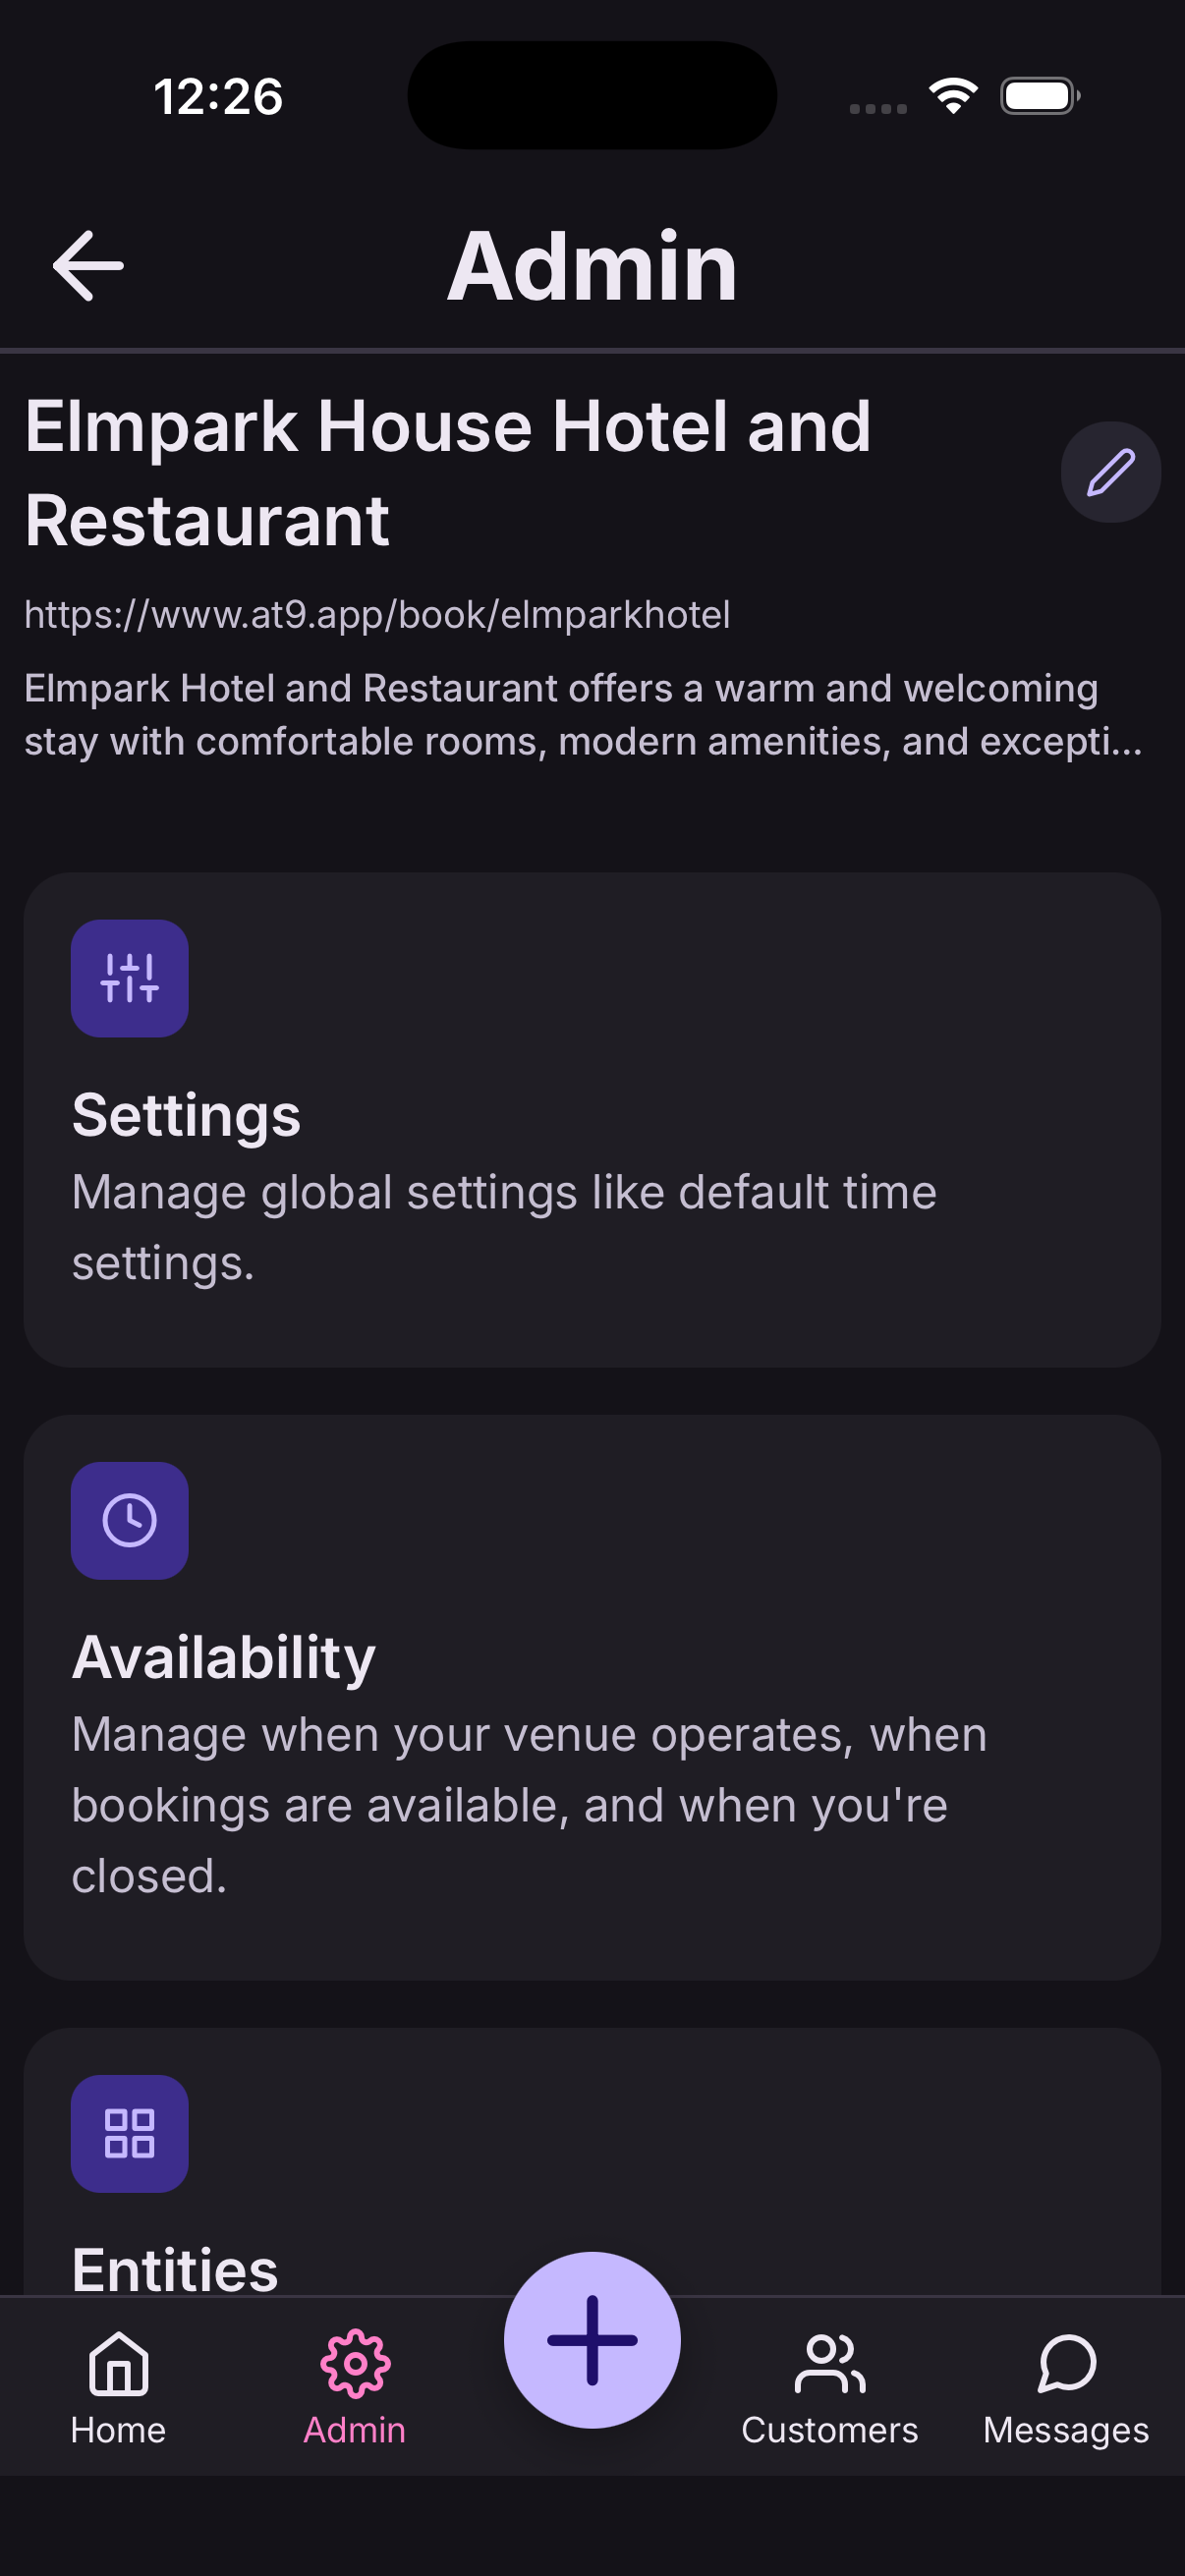
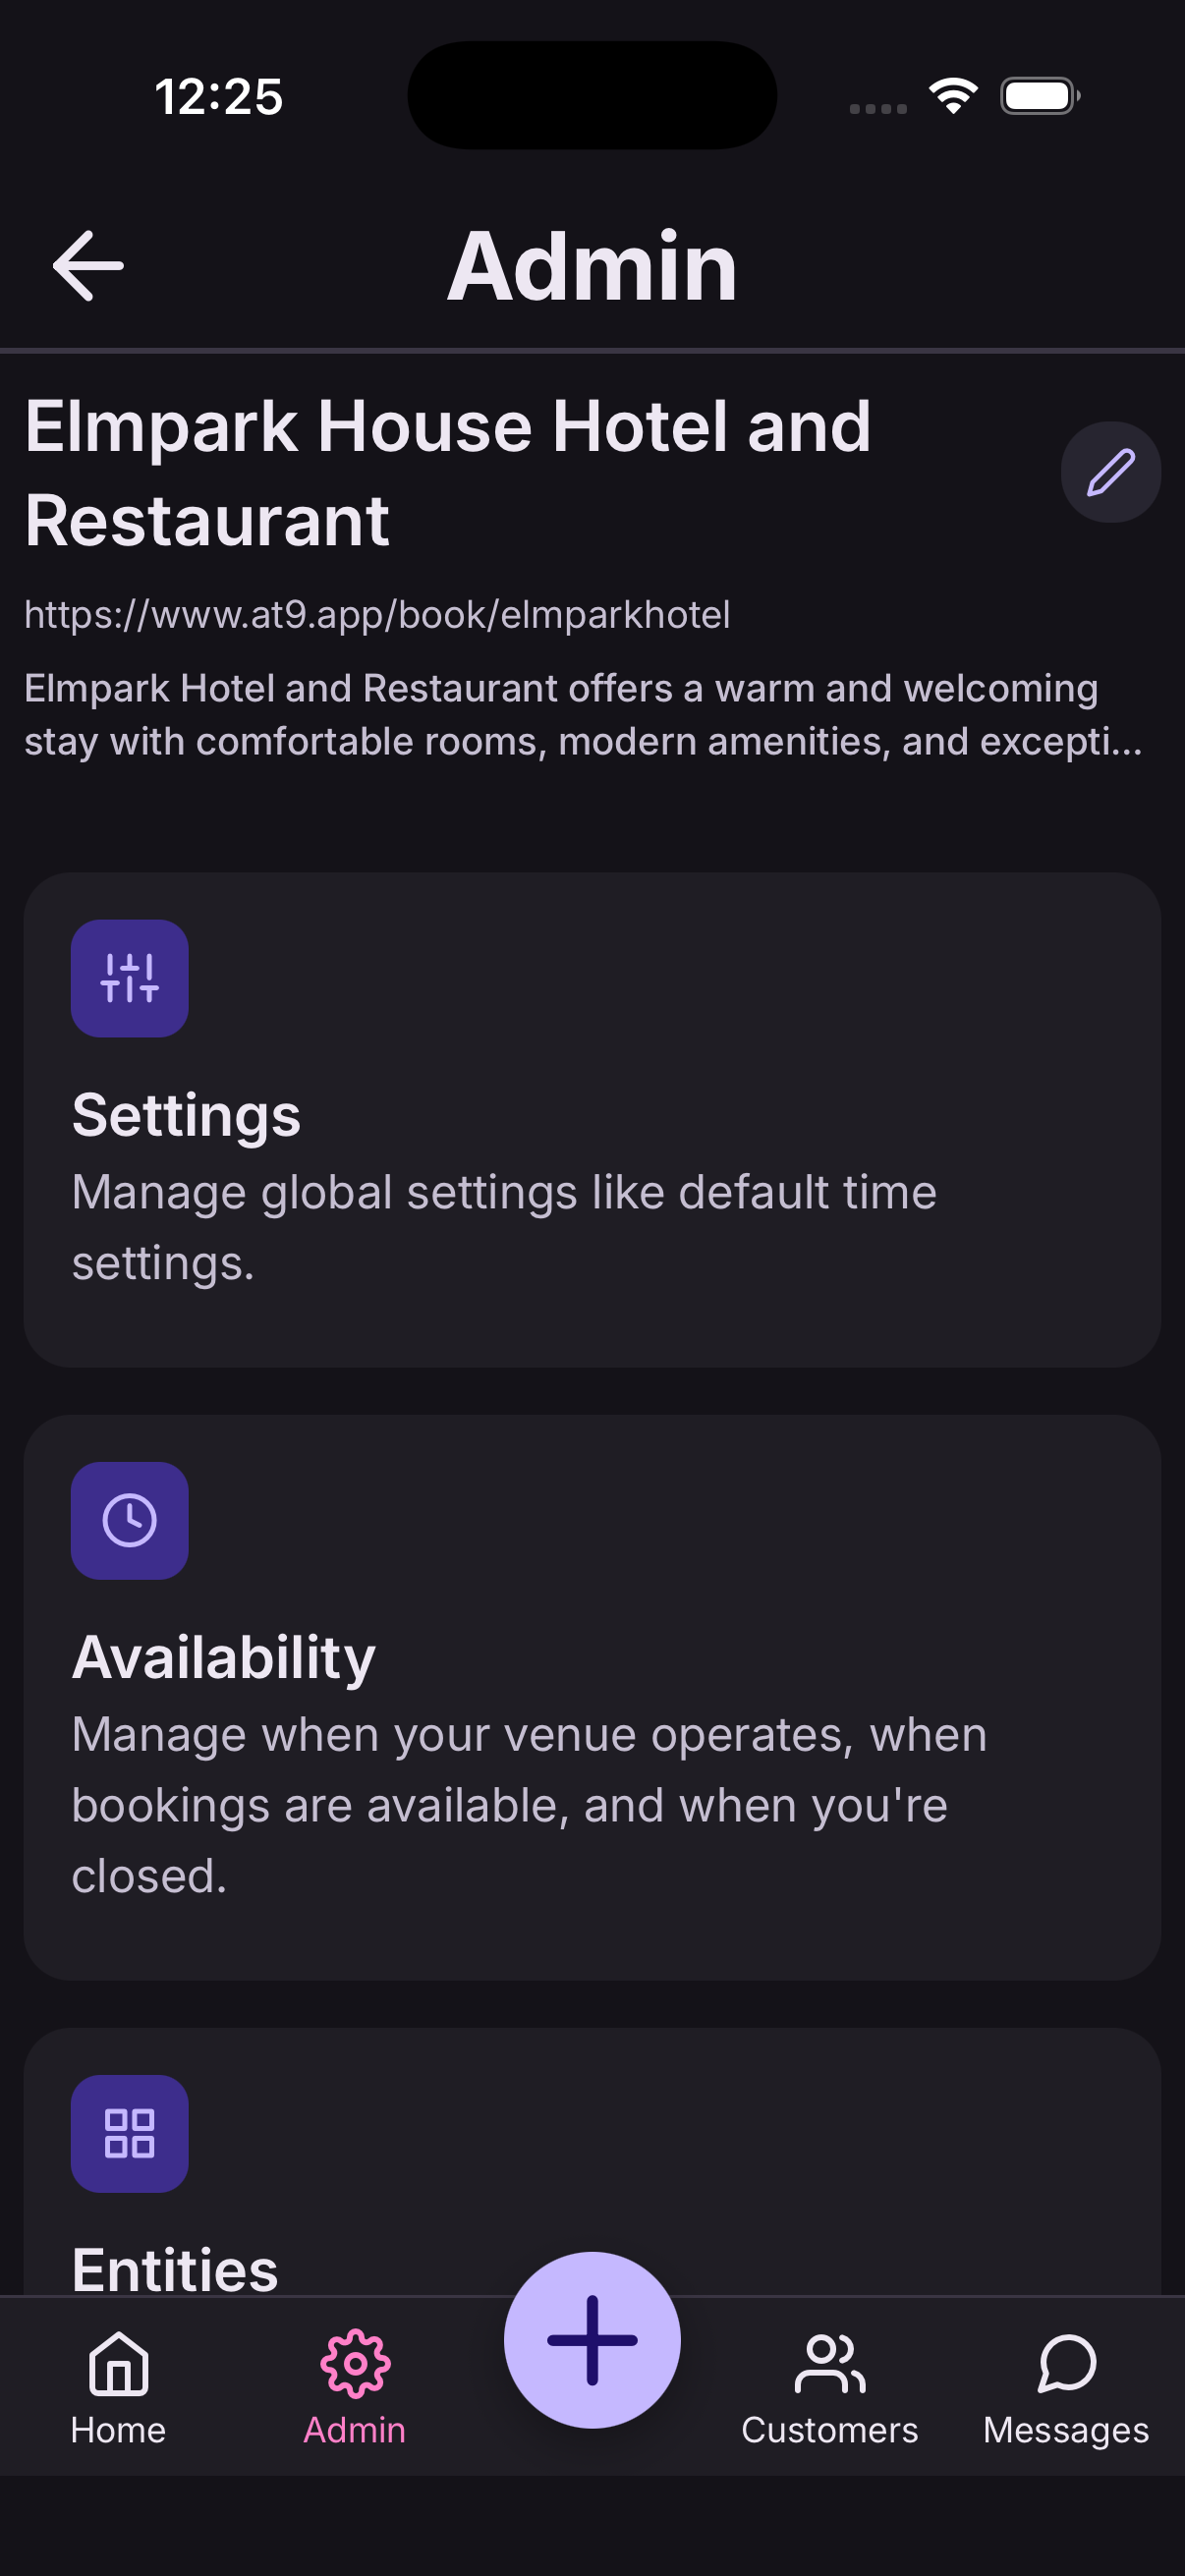
Four settings decide when something can be booked. They stack, from the widest to the most specific:
- Operating hours — when your business is open at all.
- Bookable times — when each kind of thing can be booked, within those hours.
- Closed periods — whole days you're shut, like Christmas or a holiday.
- Blocked slots — a recurring gap, like a lunch break.
On top of those, each member of staff has their own working hours.
If a slot isn't being offered when you expect it, work down this list in order — it's almost always one of these four.
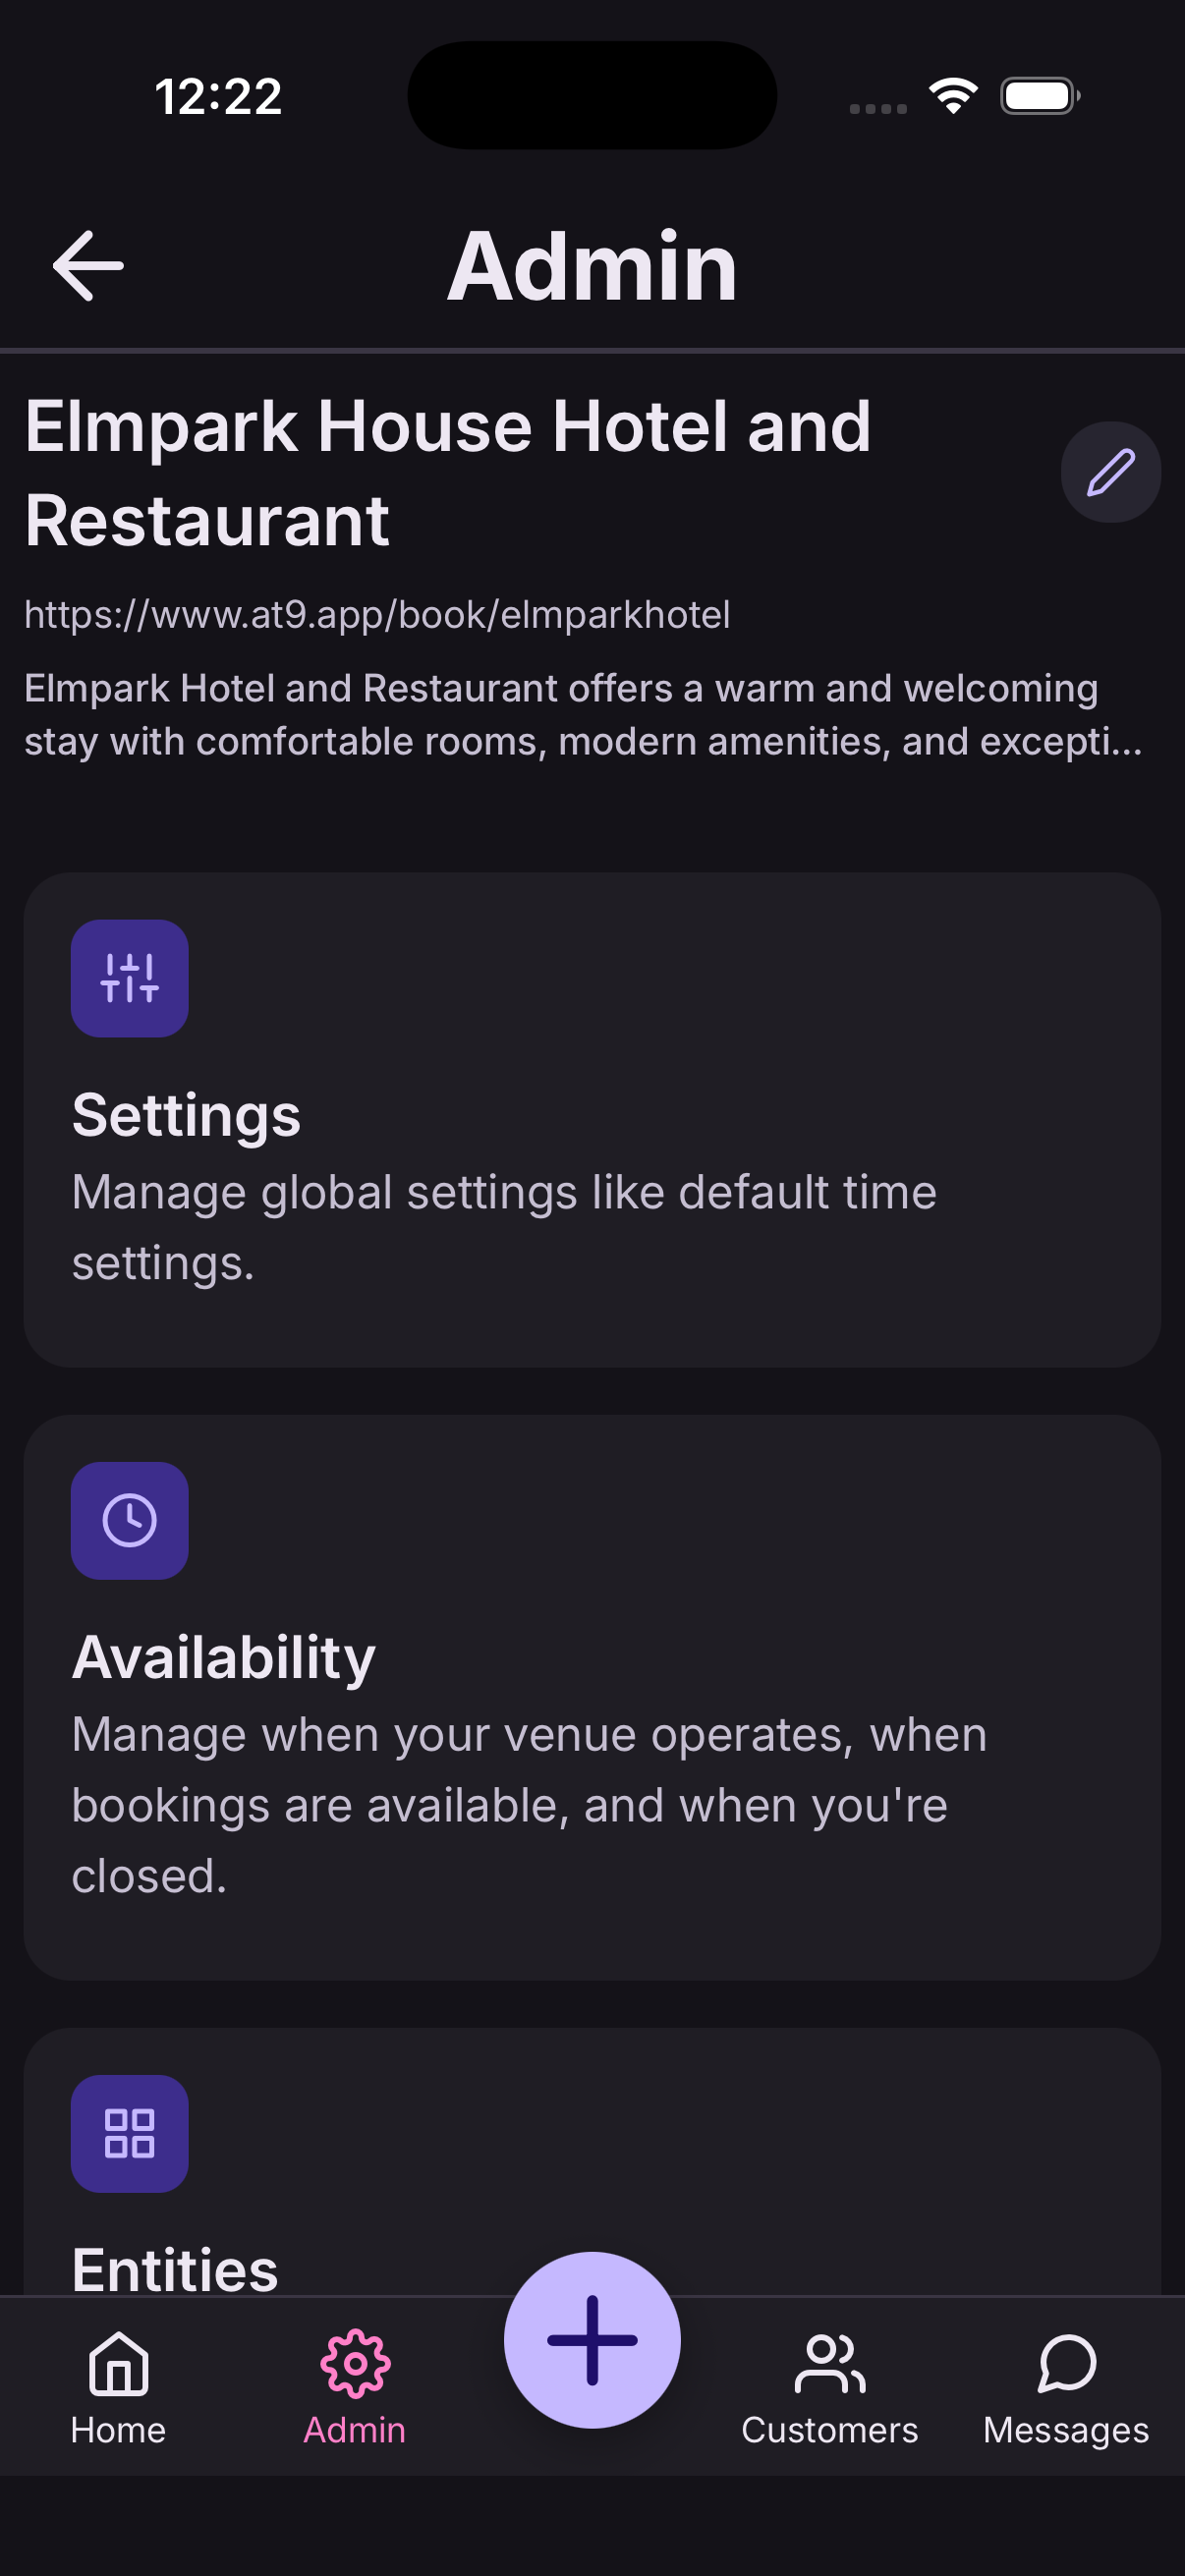
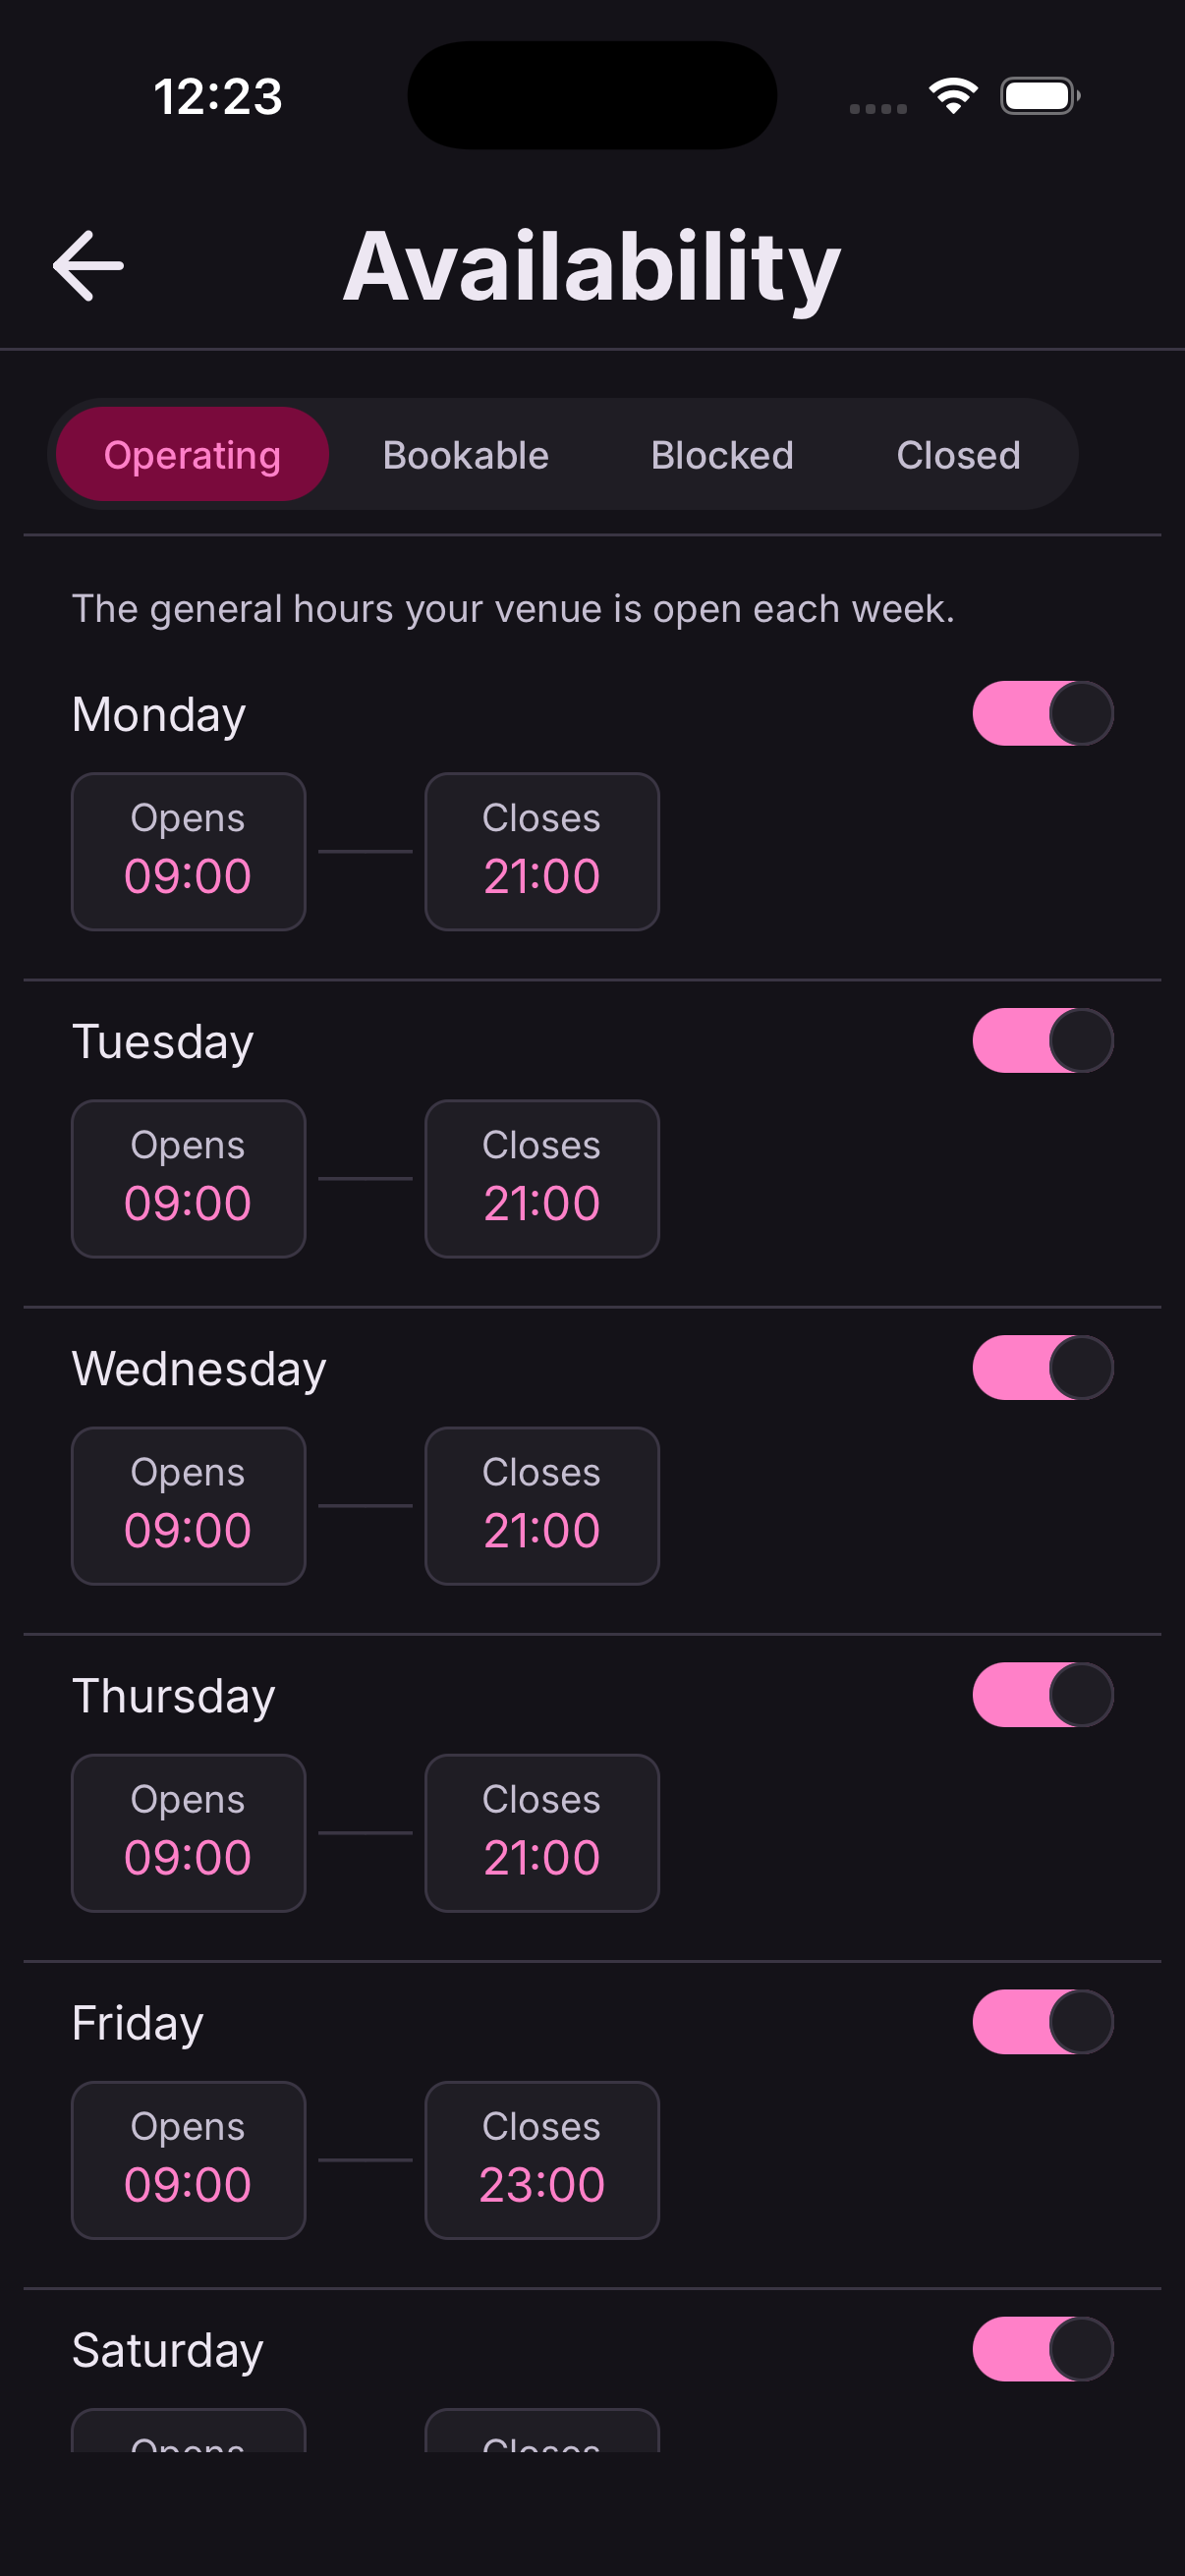
Operating hours
Go to Settings → Organisation and set when you open and close each day. Switch off any day you don't trade.
Nothing can be booked outside these hours, so they're the first thing to get right.
Bookable times
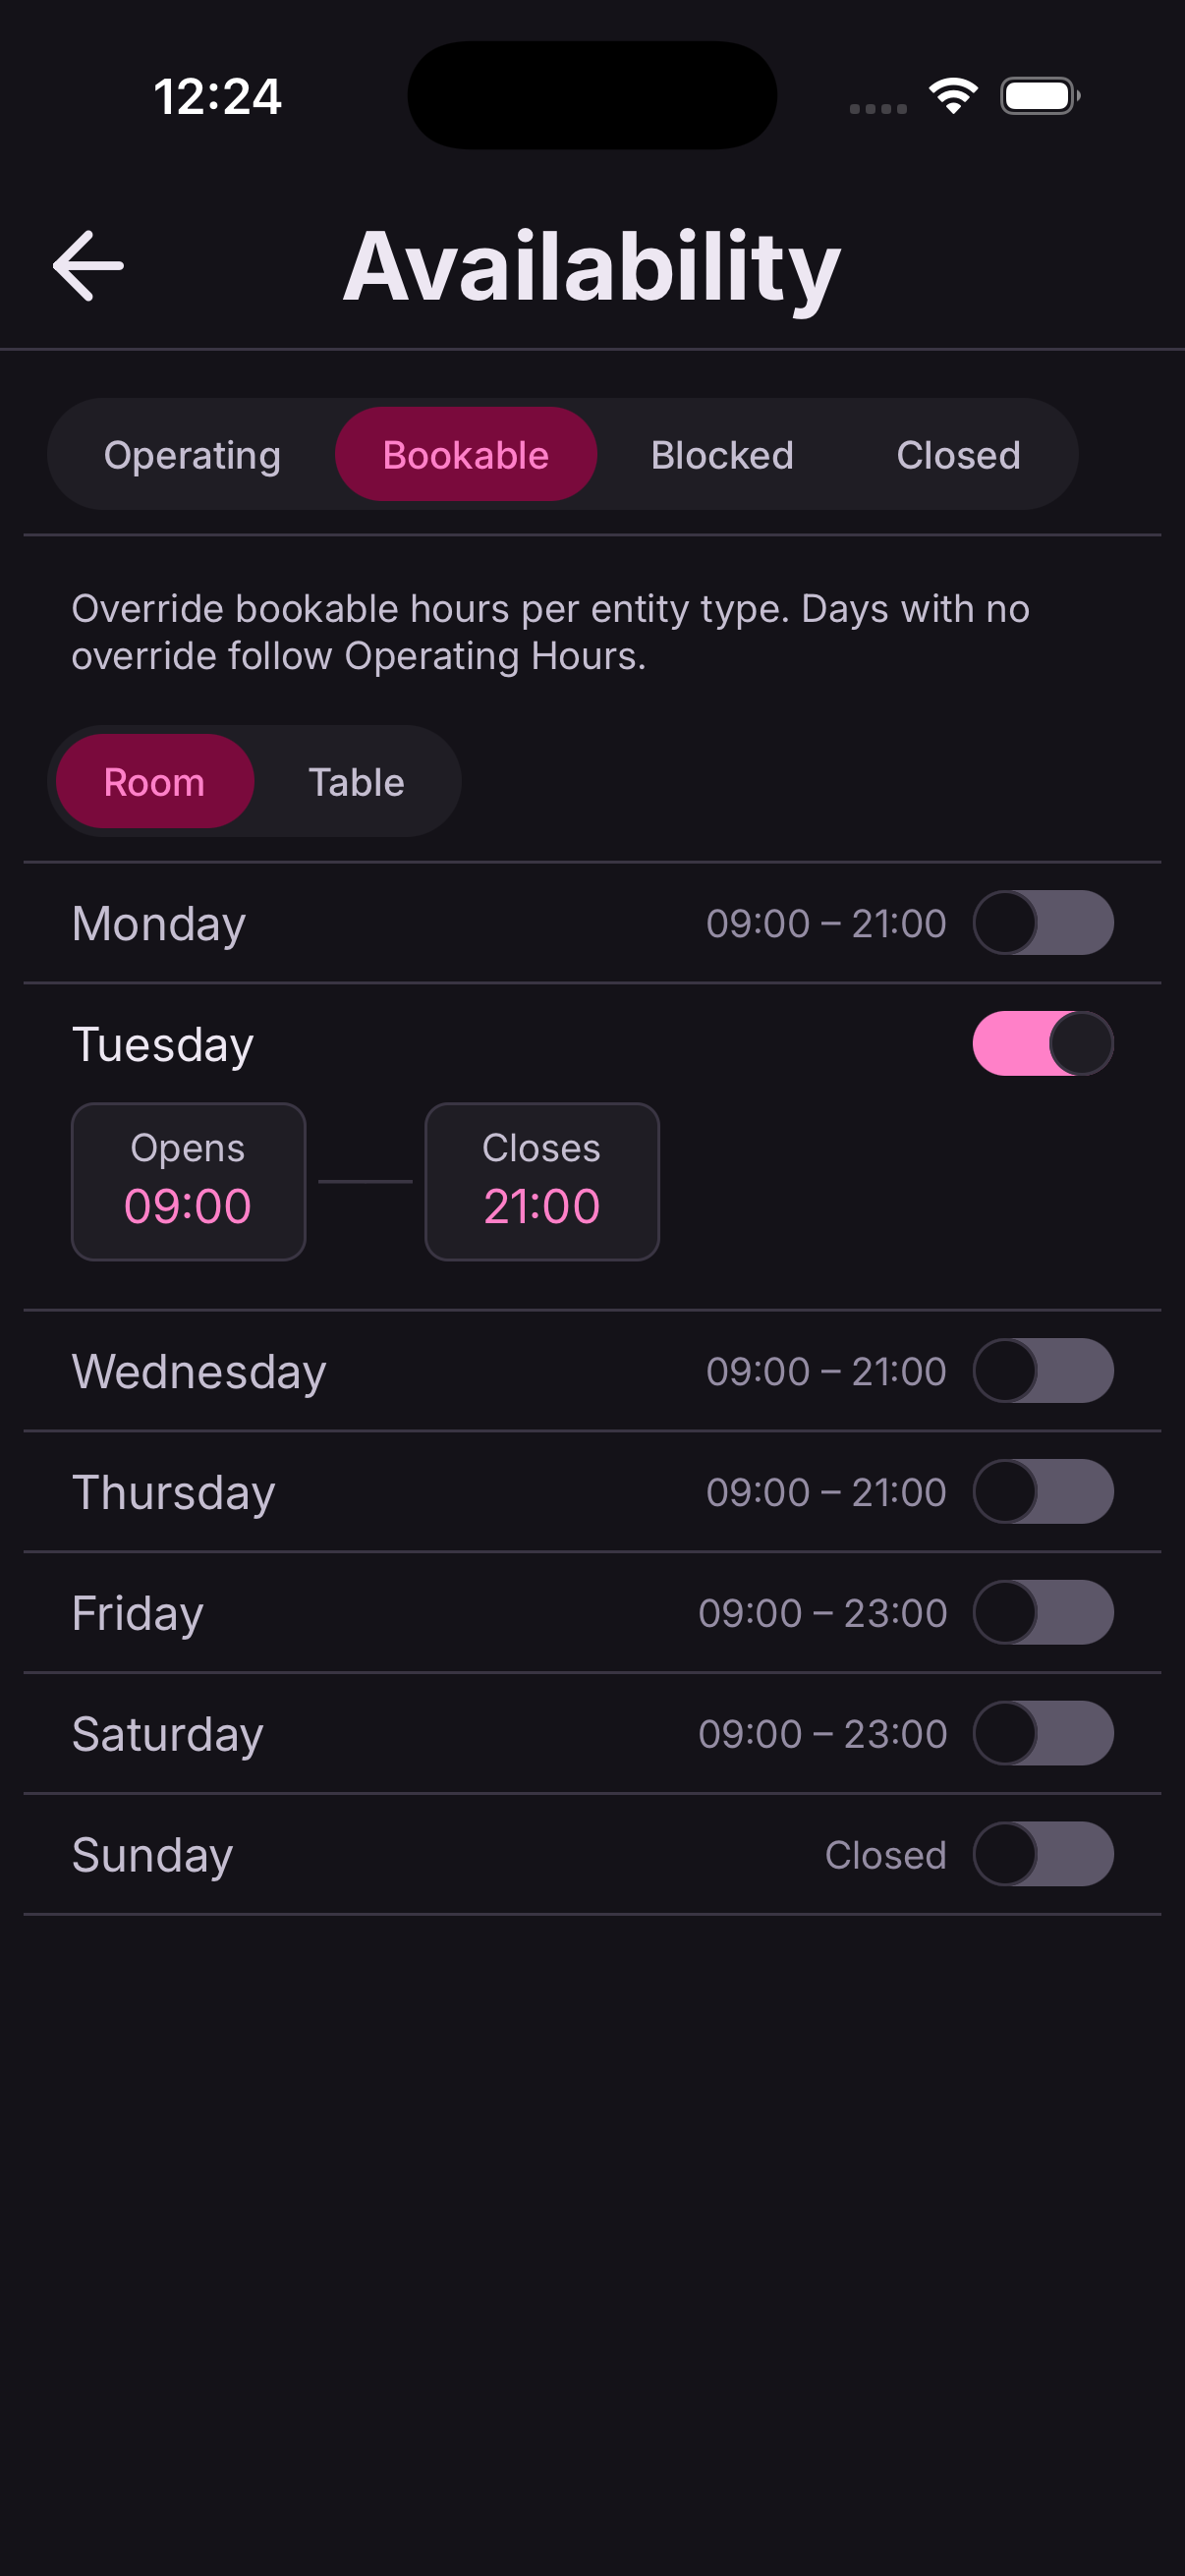
Go to Settings → Bookable times to set when each kind of thing can be booked — separately for rooms, tables, services, classes and events.
This is how a restaurant open all day takes table bookings only between 12–2 and 6–10.
Closed periods
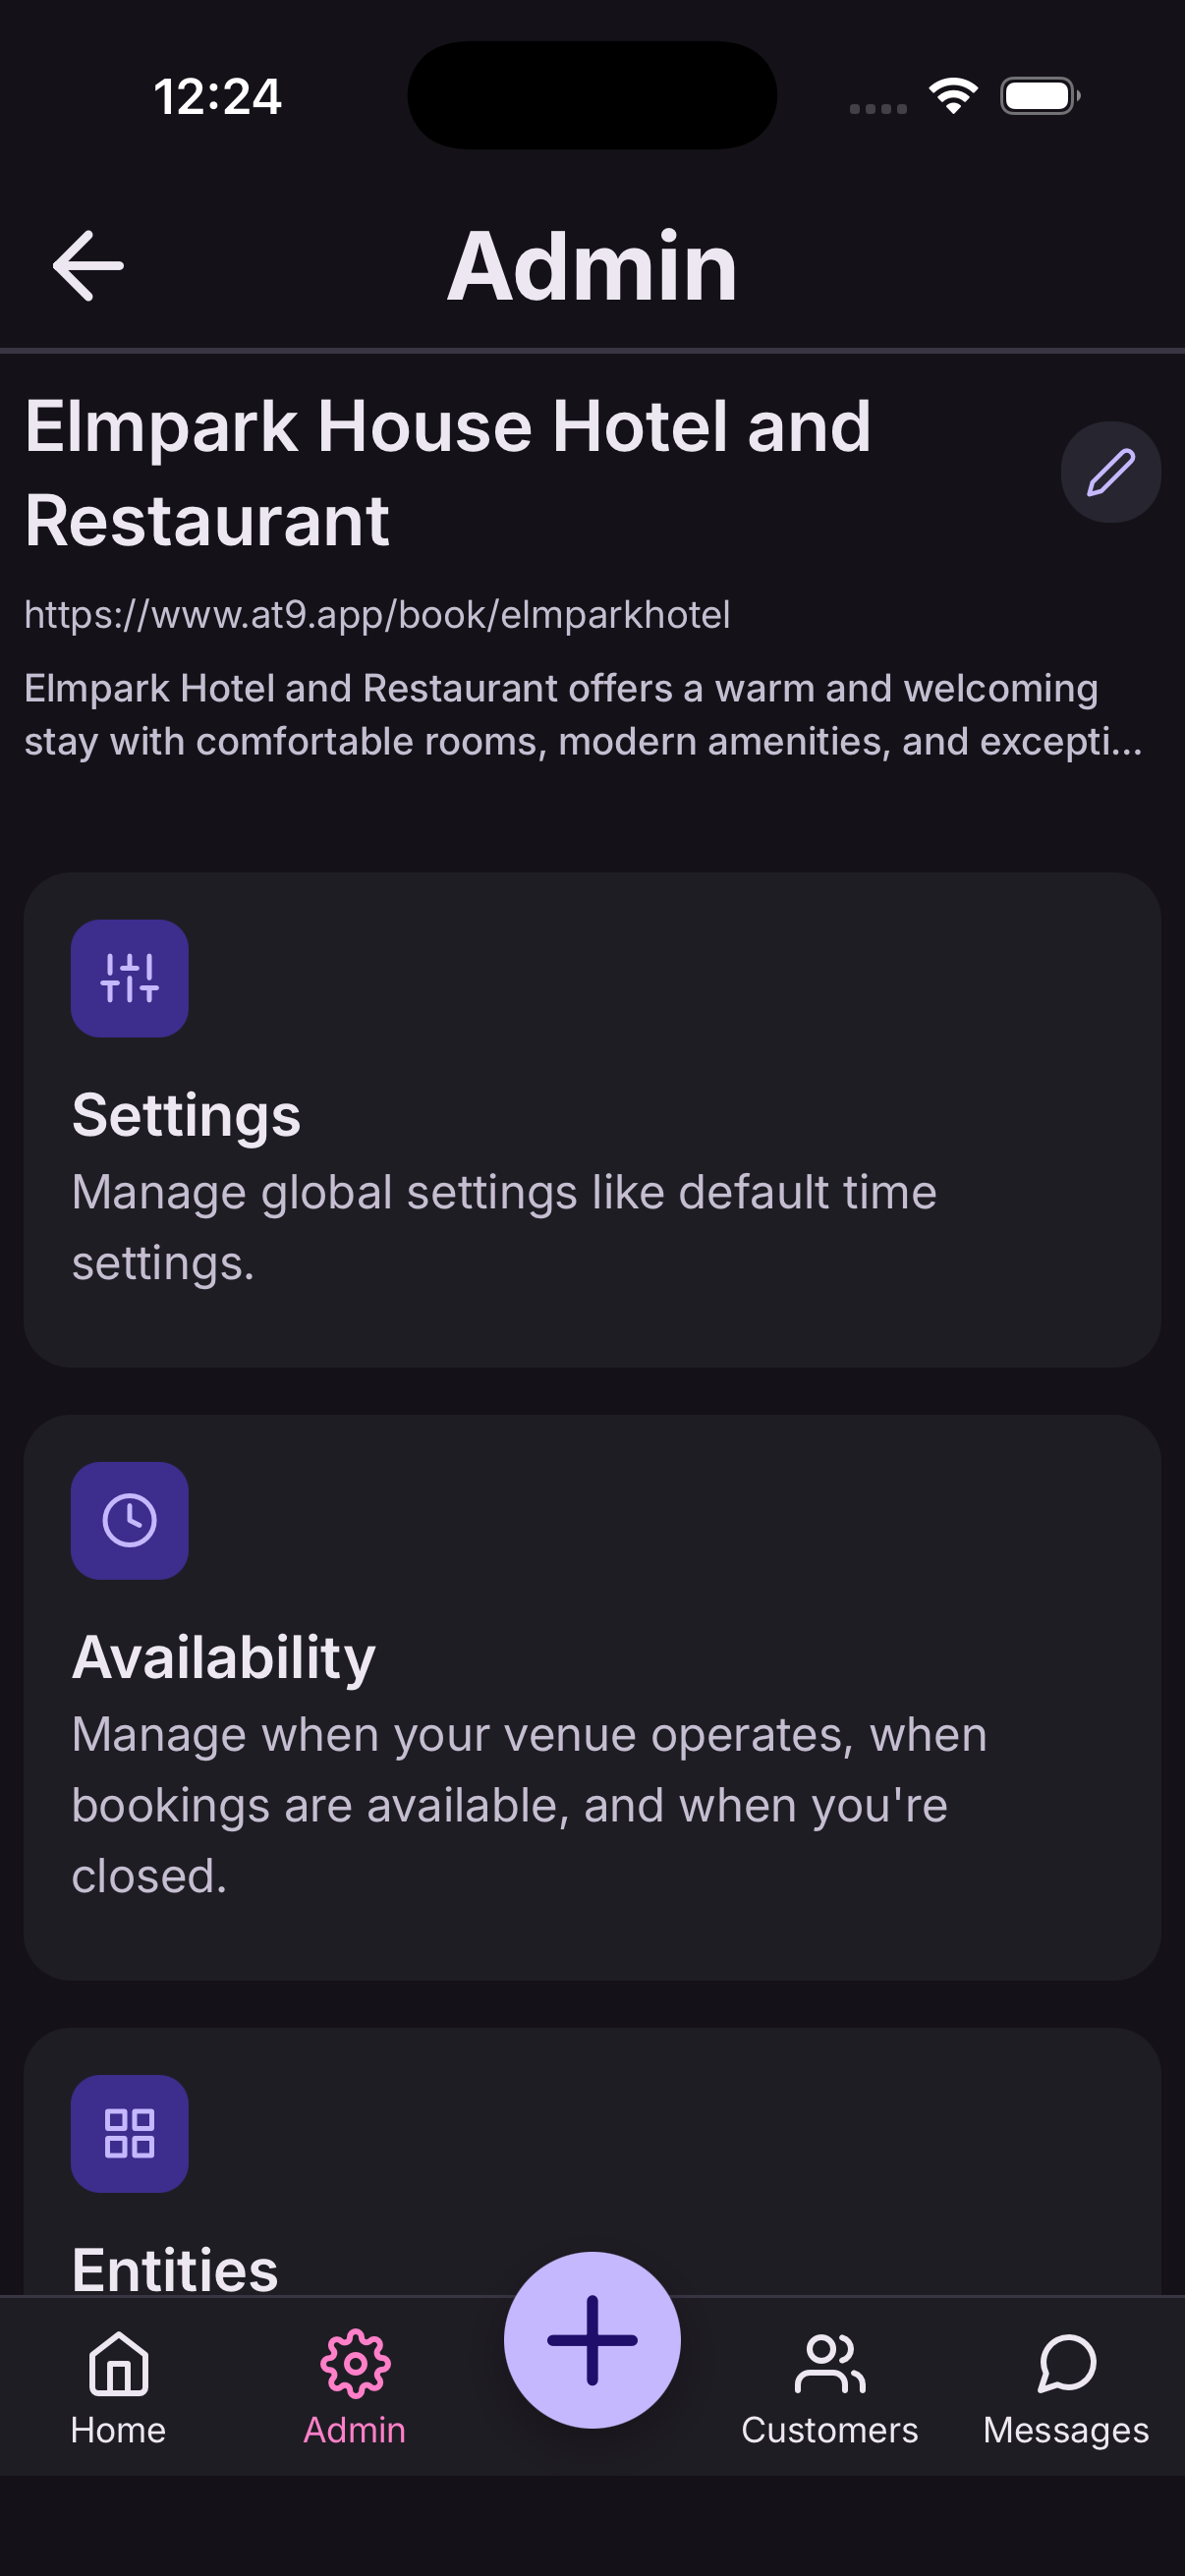
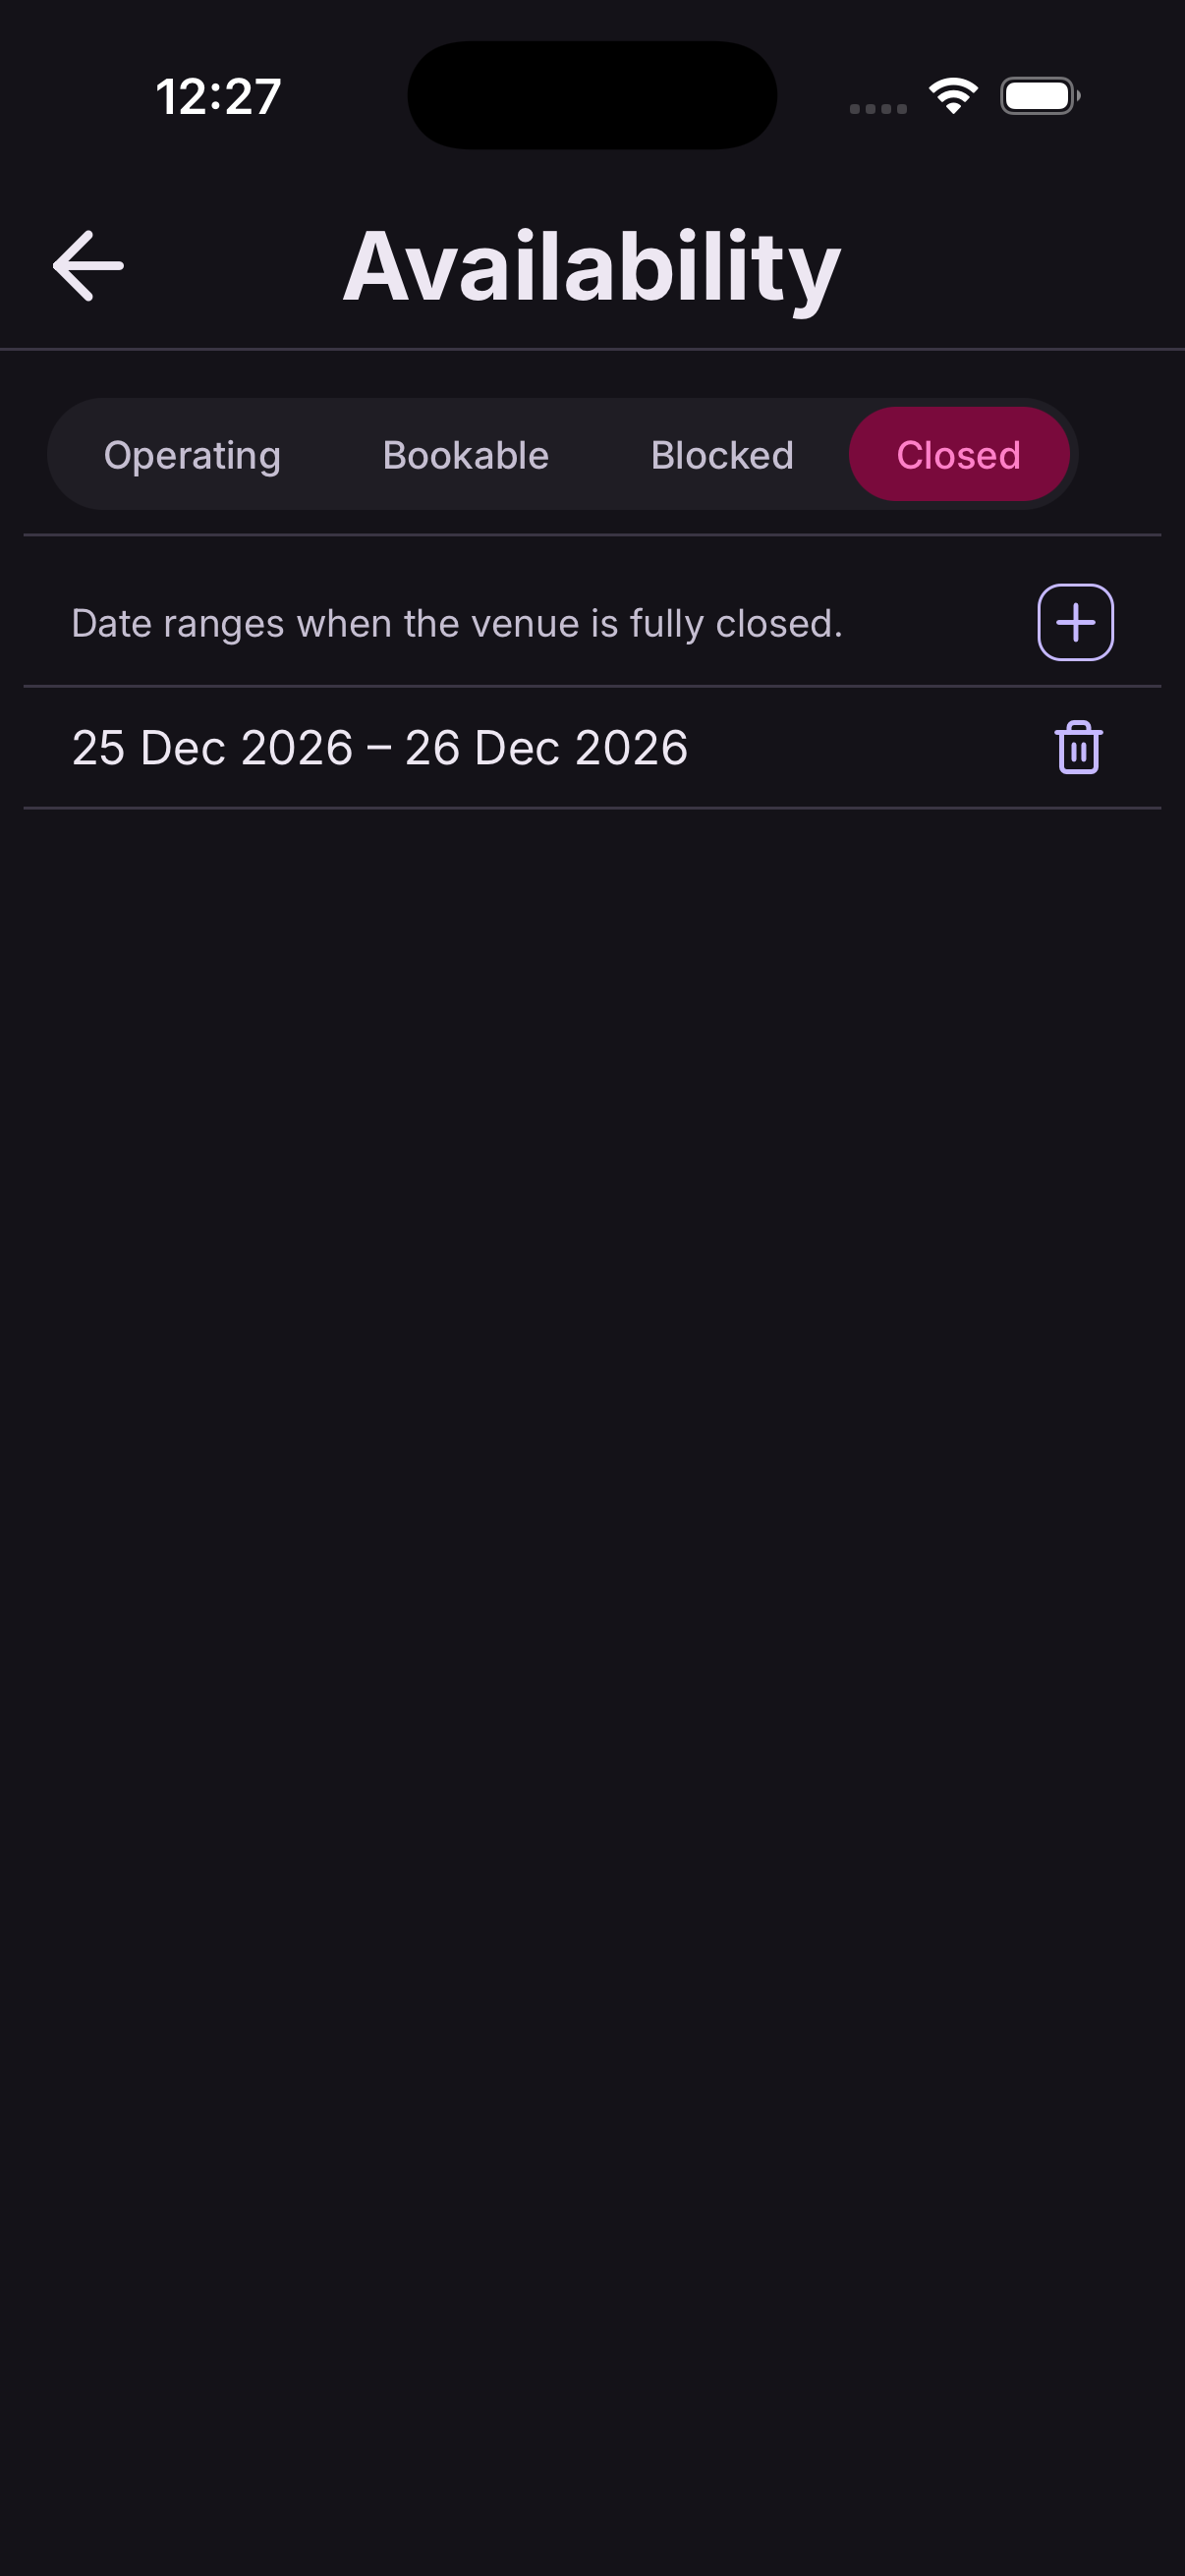
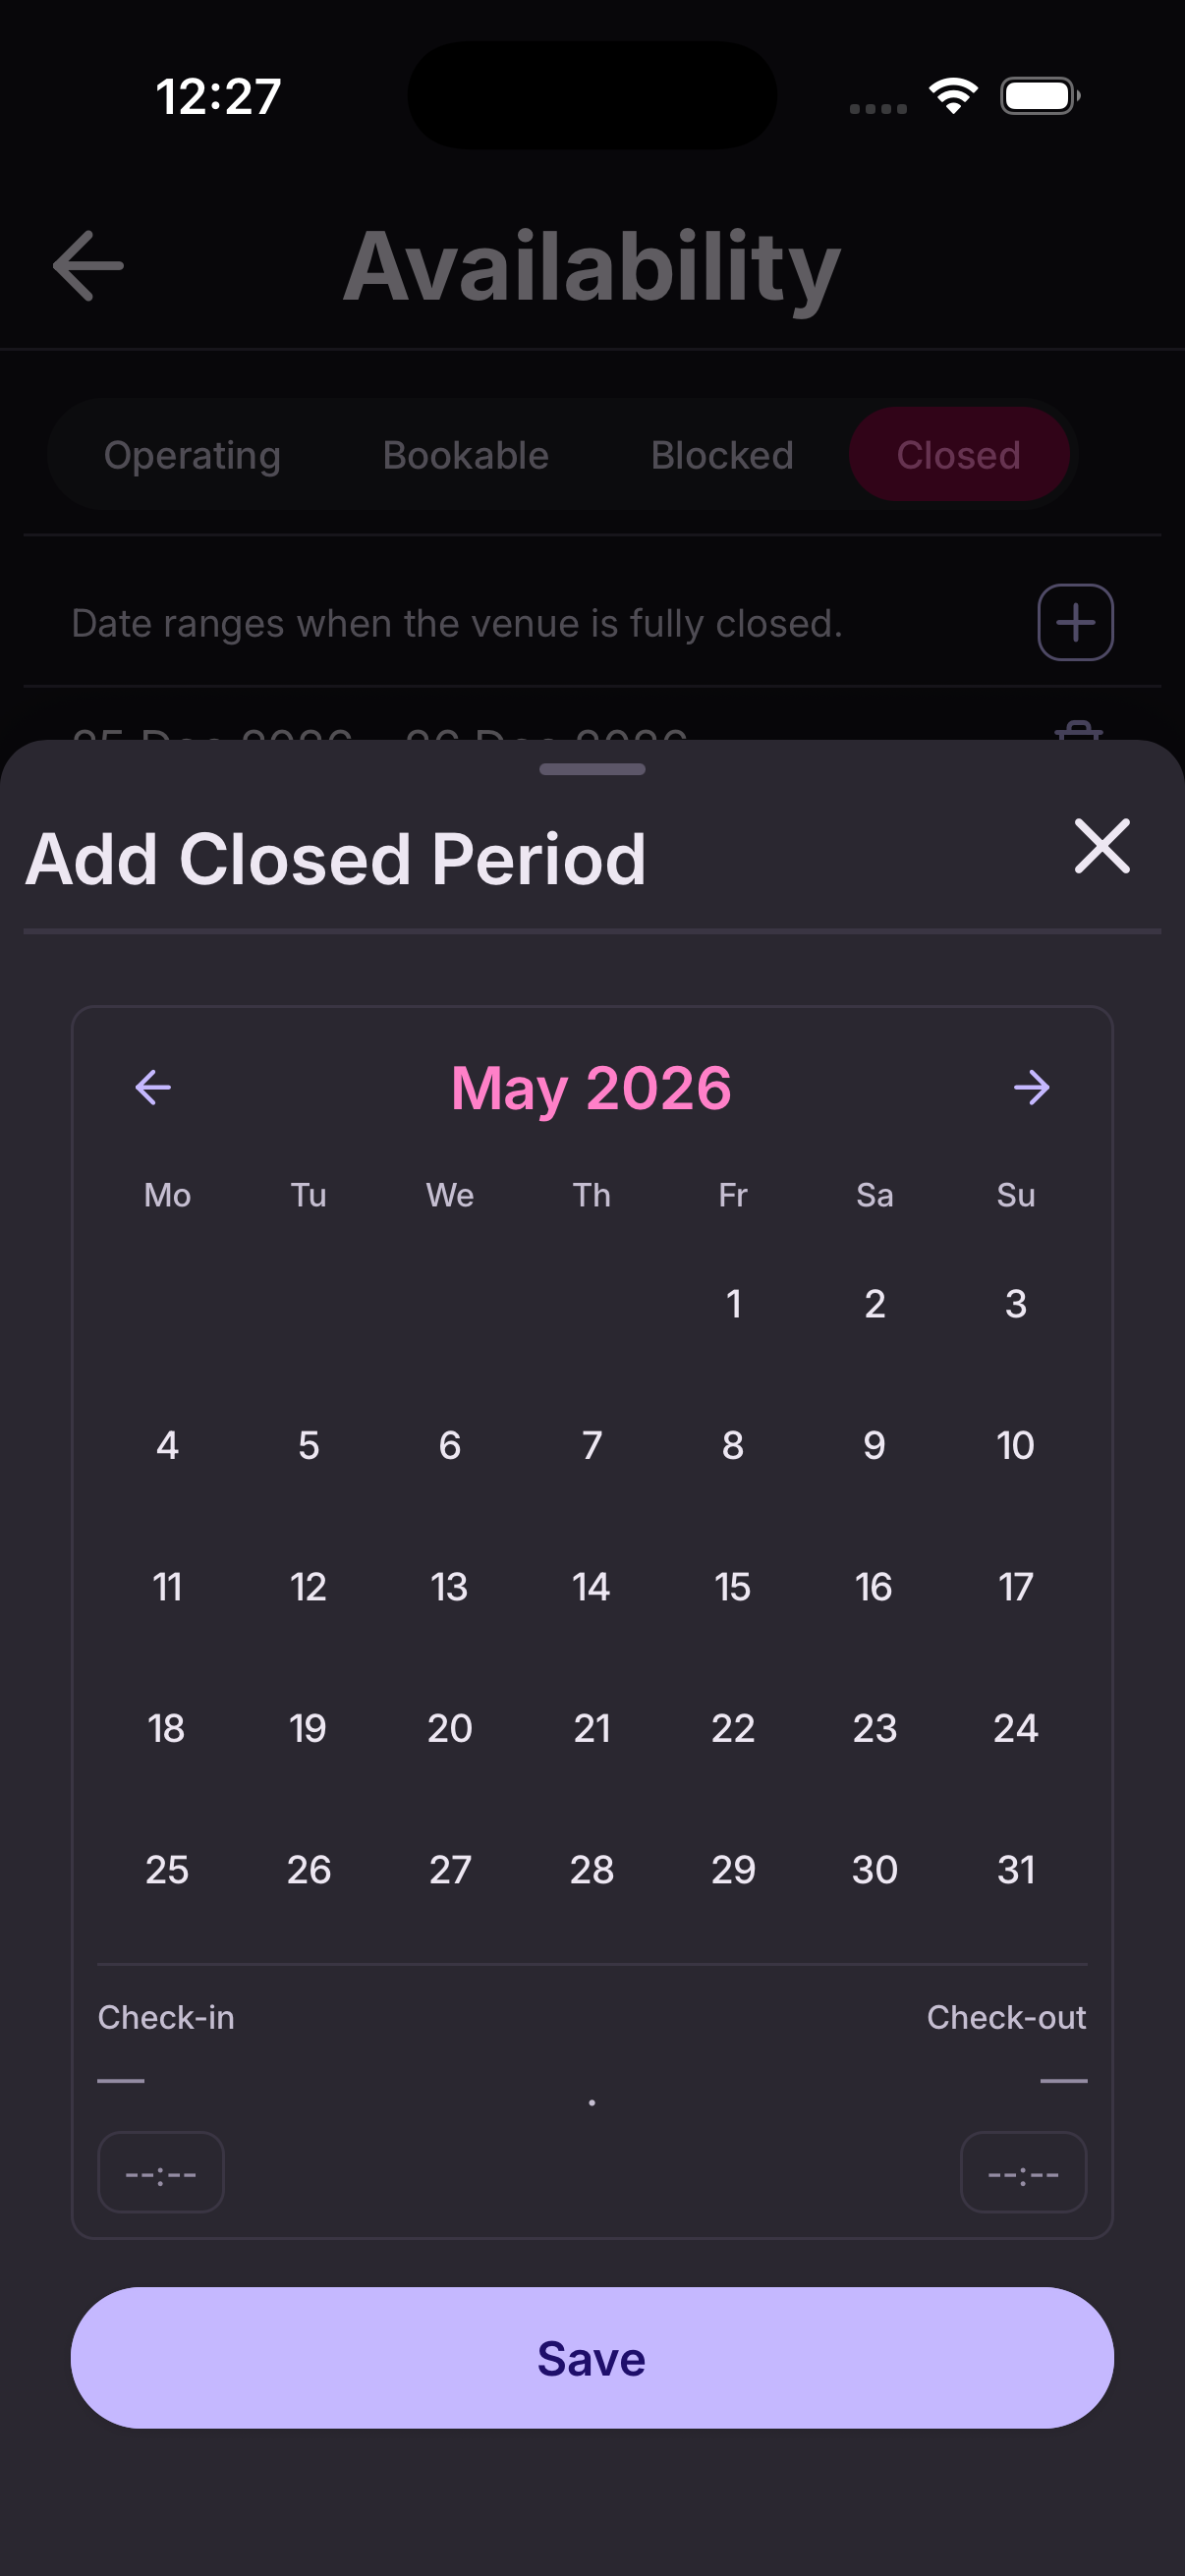
Go to Settings → Closed periods and add a date range you're shut — a bank holiday, a refurbishment, two weeks in August.
Nothing can be booked across those dates by anyone, and they're hidden from your booking link.
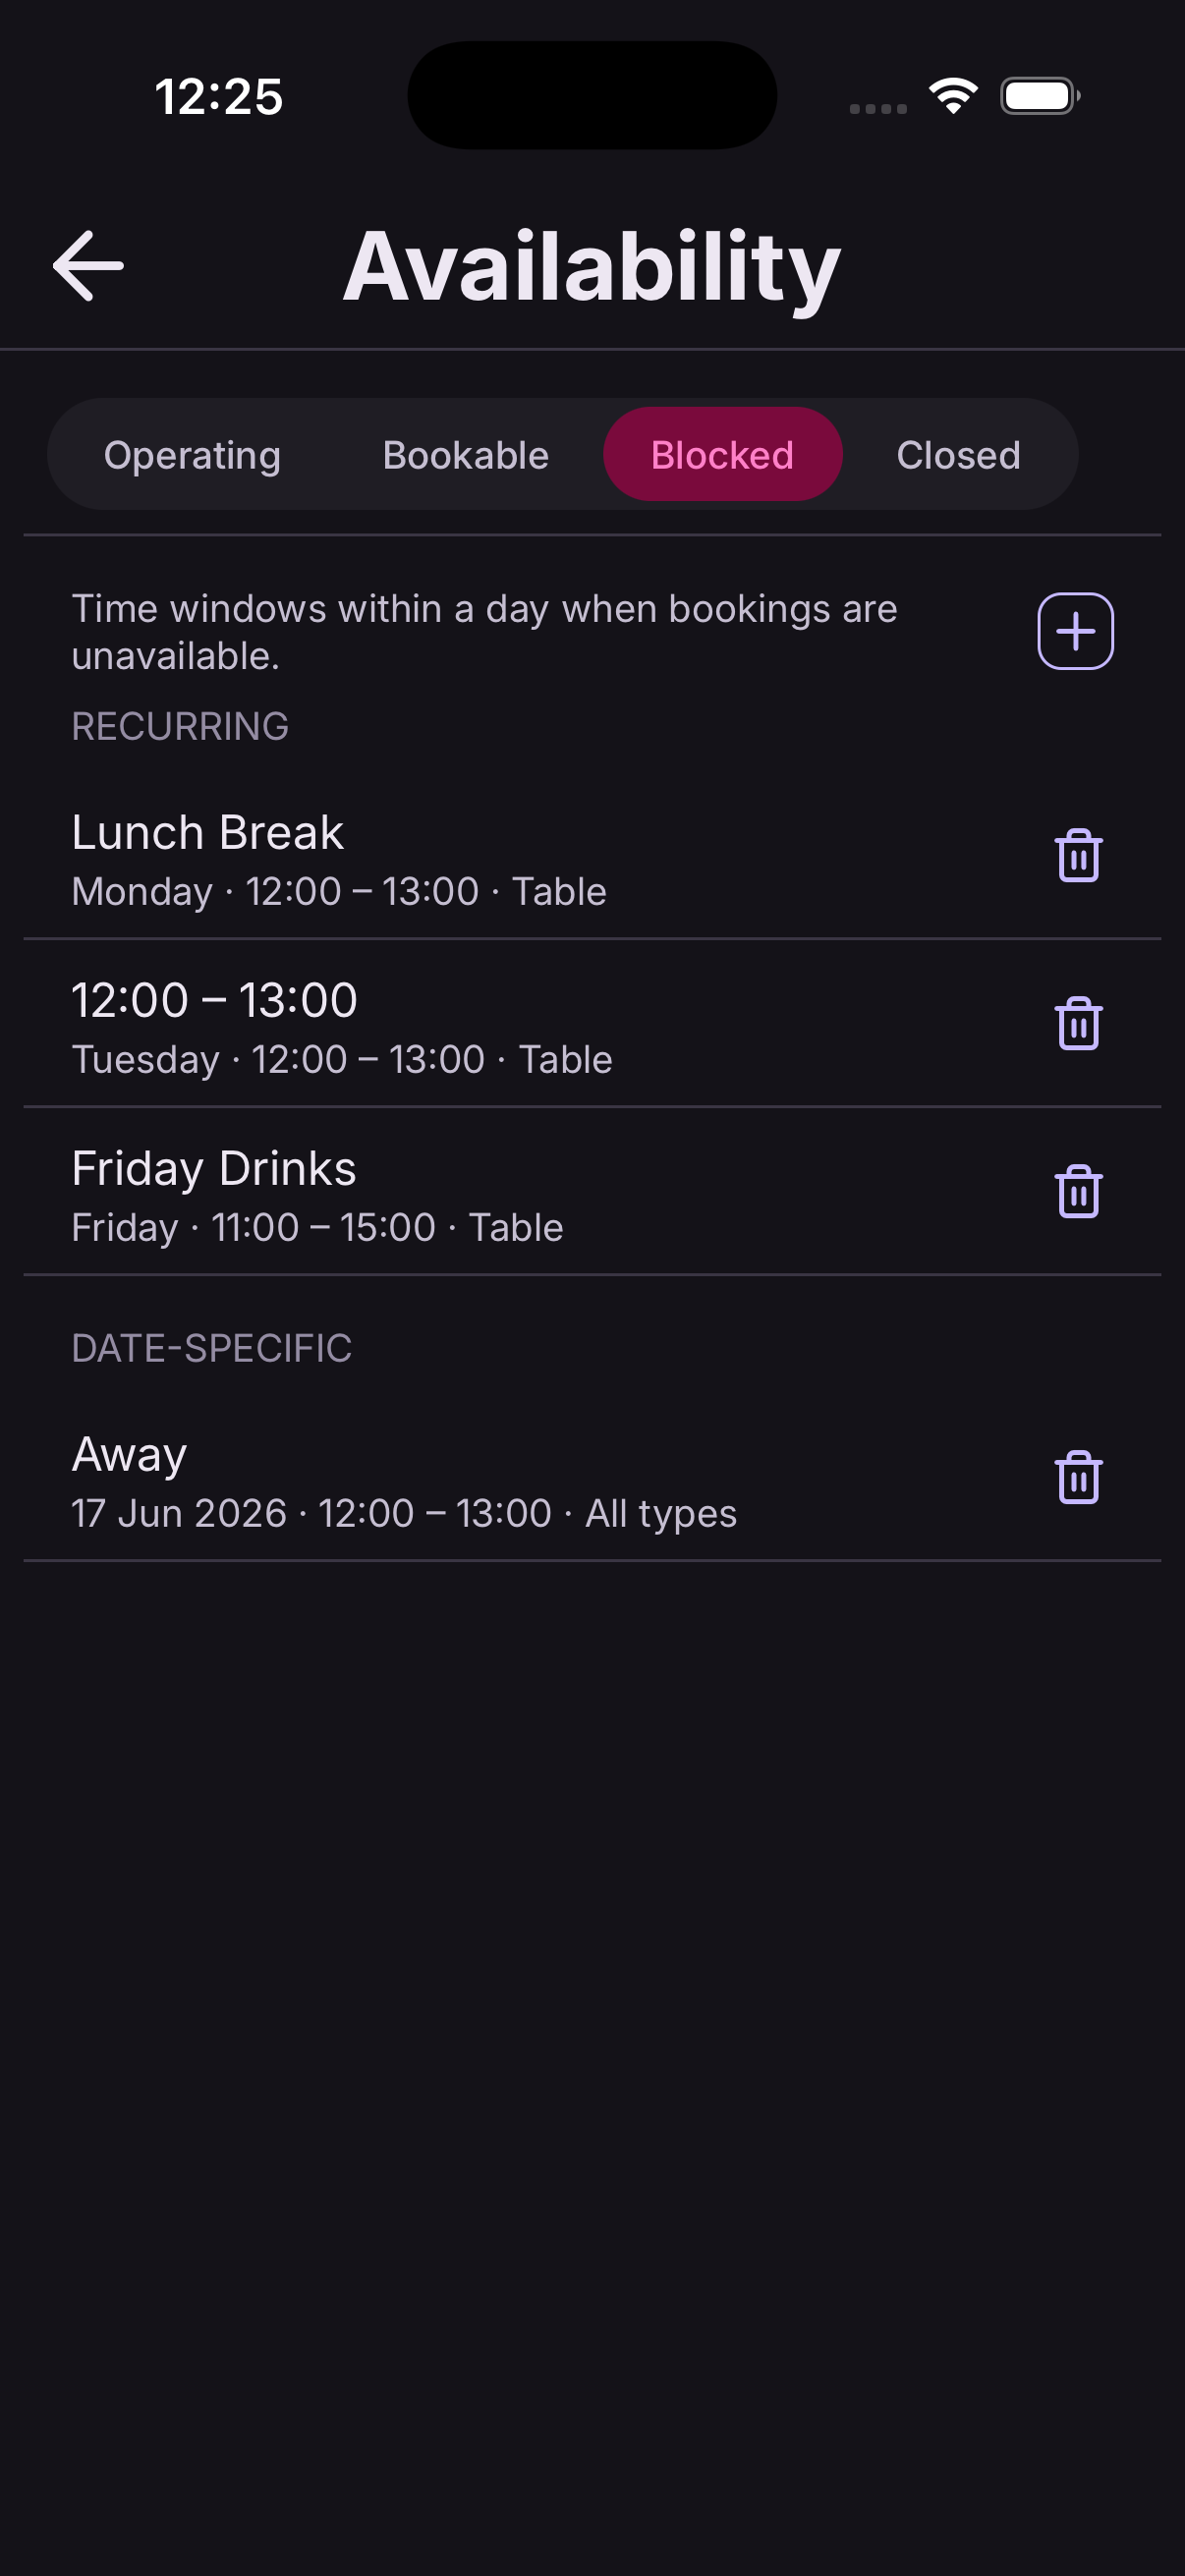
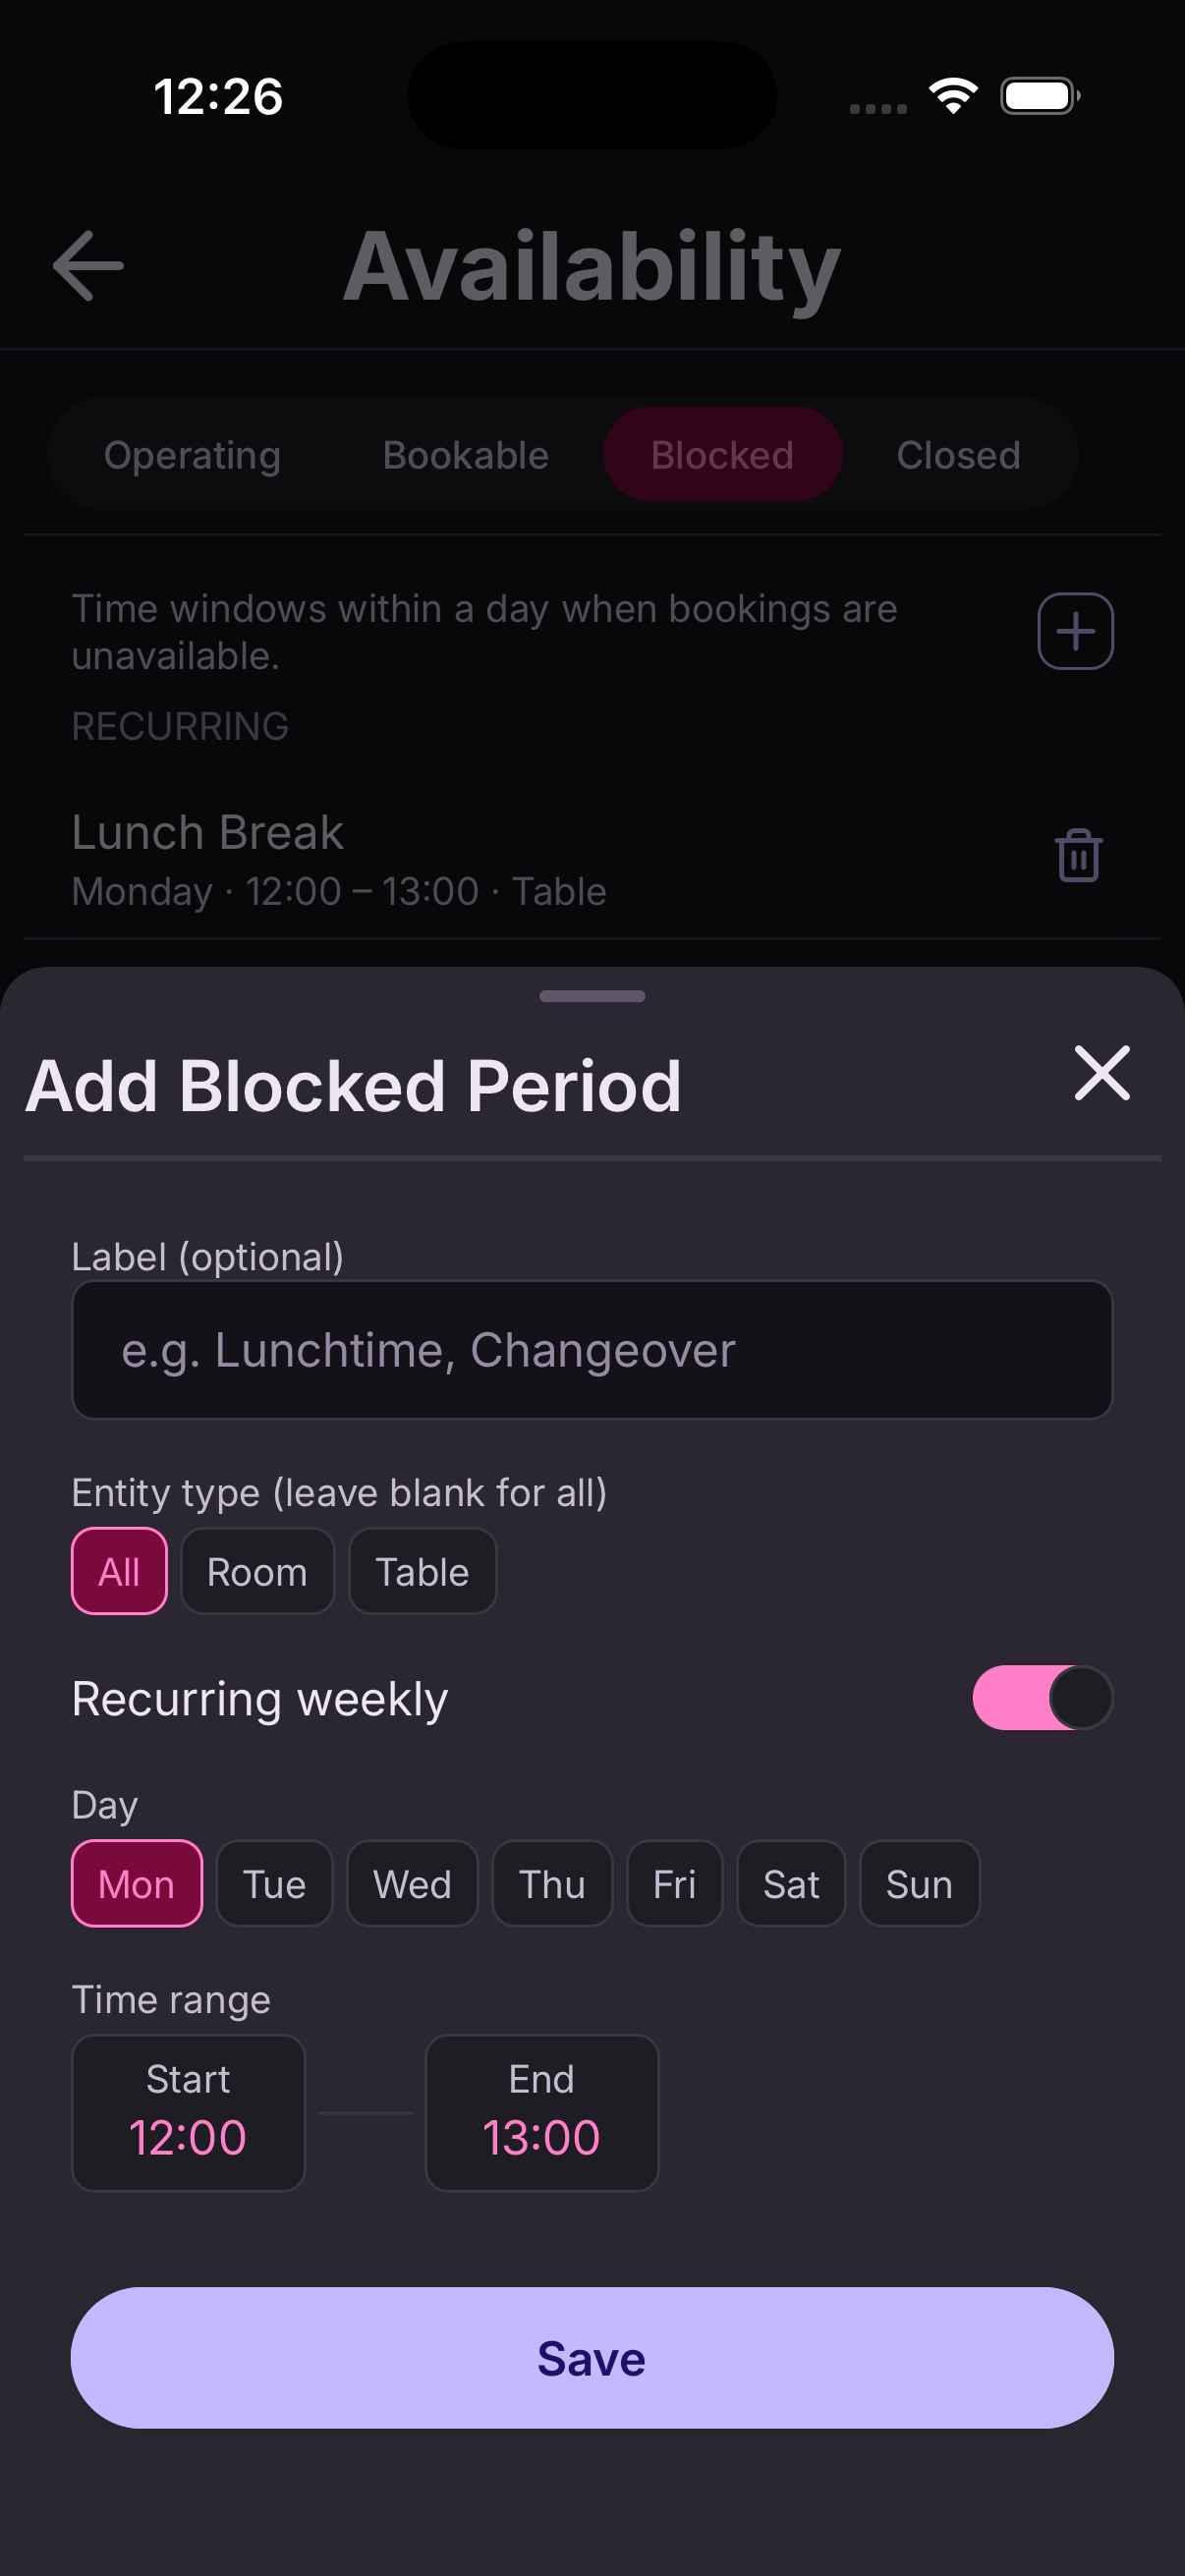
Blocked slots
Go to Settings → Blocked slots to block out a recurring part of the day — a lunch break, a standing delivery, cleaning between sittings.
Unlike a closed period, this repeats weekly on the days you choose.
Your own working hours
Go to Settings → My working hours to set the days and times you personally work, plus any leave.
This matters most for appointments: At9 only offers a customer a slot when the person providing that service is actually working and free.
Everyone on your team sets their own.
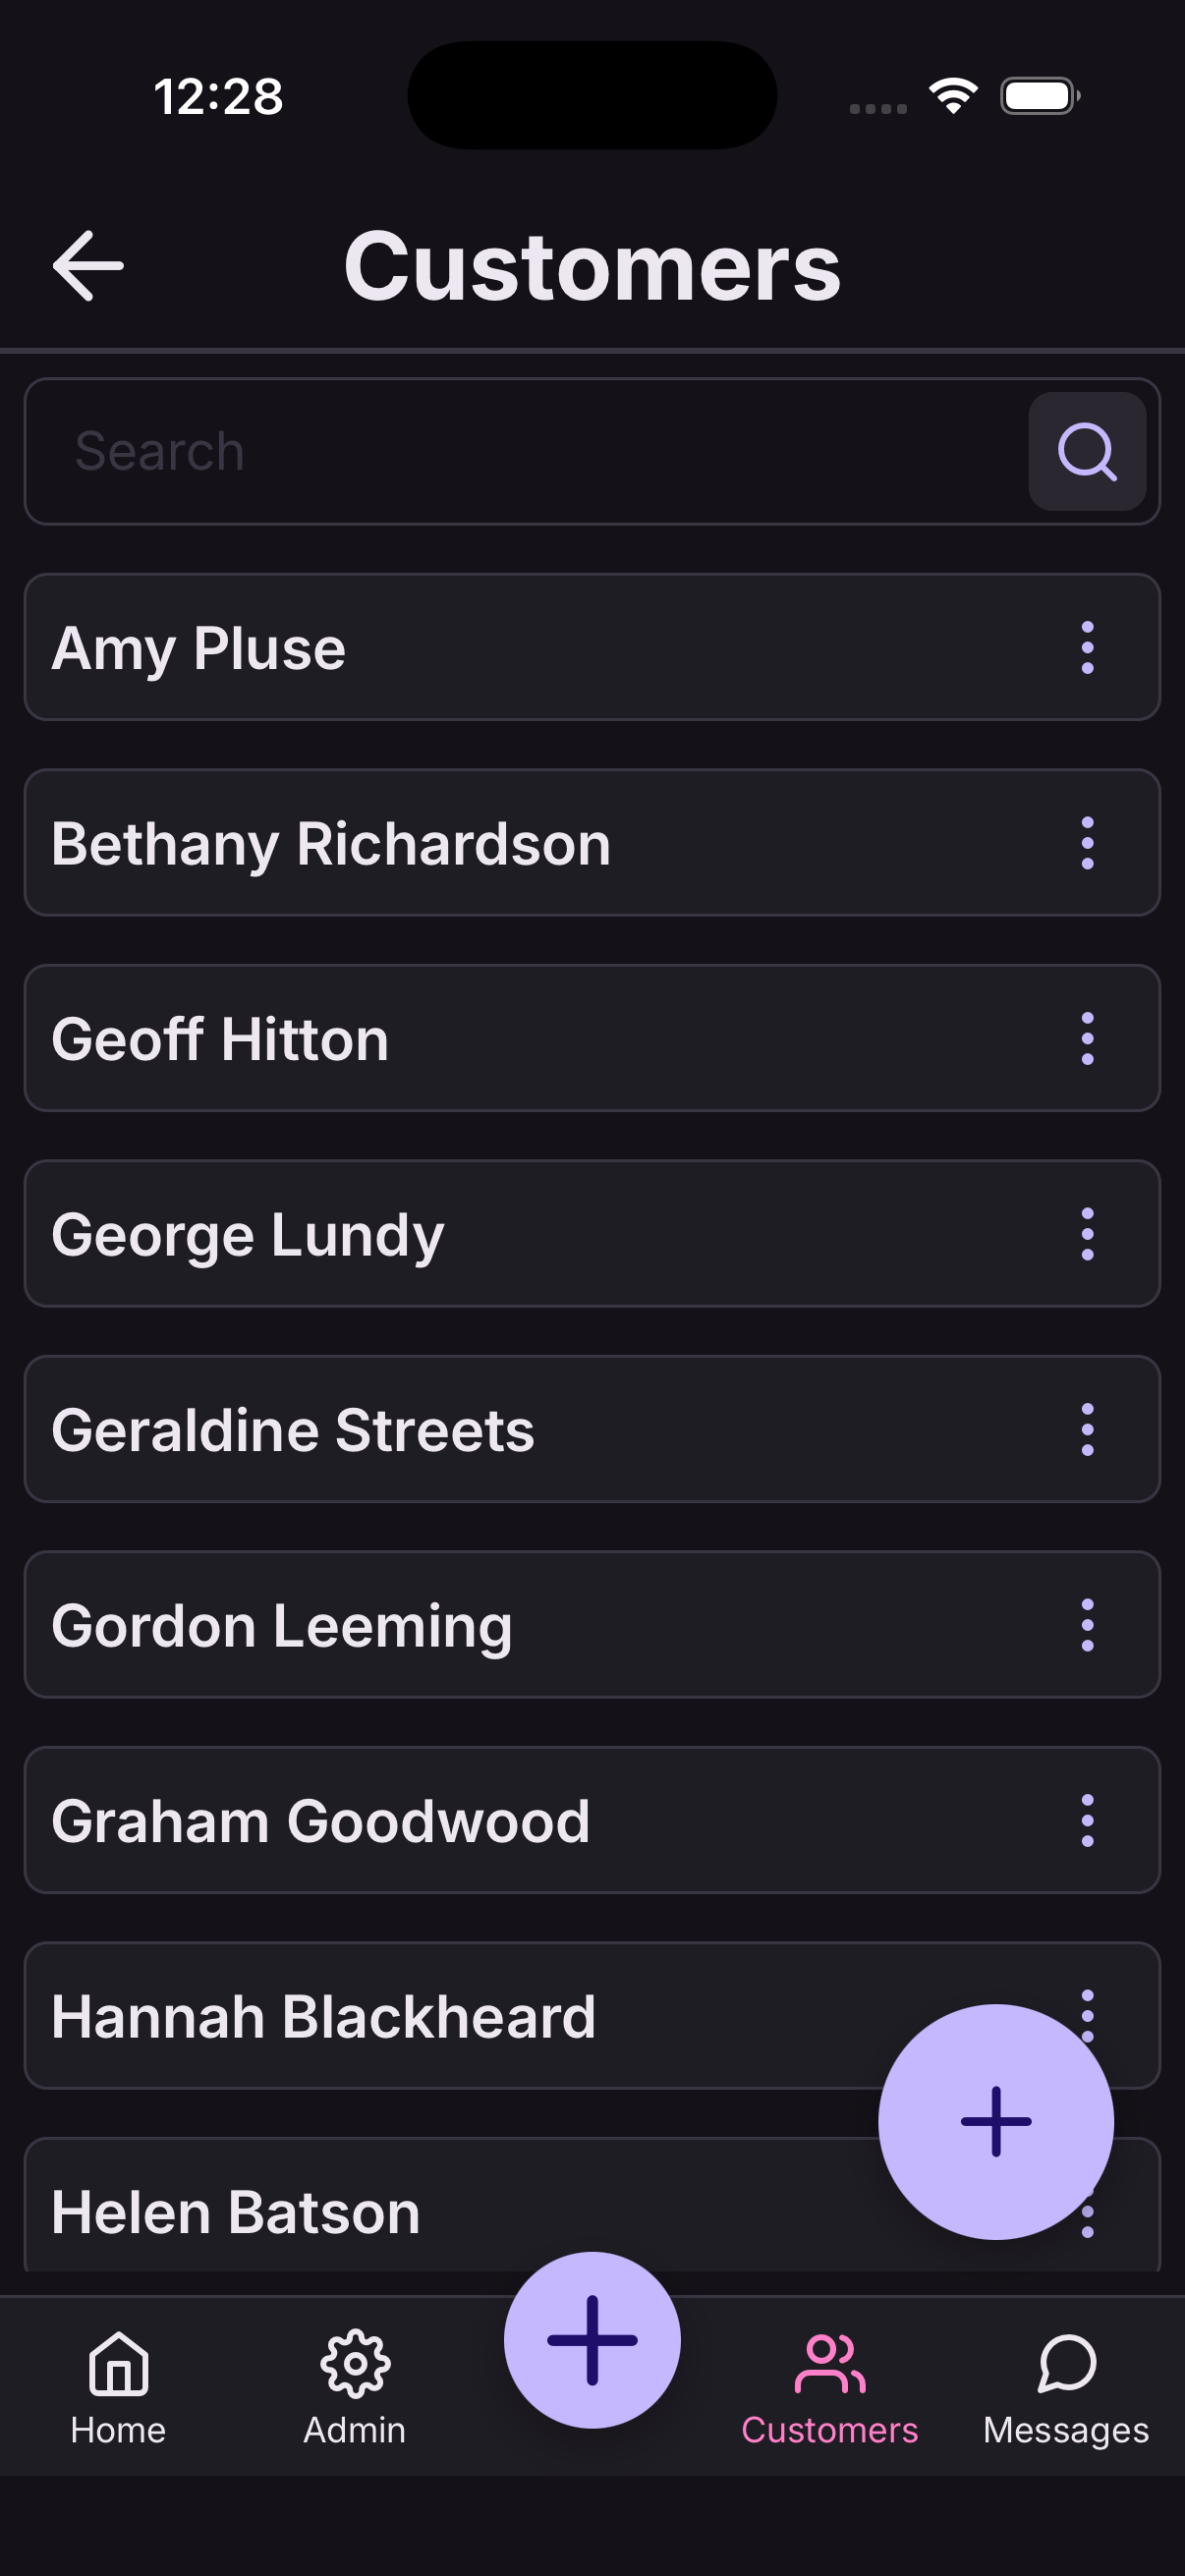
Add a customer
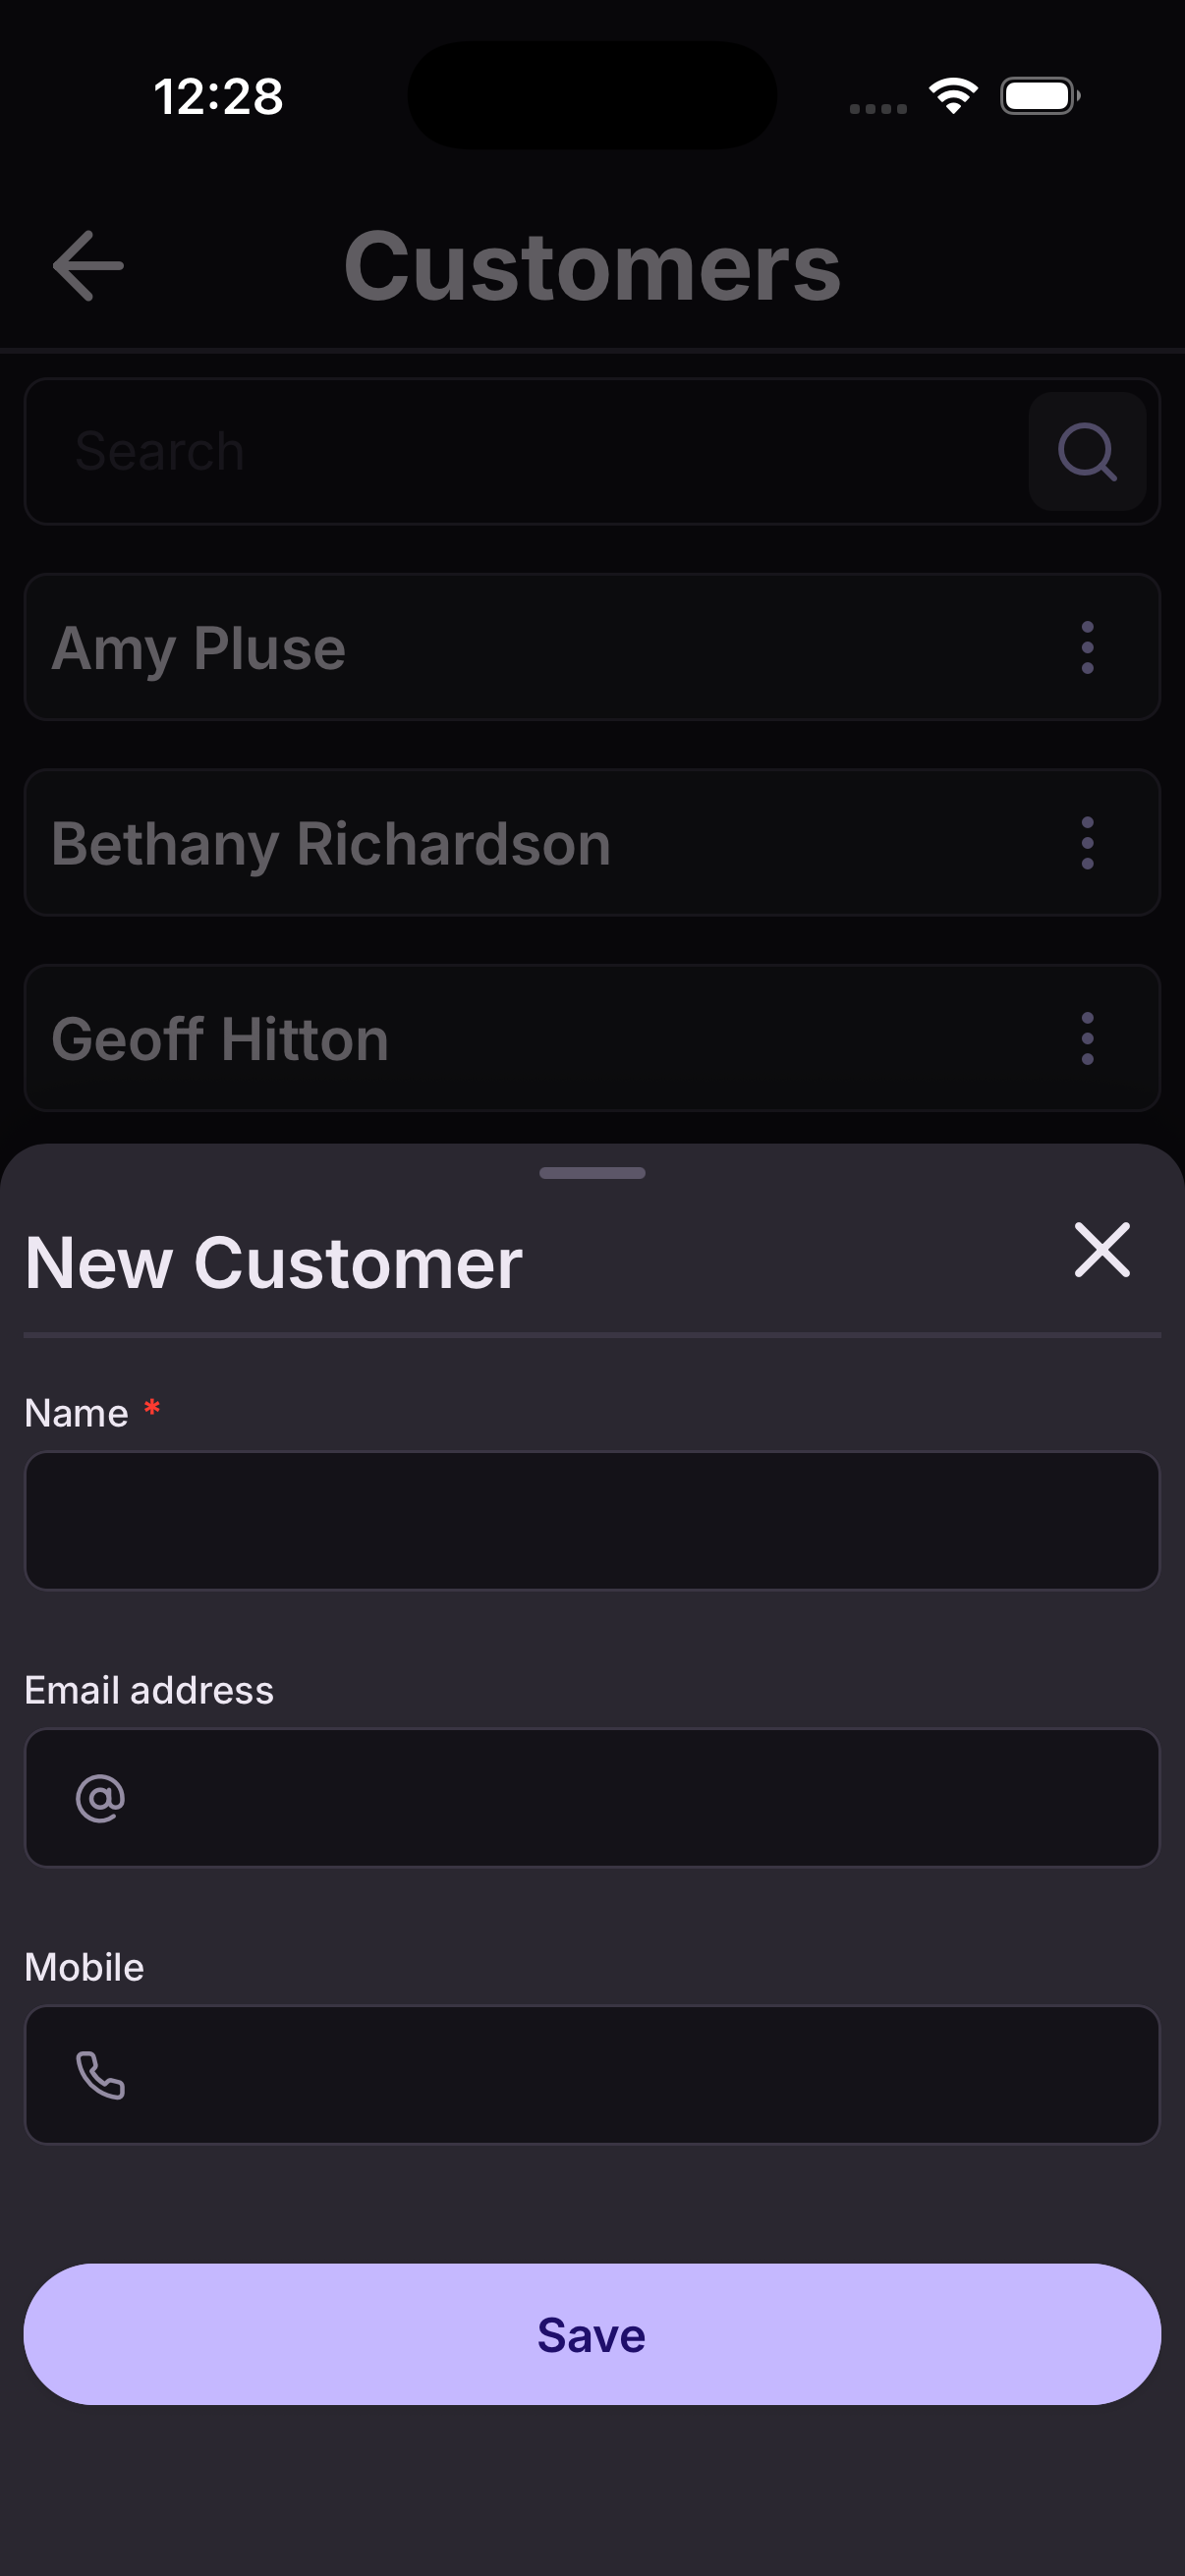
Go to Customers from the home screen and tap Add.
- Enter their name, and their email or mobile number.
- Tap Save.
You don't have to add customers up front — anyone who books gets a record automatically, whether they booked with you or online.
Find a customer
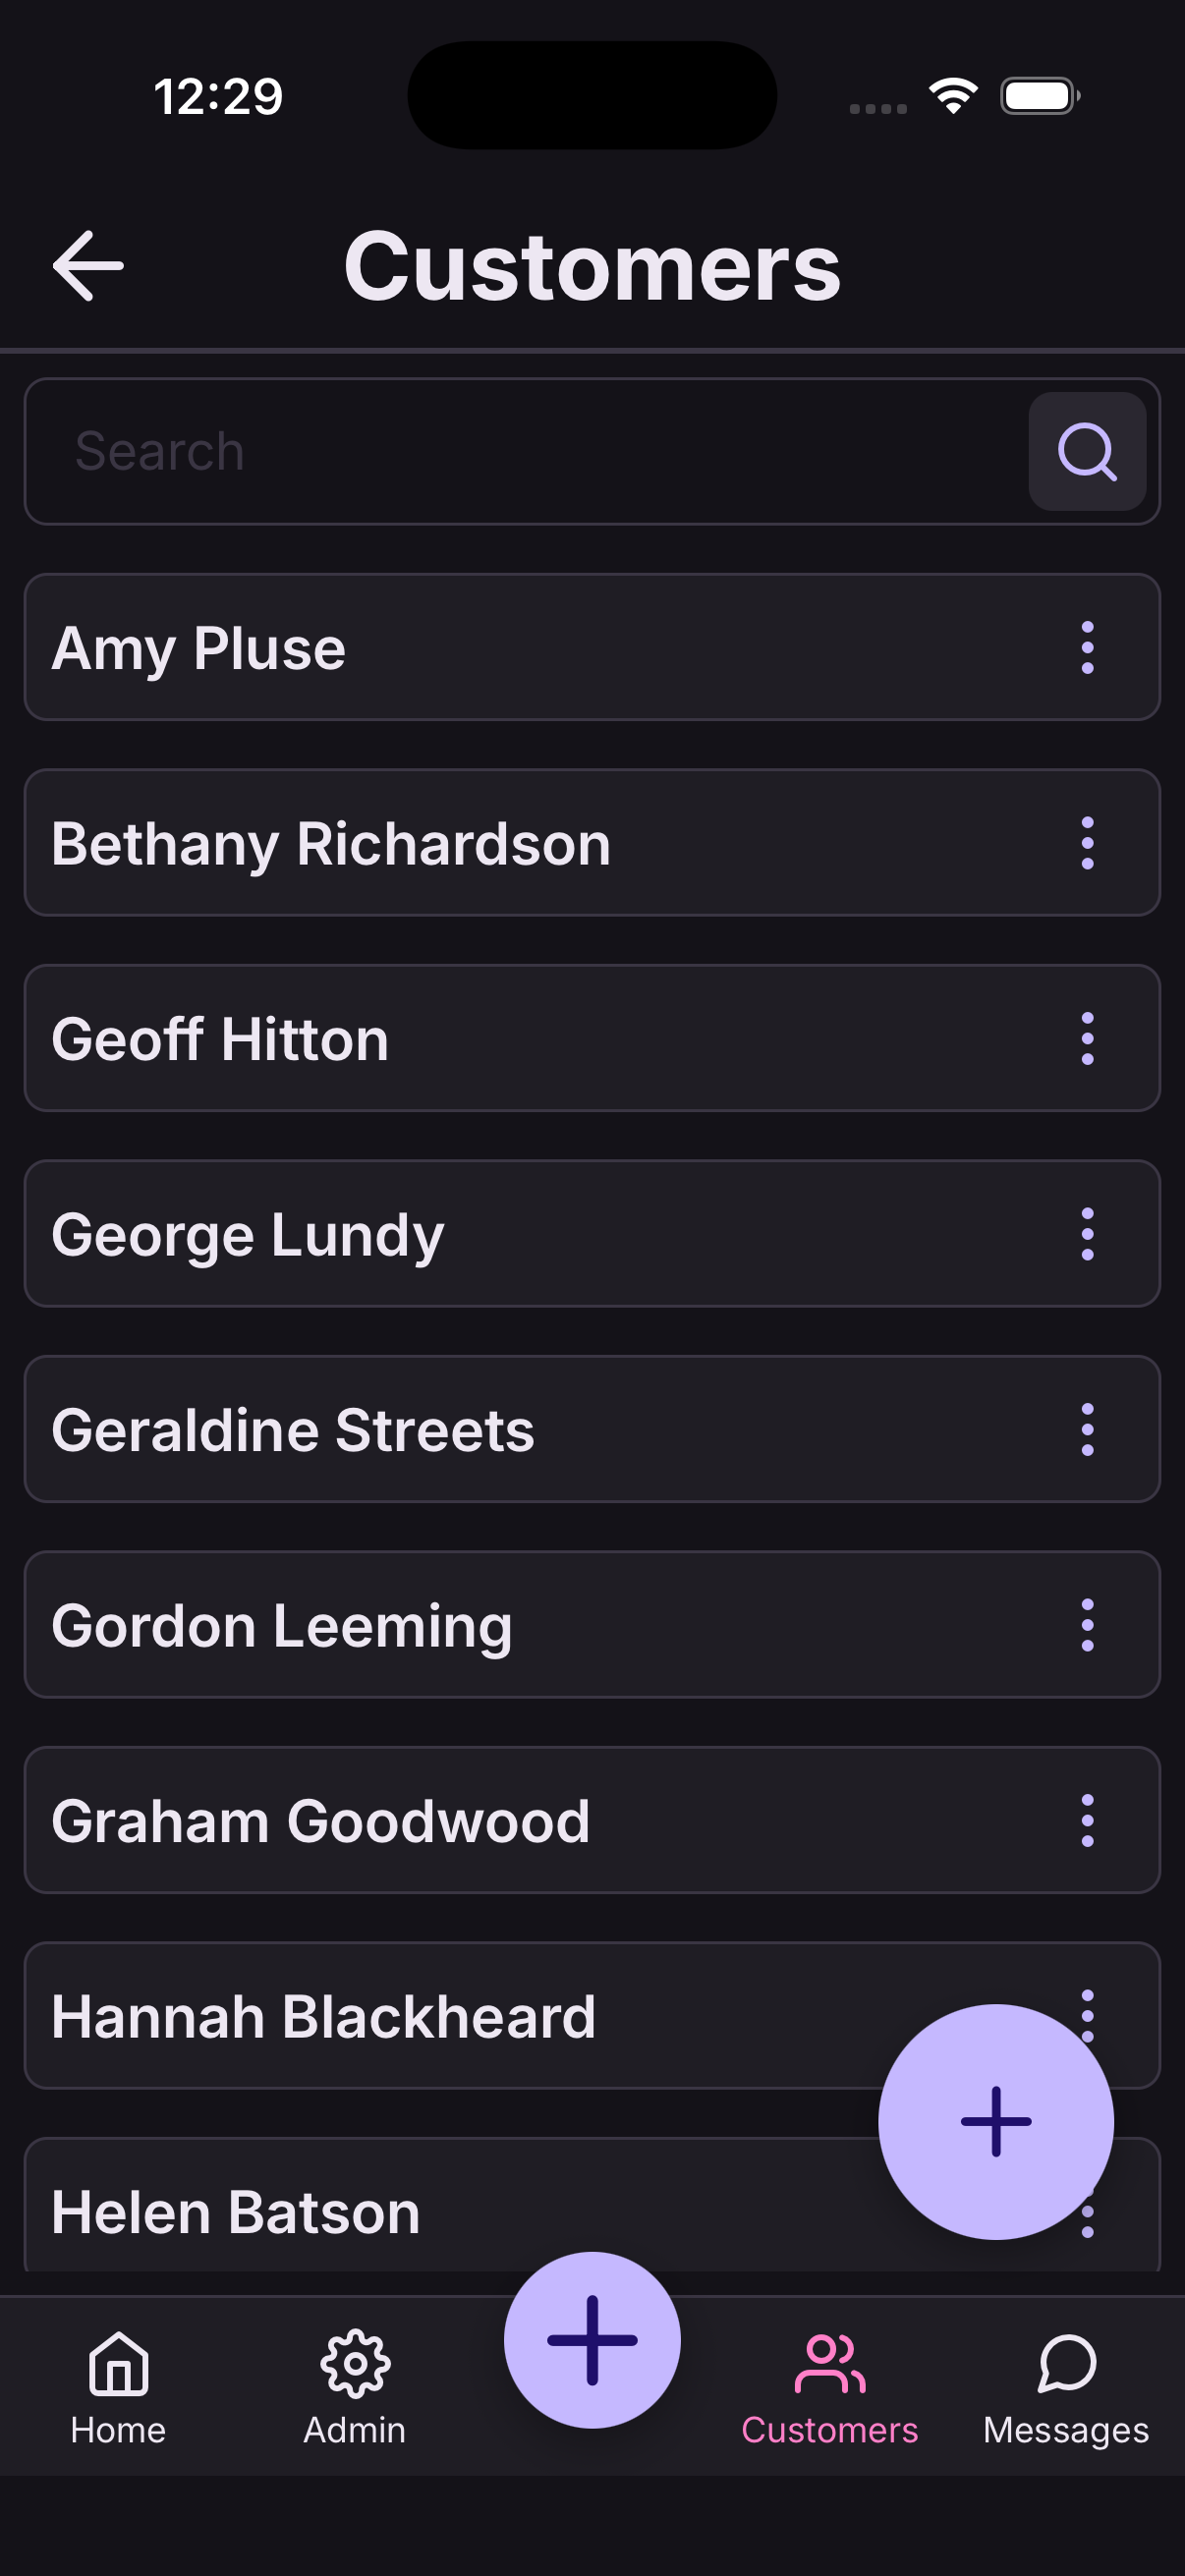
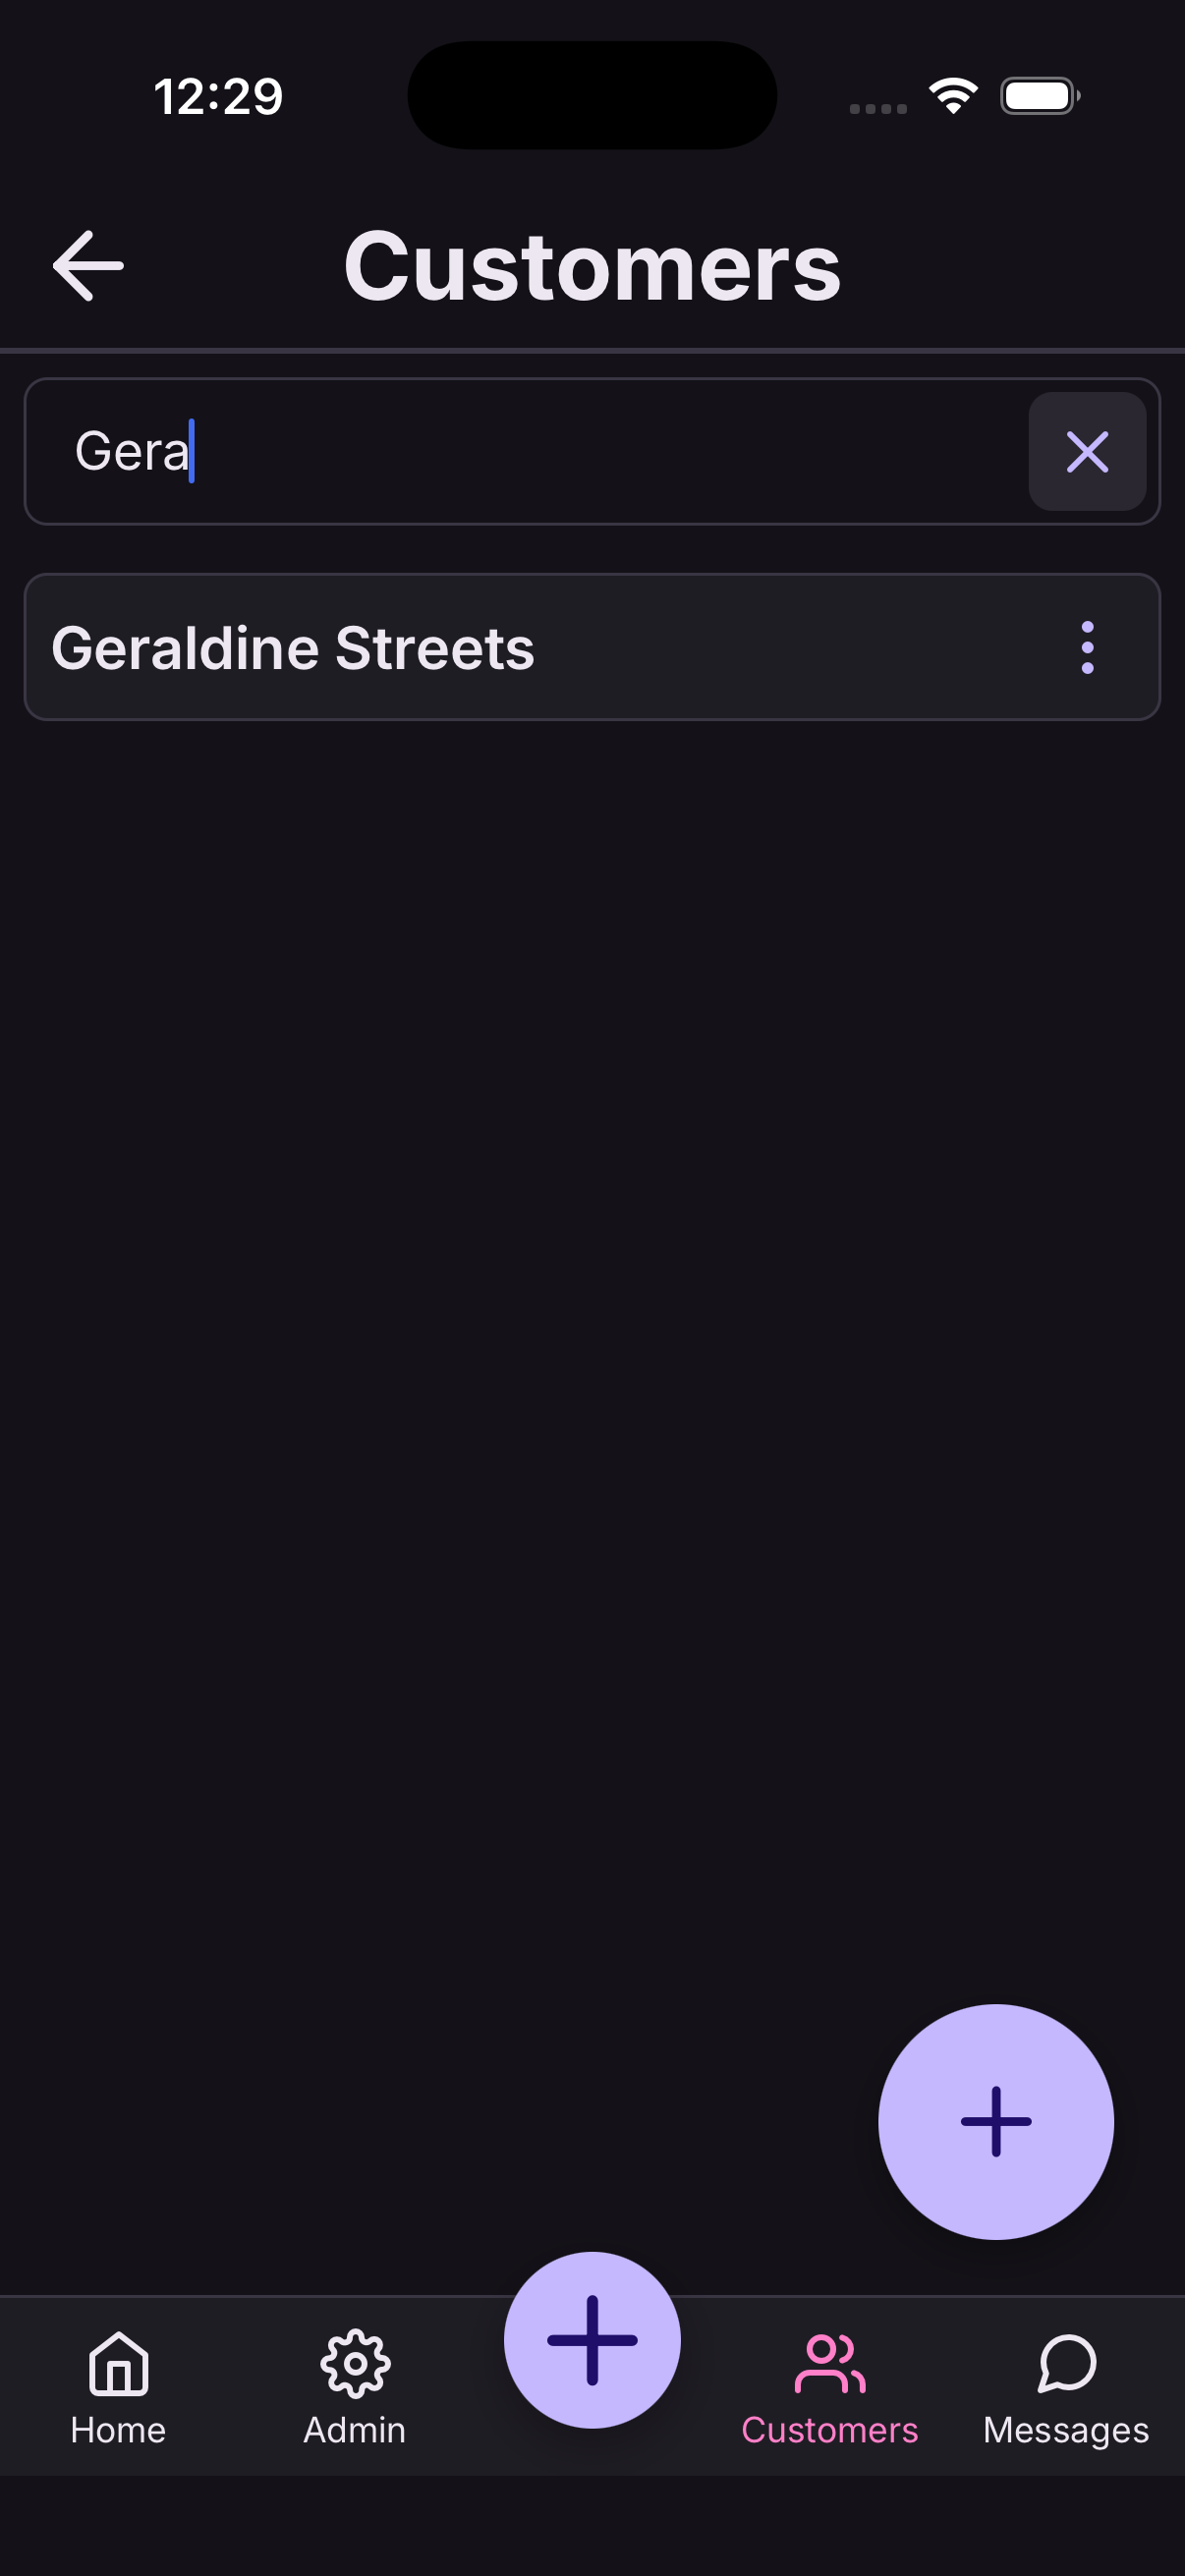
Open Customers and start typing a name. The list narrows as you type.
Tap anyone to open their record.
What's on a customer's record
Open a customer and you'll see:
- Their contact details, which you can edit.
- Their bookings — past and upcoming.
- Notes — anything worth remembering next time. Their usual table, an allergy, how they take their coffee.
- Files — photos and documents saved against them.
Notes, files and full booking history are Team features. On Solo you'll see where they'd be, with the option to upgrade.
Message a customer
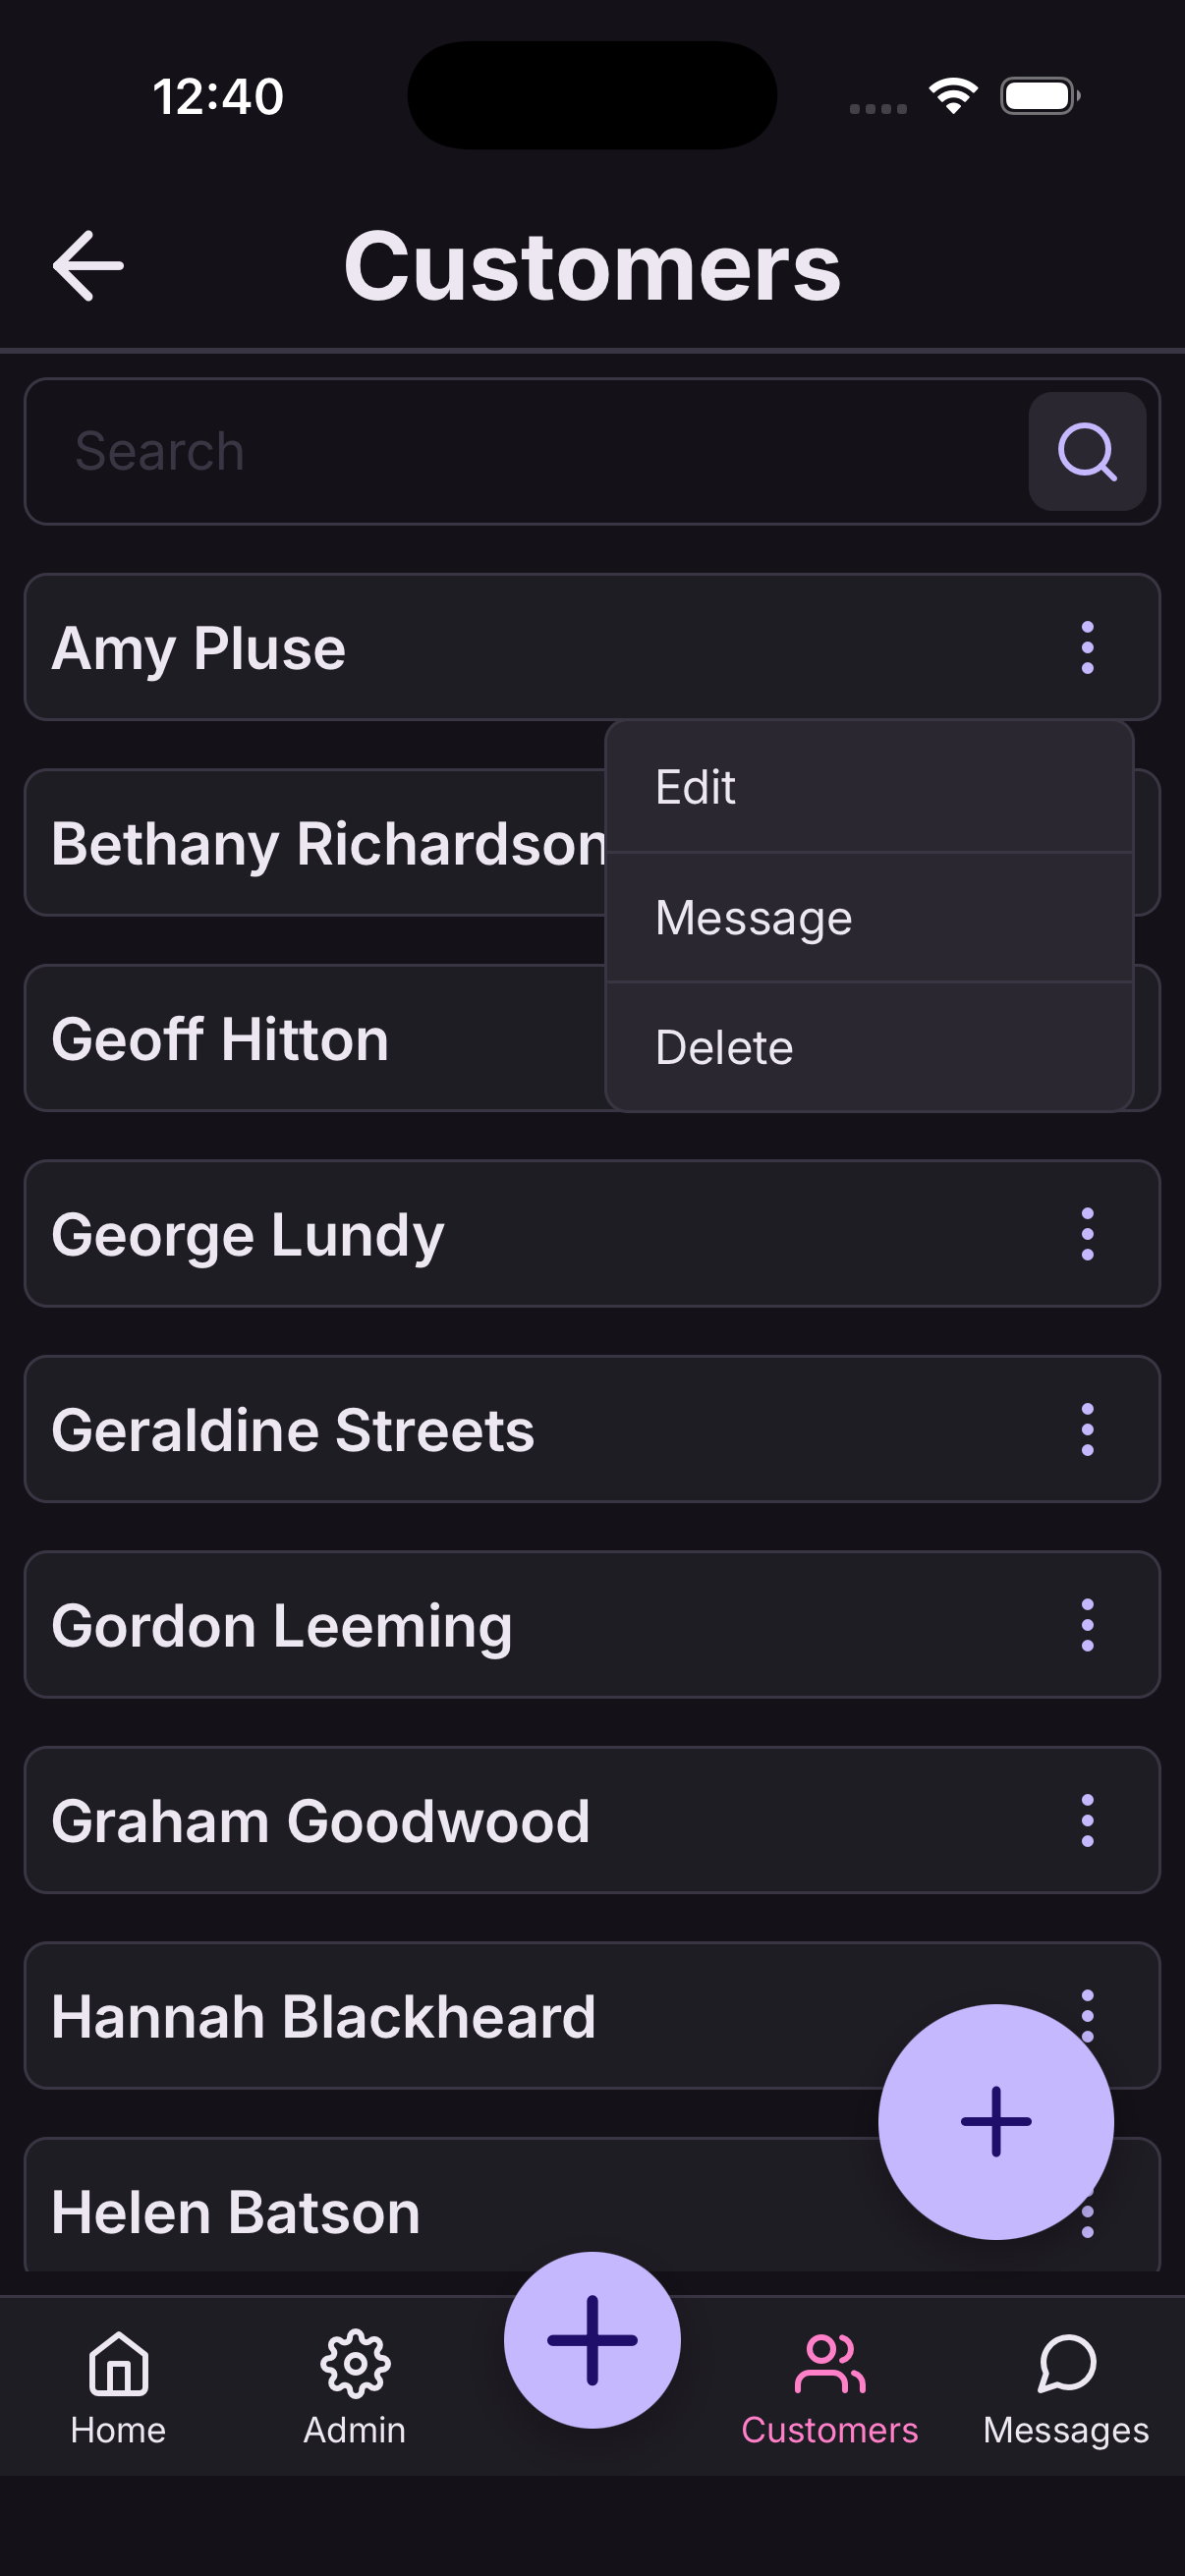
Open the customer, or the booking, and tap Message. Write your message and send.
They get it in the At9 app, and you'll see their reply in your messages with an unread badge until you've read it.
Useful for "running fifteen minutes late" or "we've got your umbrella" — without giving out your personal number.
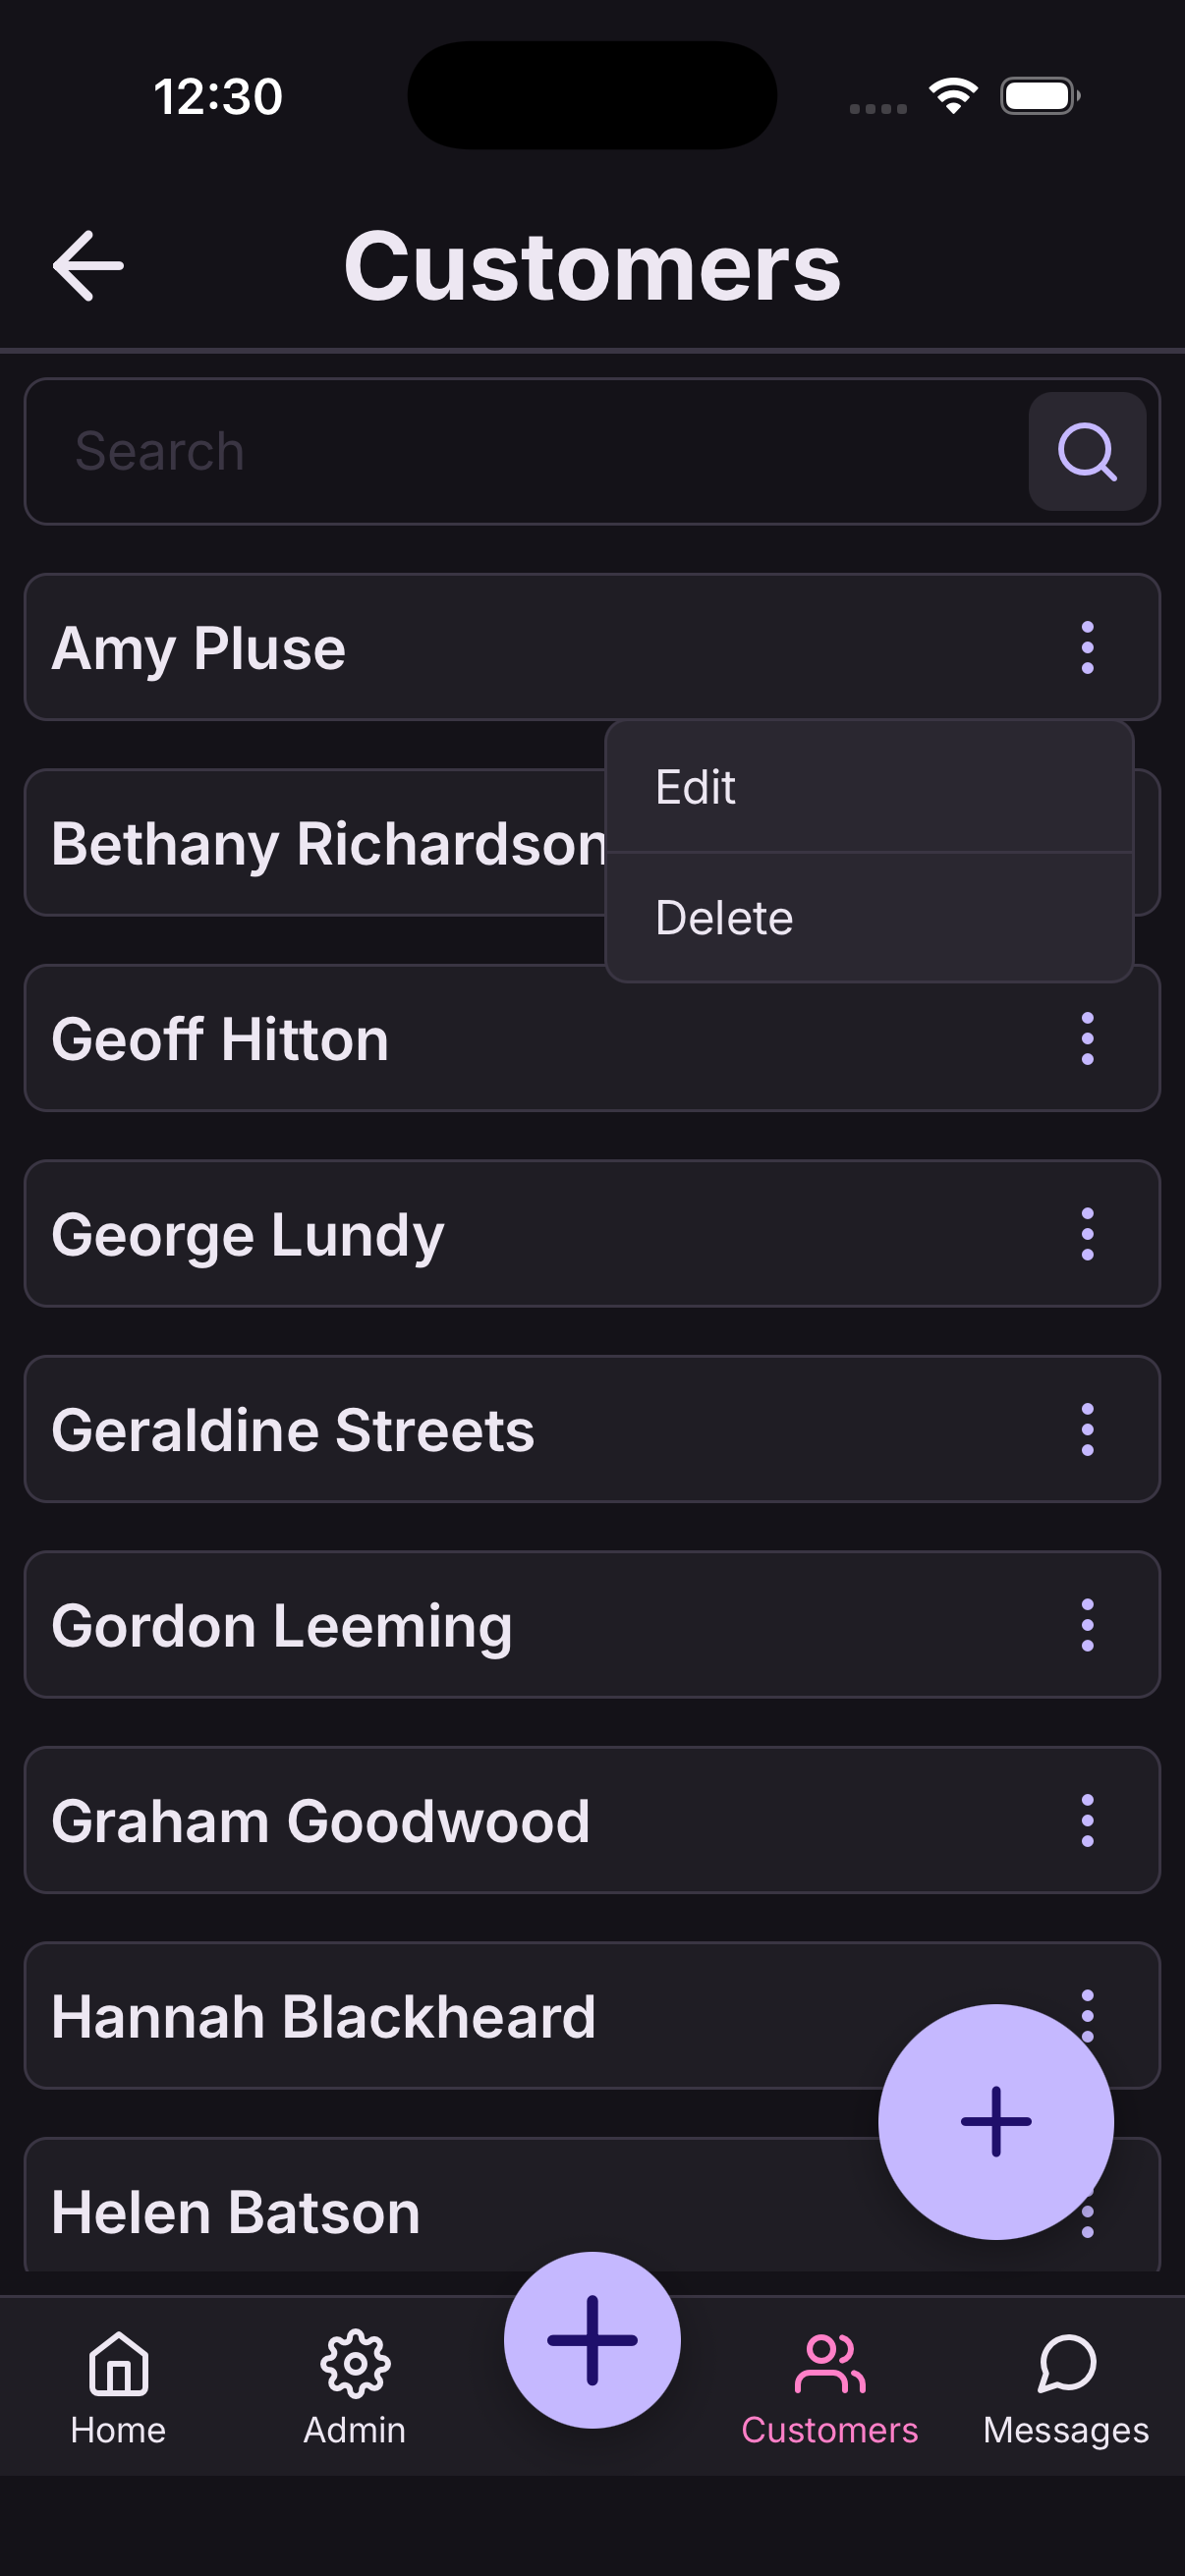
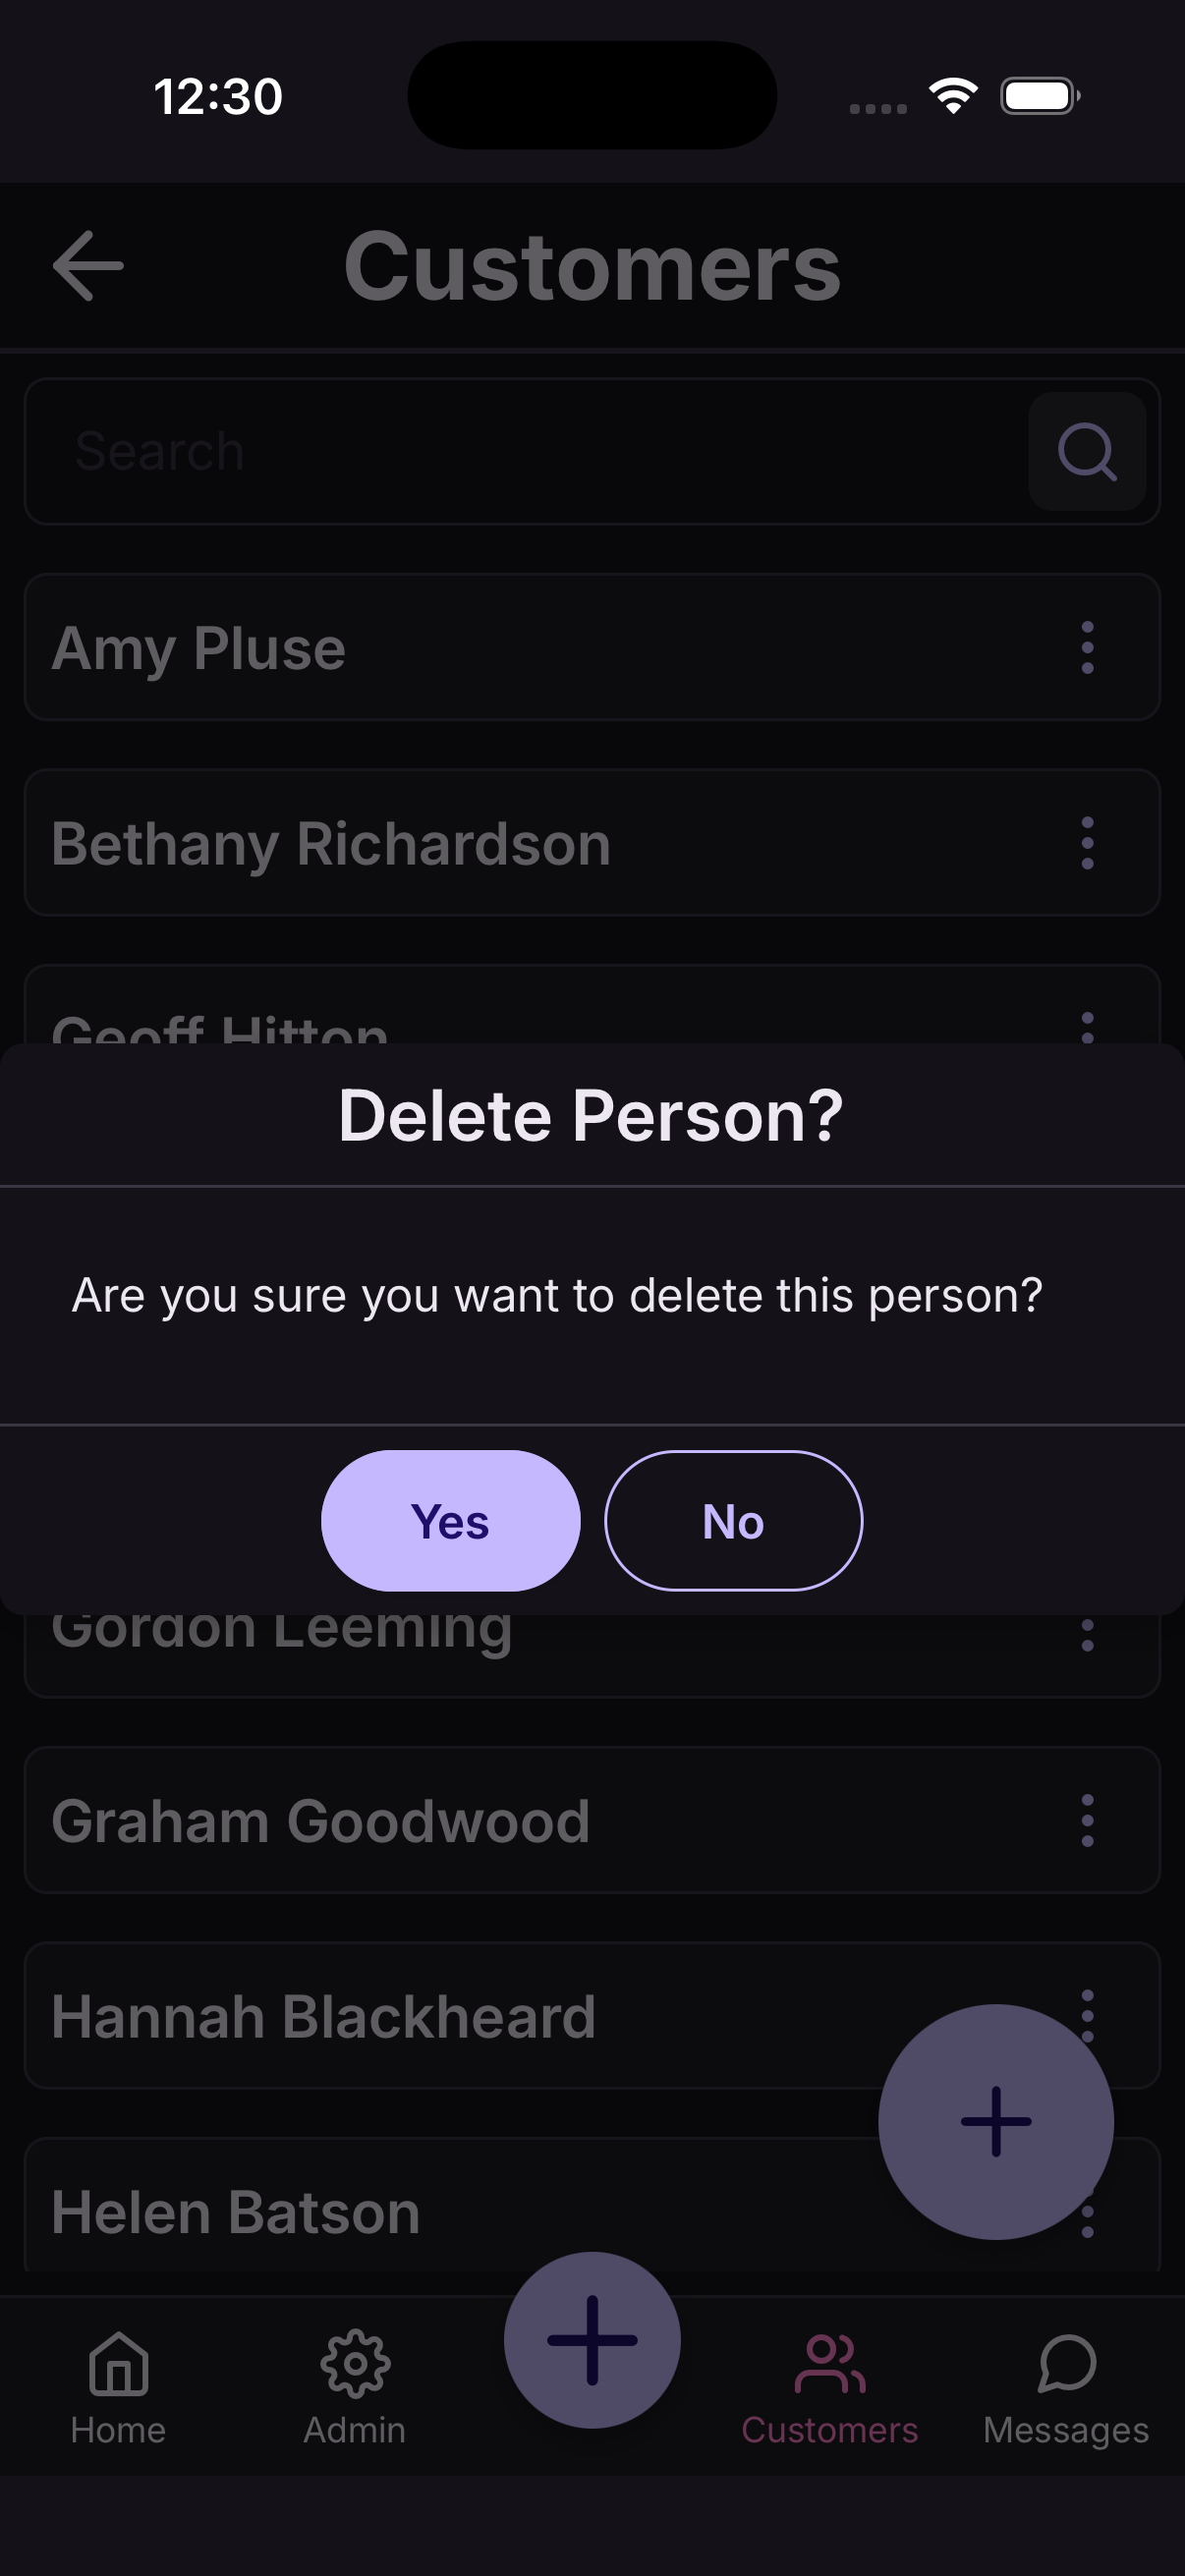
Remove a customer
Open the customer and tap Delete.
Their personal details are removed. Their past bookings stay in your history, without their name attached, so your records still add up.
How customers book online
Your booking link — at9.app/book/your-name — works in any browser, with nothing to download and no account needed.
A customer picks what they want, chooses a date and time from what's genuinely free, enters their name and email, and pays if you ask for payment. They get a confirmation email with a reference straight away, and the booking appears in your diary immediately.
Everything you've set up is respected: your opening hours, bookable times, closed periods, and how many places are left.
What customers are sent
At9 emails your customers on your behalf. Replies come back to your business address.
- Confirmation — as soon as they book.
- Updated — if the date, time or details change.
- Cancelled — if the booking is cancelled, with your reason if you gave one.
- Reminder — the day before. Team plan.
- Waiting list offer — when a place comes up.
Waiting lists
When a class or event is full, customers can join the waiting list instead of going elsewhere.
If someone cancels, At9 offers the place to the first person waiting and emails them. They get a set time to accept before it passes to the next person.
You don't have to do anything — it runs on its own.
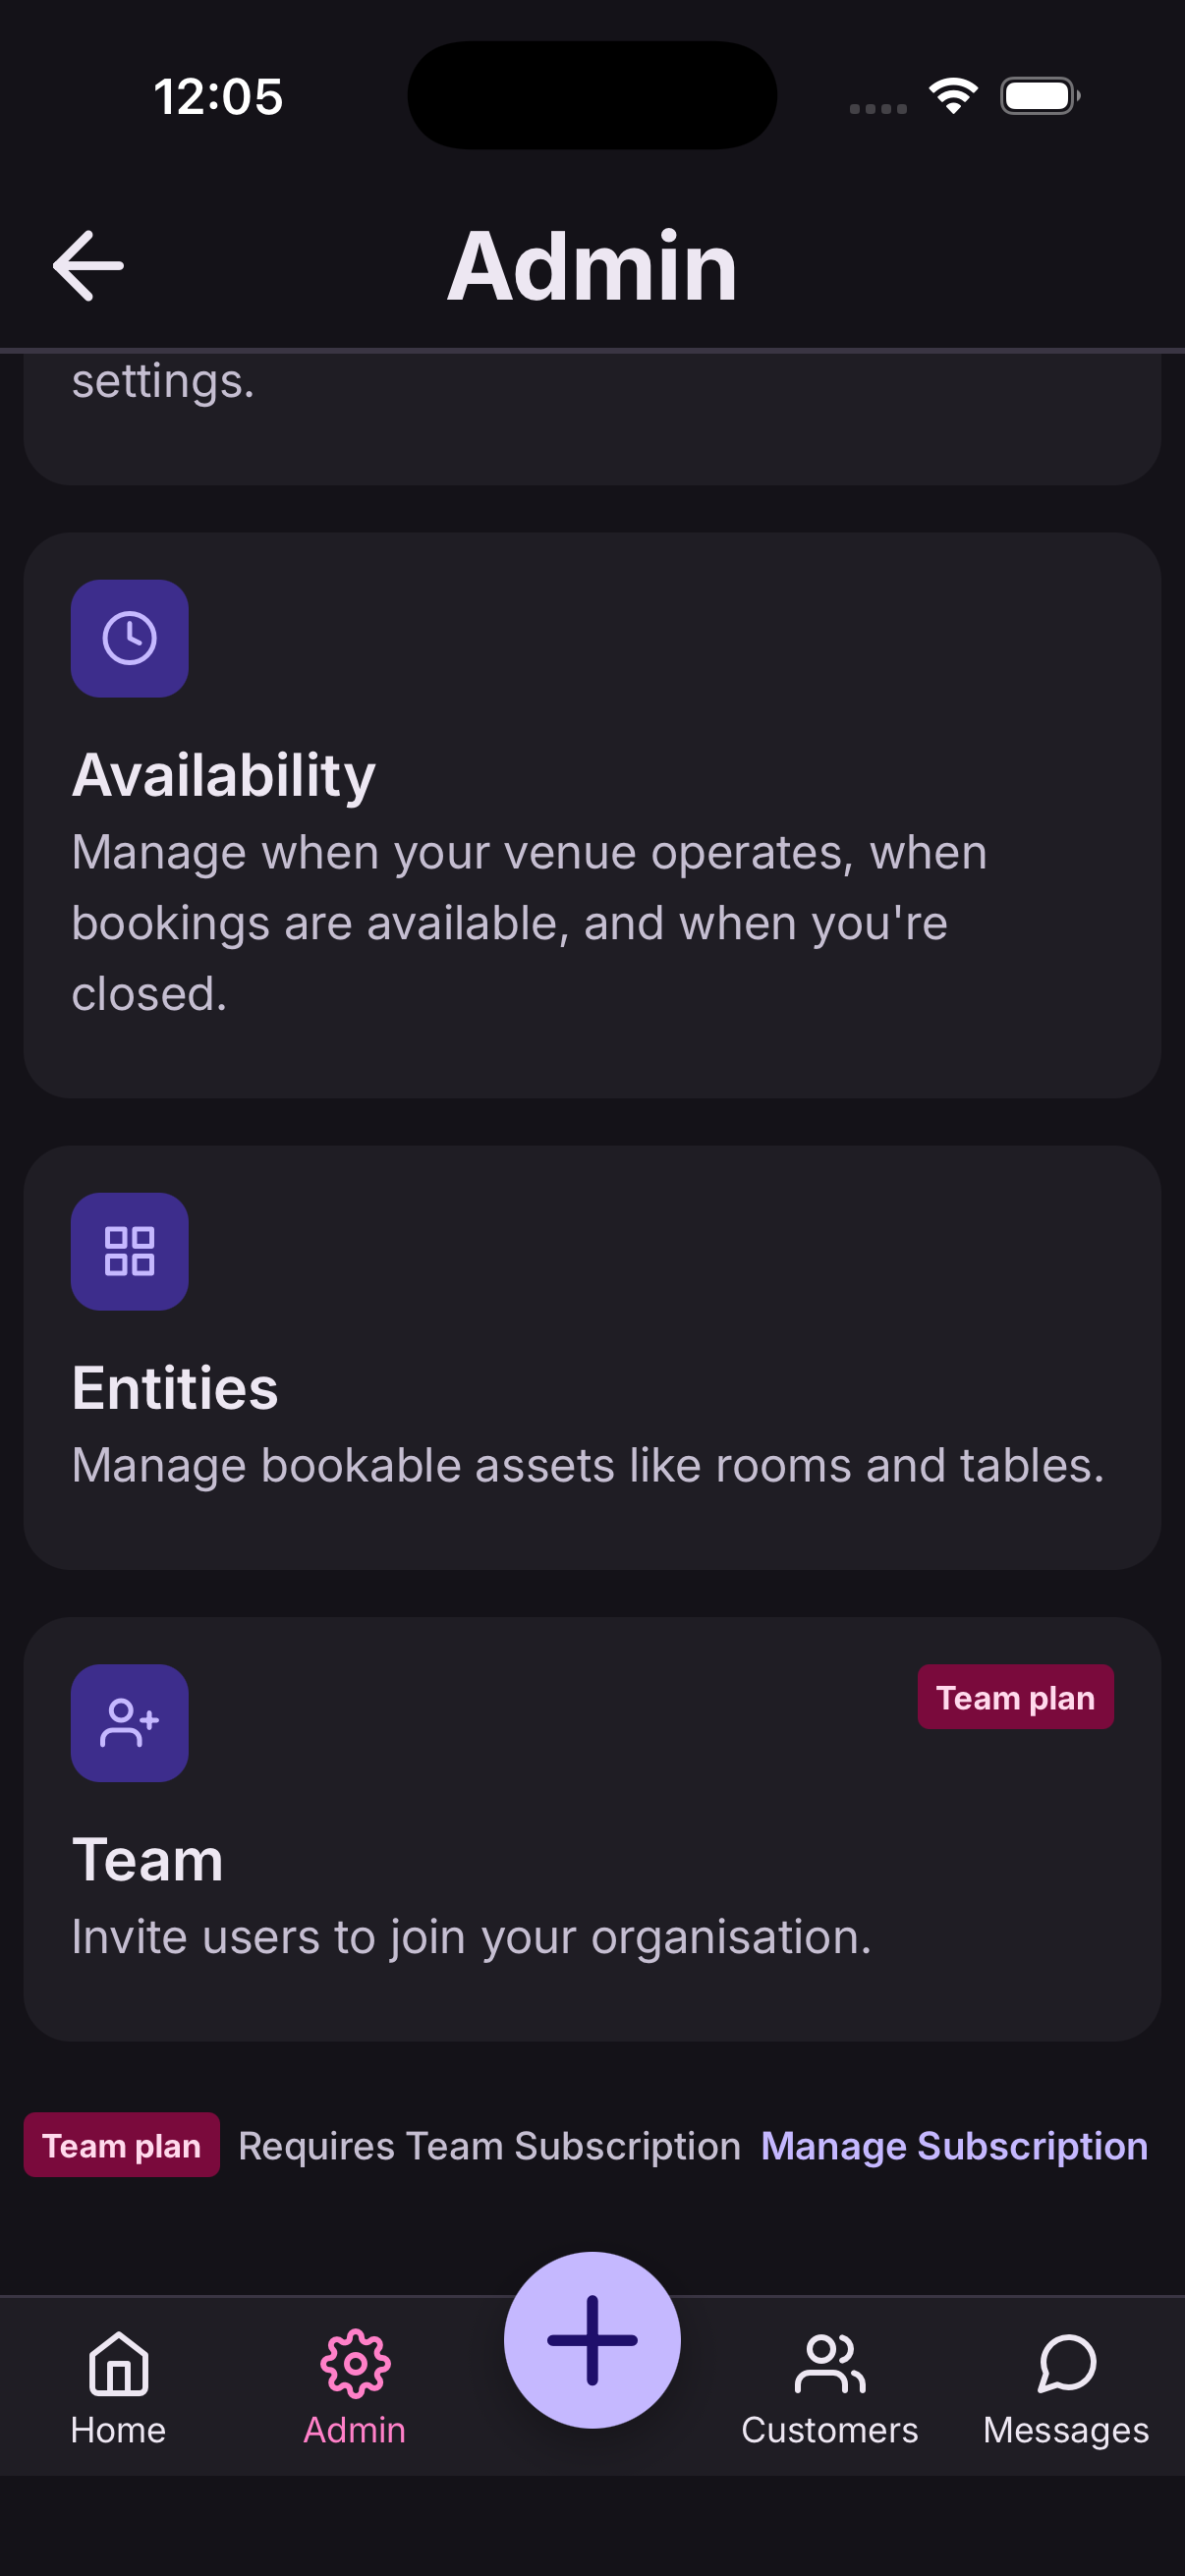
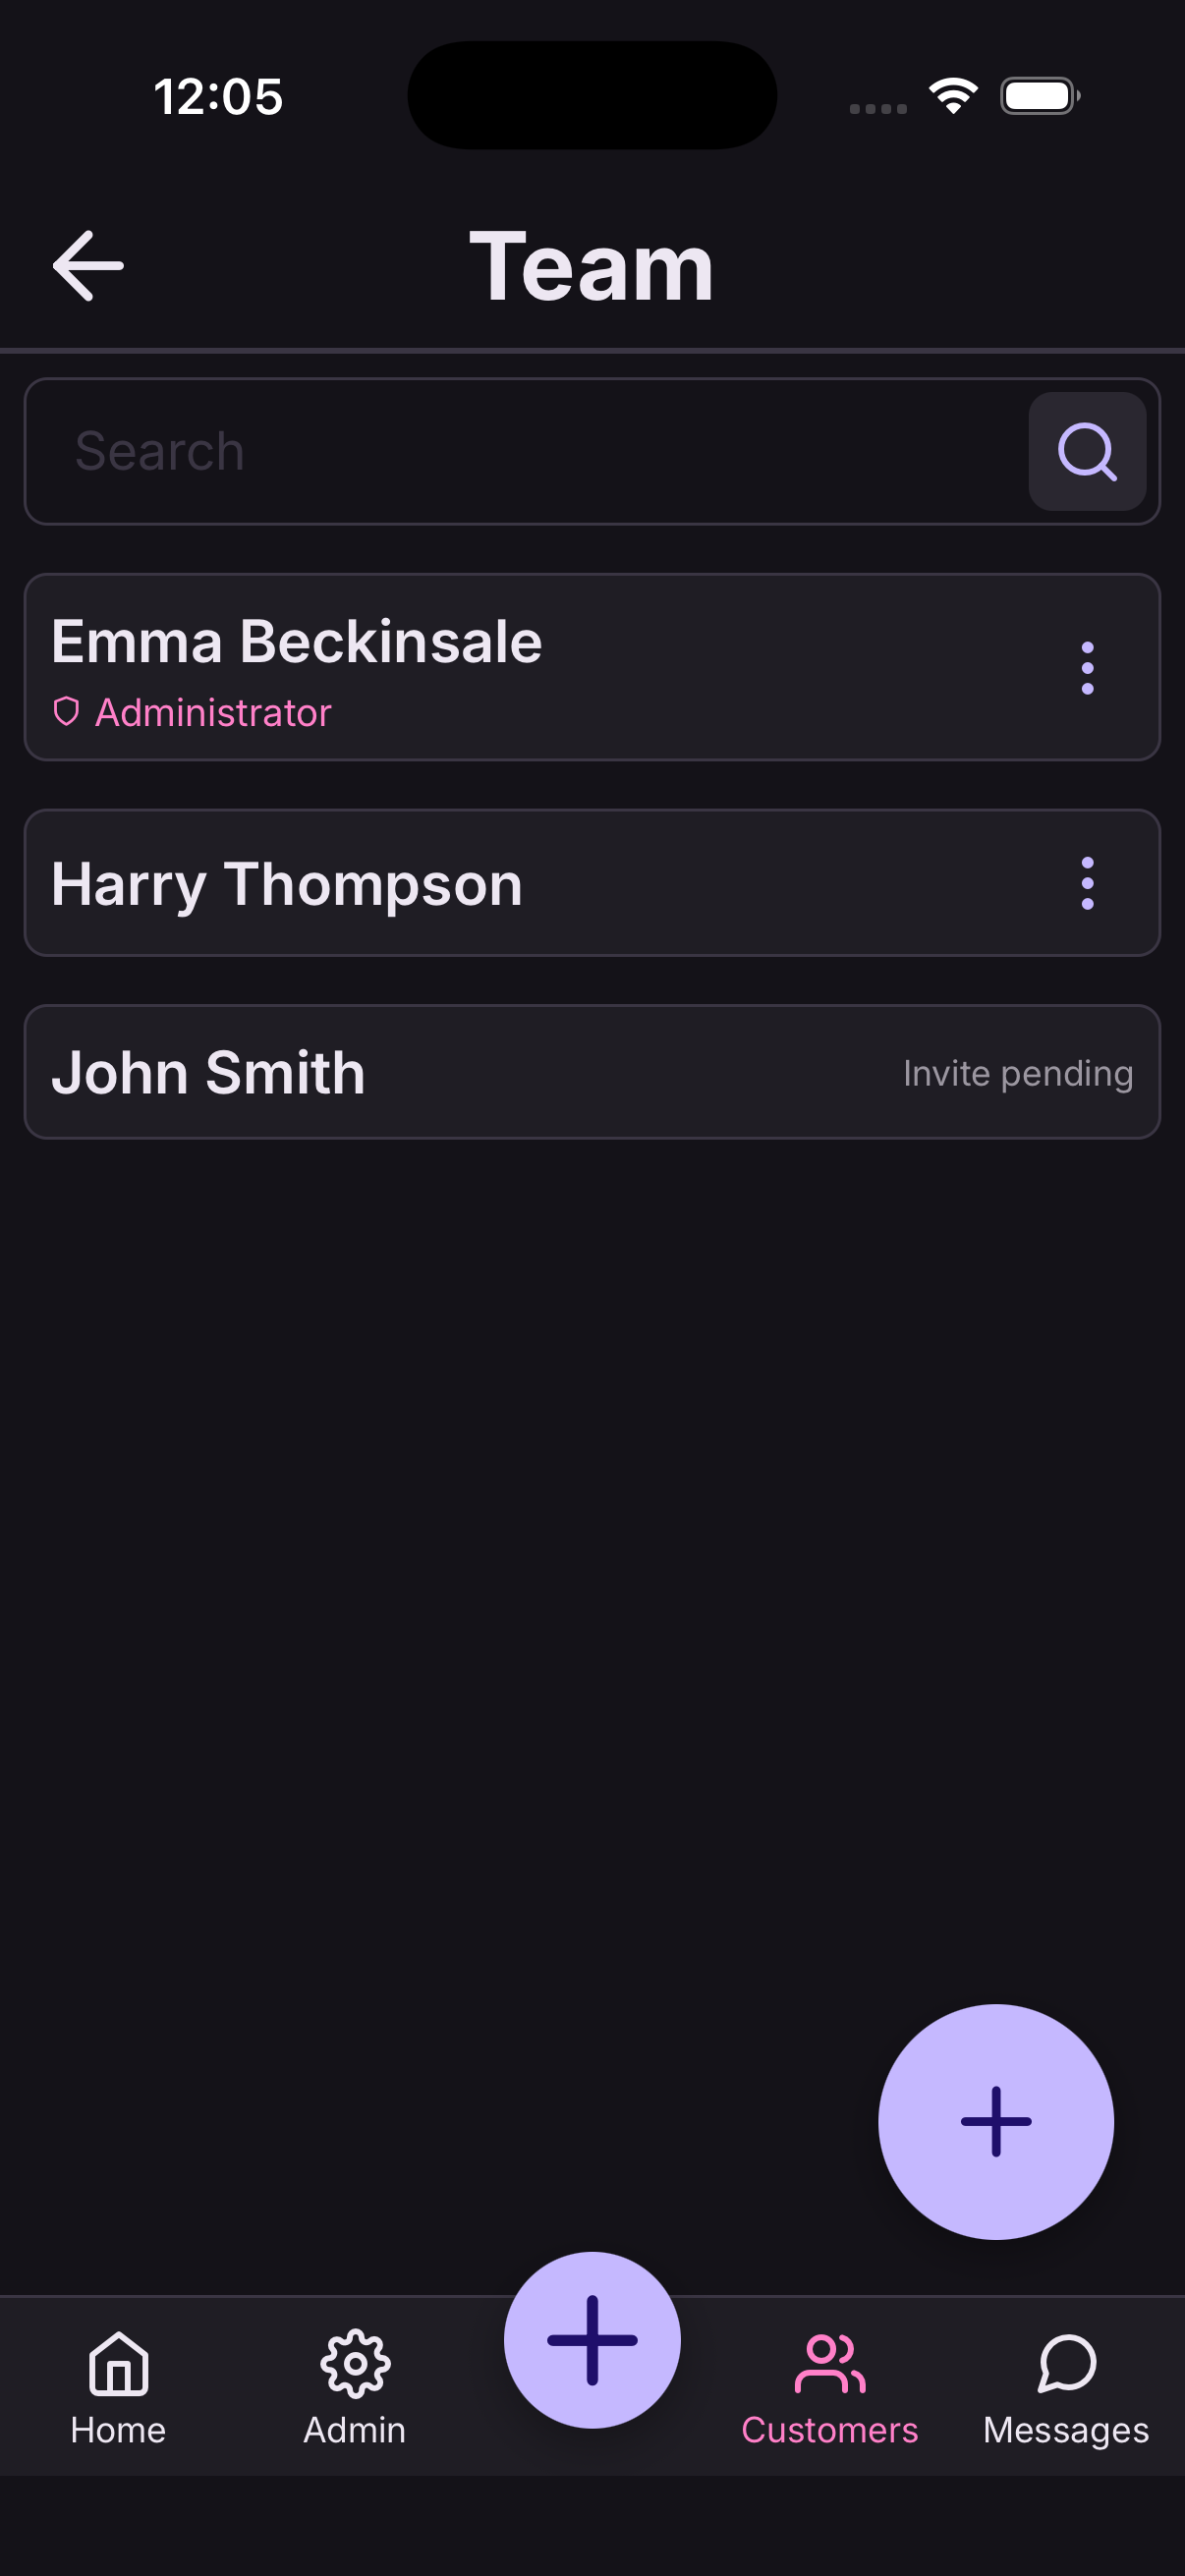
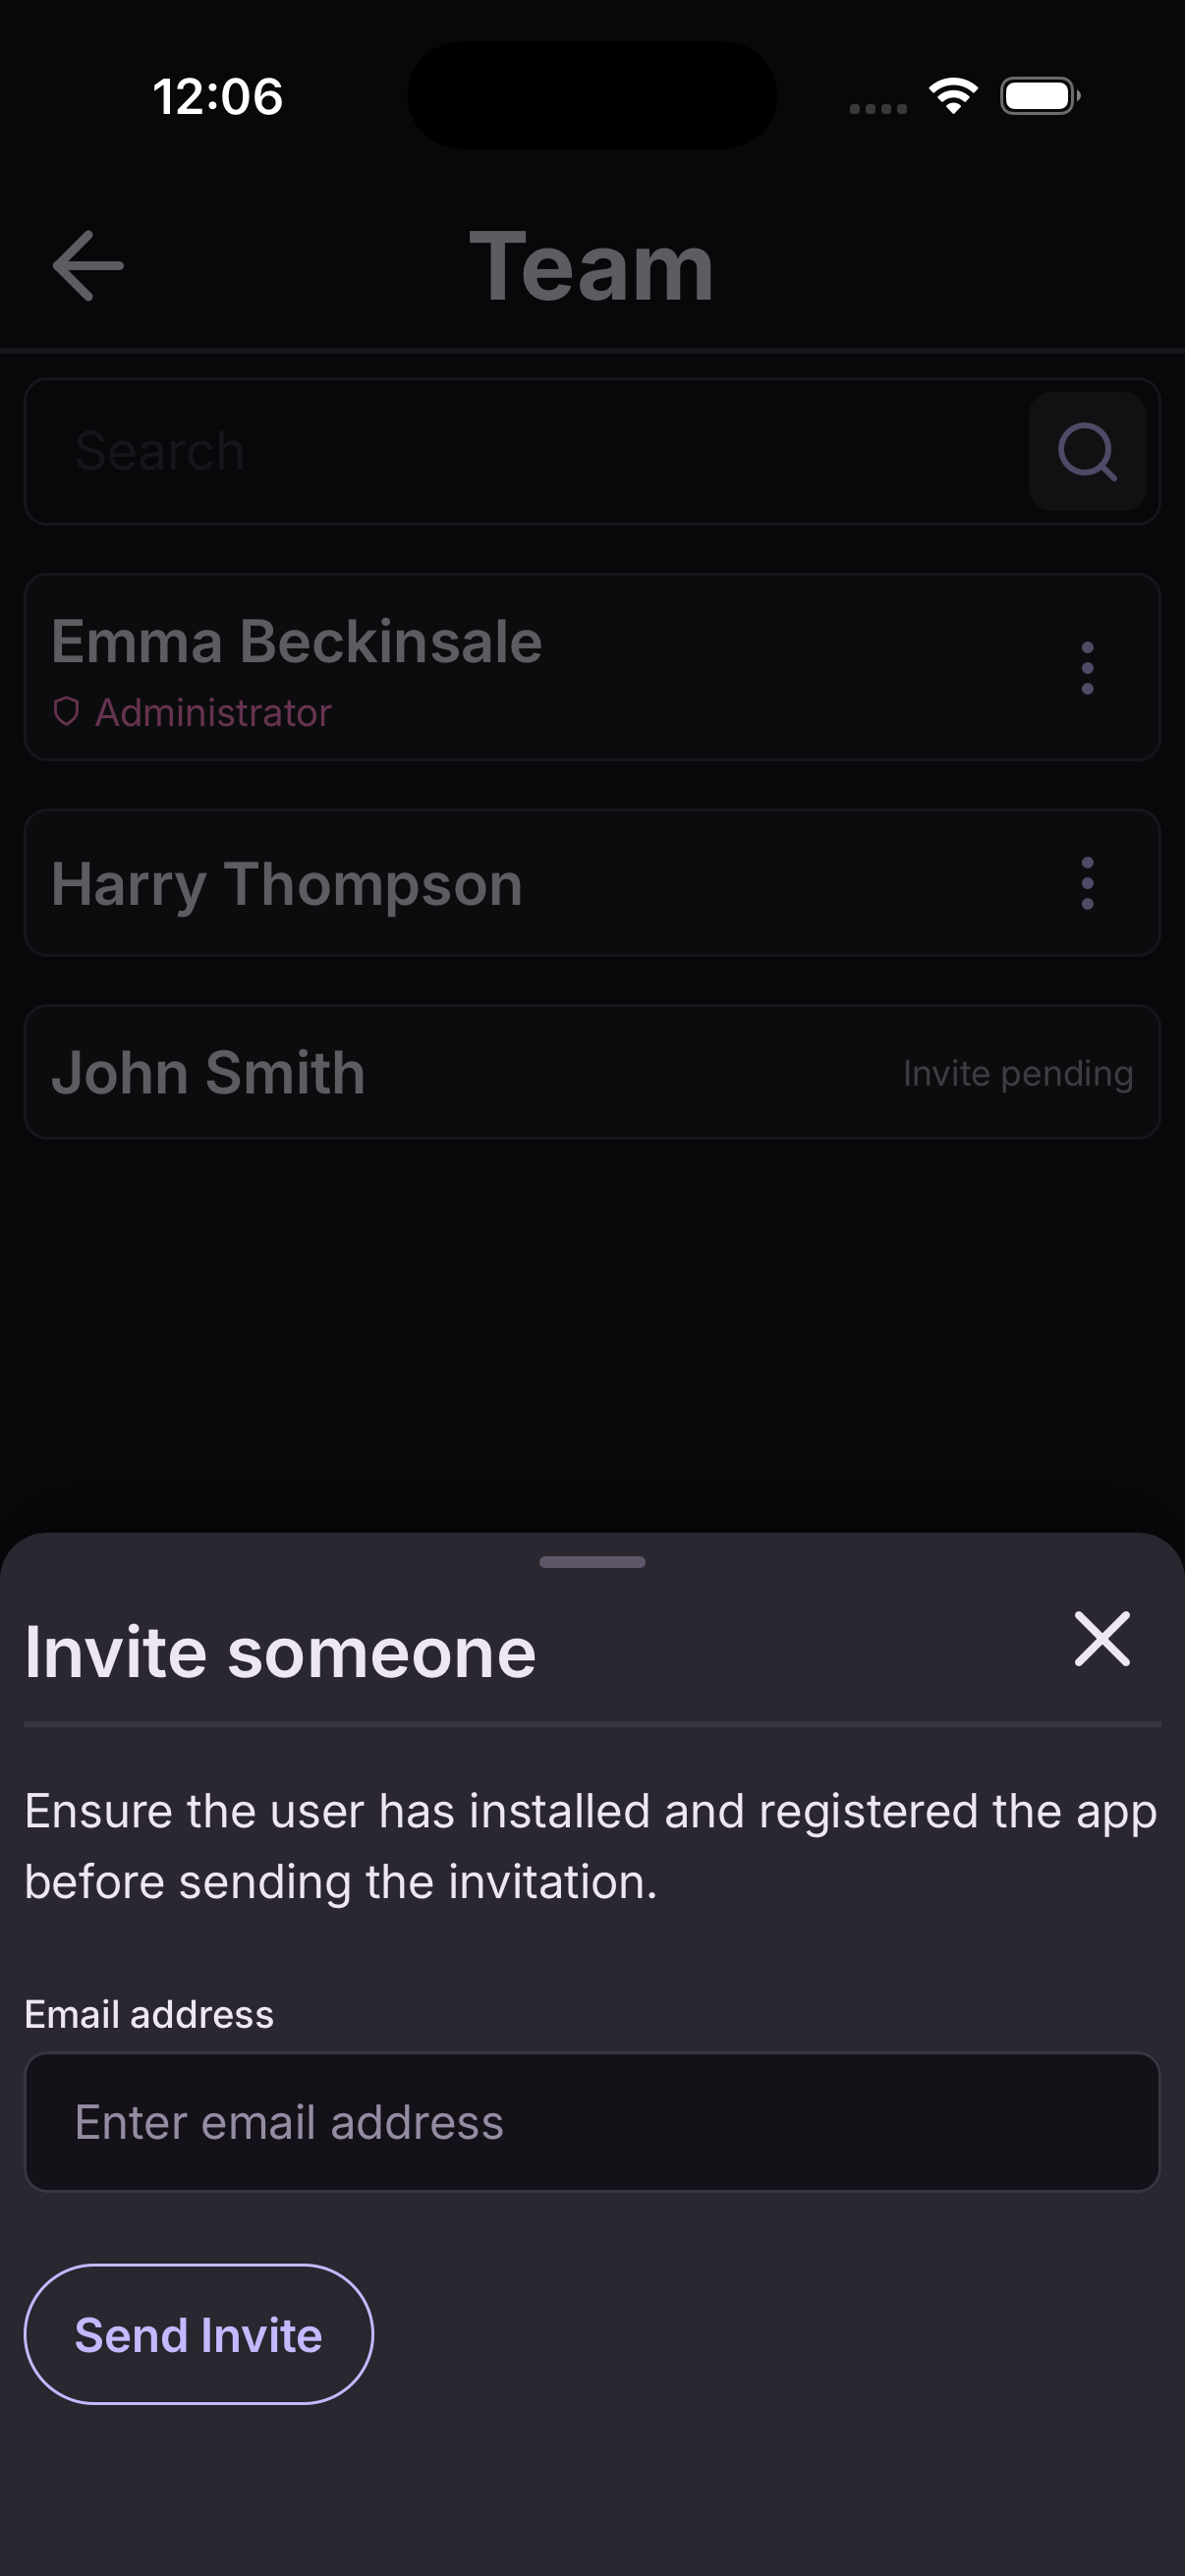
Invite someone to your team
Go to Settings → People and tap Invite.
- Ask them to install At9 and register first.
- Enter the email address they registered with.
- Send the invitation. It appears in their app for them to accept.
Once they've accepted, they share your diary and your customers.
Team access is part of the Team plan, and included in your free trial.
What your team can do
There are two levels.
- Administrators can change anything — what you offer, your hours, payments, and who's on the team.
- Everyone else works the diary: taking, changing and cancelling bookings, and managing customers.
Front-of-house can run the day without being able to change your prices or your opening hours.
Each person sets their own working hours, so appointments are only offered when they're actually in.
Remove someone
Go to Settings → People, open the person, and turn them off or remove them.
They lose access straight away. Bookings they took stay exactly where they are.
You can't remove the last administrator — someone has to be able to manage the business.